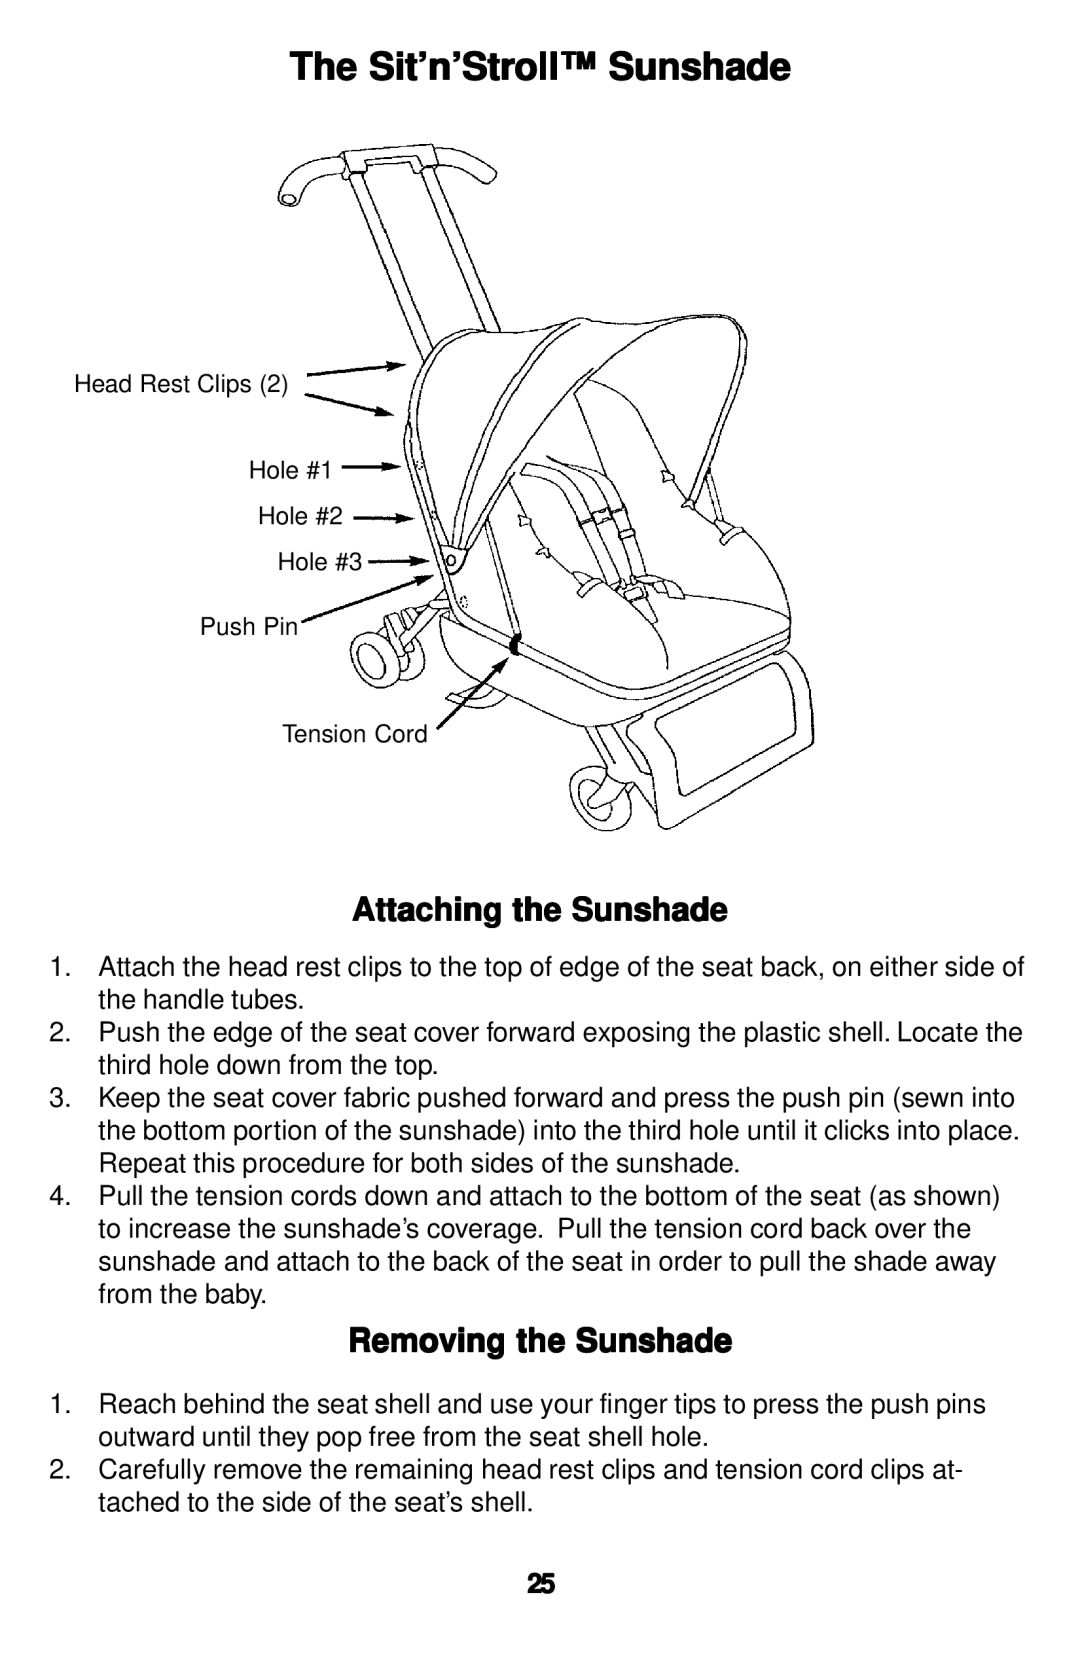
The Sit’n’Stroll™ Sunshade
Head Rest Clips (2)
Hole #1
Hole #2
Hole #3
Push Pin
Tension Cord
Attaching the Sunshade
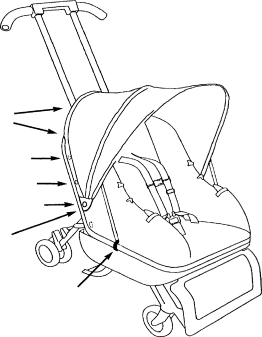
1.Attach the head rest clips to the top of edge of the seat back, on either side of the handle tubes.
2.Push the edge of the seat cover forward exposing the plastic shell. Locate the third hole down from the top.
3.Keep the seat cover fabric pushed forward and press the push pin (sewn into the bottom portion of the sunshade) into the third hole until it clicks into place. Repeat this procedure for both sides of the sunshade.
4.Pull the tension cords down and attach to the bottom of the seat (as shown) to increase the sunshade’s coverage. Pull the tension cord back over the sunshade and attach to the back of the seat in order to pull the shade away from the baby.
Removing the Sunshade
1.Reach behind the seat shell and use your finger tips to press the push pins outward until they pop free from the seat shell hole.
2.Carefully remove the remaining head rest clips and tension cord clips at- tached to the side of the seat’s shell.
25