Record Mode | XP (01:11) |
DV |
|
|
The DV device is connected |
| |
MOVE | SELECT | RETURN |
■ You can not change the recording mode and input source during recording.
■Recording will stop automatically if there is no free space left.
■Up to 99 titles can be recorded onto a
■Recording will stop automatically if a copy protected image is selected.
■If you are using a Cable Box(no antenna), you cannot watch a different cable TV program from the one you're recording.
■
■Do not use
Copying from a Camcorder
You may control a Digital Camcorder using the IEEE1394 (DV) interface.
Before you start
Check that the disc has enough available space for the recording. Adjust the record mode. See page 27 to see how to connect the camcorder to your DVD recorder.
1.Press the OPEN/CLOSE button, and place a recordable disc on the disc tray.
2.Press the OPEN/CLOSE button to close the disc tray. Wait until “LOAD” disappears from the front panel display.
3.Press the REC MODE button repeatedly to select the recording speed(quality).
SP LP EP XP
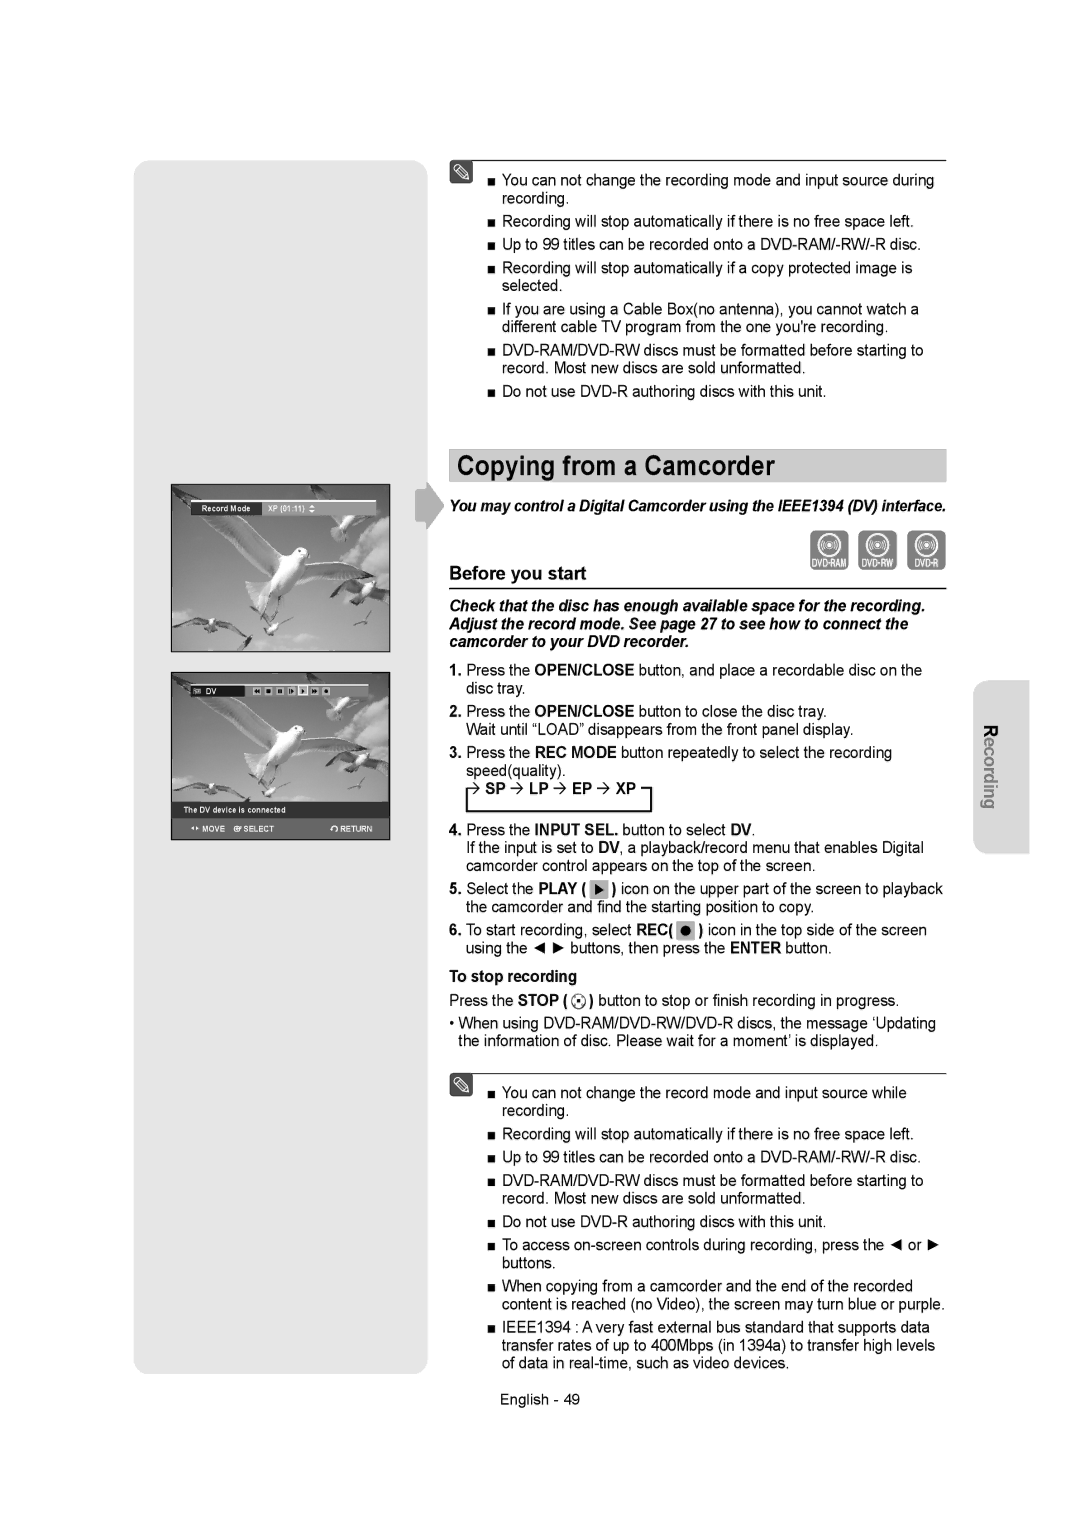
4.Press the INPUT SEL. button to select DV.
If the input is set to DV, a playback/record menu that enables Digital camcorder control appears on the top of the screen.
5.Select the PLAY ( ![]() ) icon on the upper part of the screen to playback the camcorder and find the starting position to copy.
) icon on the upper part of the screen to playback the camcorder and find the starting position to copy.
6.To start recording, select REC( ![]() ) icon in the top side of the screen using the ◄ ► buttons, then press the ENTER button.
) icon in the top side of the screen using the ◄ ► buttons, then press the ENTER button.
To stop recording
Press the STOP ( ![]() ) button to stop or finish recording in progress.
) button to stop or finish recording in progress.
•When using
■ You can not change the record mode and input source while recording.
■Recording will stop automatically if there is no free space left.
■Up to 99 titles can be recorded onto a
■
■Do not use
■To access
■When copying from a camcorder and the end of the recorded content is reached (no Video), the screen may turn blue or purple.
■IEEE1394 : A very fast external bus standard that supports data transfer rates of up to 400Mbps (in 1394a) to transfer high levels of data in
English - 49
Recording
