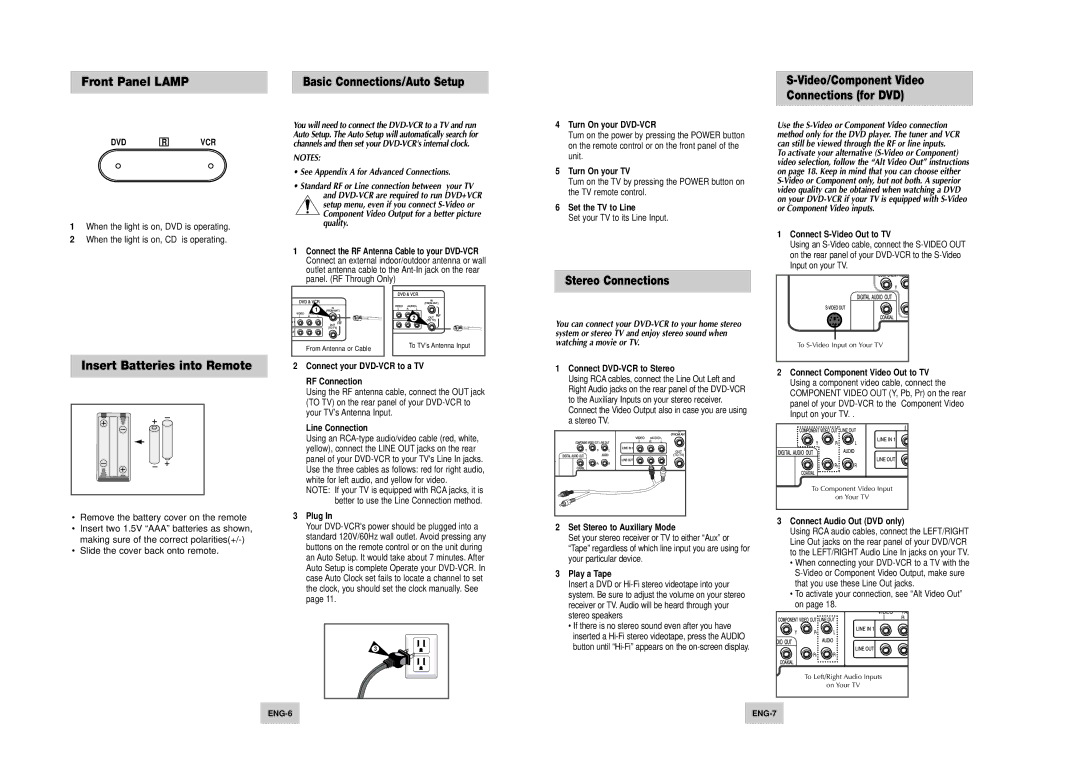
ENG-7
Basic Connections/Auto Setup
ENG-6
You will need to connect the DVD-VCR to a TVand run
Auto Setup. The Auto Setup will automatically search for
channels and then set your DVD-VCR's internal clock.
NOTES:
• See Appendix Afor Advanced Connections.
• Standard RF or Line connection between your TV
and DVD-VCR are required to run DVD+VCR
setup menu, even if you connect S-Video or
Component Video Output for a better picture
quality.
1
Connect the RF Antenna Cable to your DVD-VCR
Connect an external indoor/outdoor antenna or wall
outlet antenna cable to the Ant-In jack on the rear
panel. (RF Through Only)
2 Connect your DVD-VCR to a TV
RF Connection
Using the RF antenna cable, connect the OUTjack
(TO TV) on the rear panel of your DVD-VCR to
your TVs Antenna Input.
Line Connection
Using an RCA-type audio/video cable (red, white,
yellow), connect the LINE OUTjacks on the rear
panel of your DVD-VCR to your TV's Line In jacks.
Use the three cables as follows: red for right audio,
white for left audio, and yellow for video.
NOTE: If your TV is equipped with RCA jacks, it is
better to use the Line Connection method.
3 Plug In
Your DVD-VCR's power should be plugged into a
standard 120V/60Hz wall outlet. Avoid pressing any
buttons on the remote control or on the unit during
an Auto Setup. It would take about 7 minutes. After
Auto Setup is complete Operate your DVD-VCR. In
case Auto Clock set fails to locate a channel to set
the clock, you should set the clock manually. See
page 11.
From Antenna or Cable
1
To TVs Antenna Input
2
3
Insert Batteries into RemoteFront Panel LAMP
Remove the battery cover on the remote
Insert two 1.5V AAA batteries as shown,
making sure of the correct polarities(+/-)
Slide the cover back onto remote.
DVD R VCR
1When the light is on, DVD is operating.
2 When the light is on, CD is operating.
S-Video/Component VideoConnections (for DVD)
Use the S-Video or Component Video connection
method only for the DVD player. The tuner and VCR
can still be viewed through the RF or line inputs.
To activate your alternative (S-Video or Component)
video selection, follow the “Alt Video Out” instructions
on page 18. Keep in mind that you can choose either
S-Video or Component only, but not both. Asuperior
video quality can be obtained when watching a DVD
on your DVD-VCR if your TVis equipped with S-Video
or Component Video inputs.
1 Connect S-Video Out to TV
Using an S-Video cable, connect the S-VIDEO OUT
on the rear panel of your DVD-VCR to the S-Video
Input on your TV.
2 Connect Component Video Out to TV
Using a component video cable, connect the
COMPONENTVIDEO OUT (Y, Pb, Pr) on the rear
panel of your DVD-VCR to the Component Video
Input on your TV. .
3 Connect Audio Out (DVD only)
Using RCAaudio cables, connect the LEFT/RIGHT
Line Out jacks on the rear panel of your DVD/VCR
to the LEFT/RIGHTAudio Line In jacks on your TV.
When connecting your DVD-VCR to a TV with the
S-Video or Component Video Output, make sure
that you use these Line Out jacks.
To activate your connection, see Alt Video Out
on page 18.
To S-Video Input on Your TV
To Component Video Input
on Your TV
To Left/Right Audio Inputs
on Your TV
Stereo Connections
You can connect your DVD-VCR to your home stereo
system or stereo TVand enjoy stereo sound when
watching a movie or TV.
1 Connect DVD-VCR to Stereo
Using RCAcables, connect the Line Out Left and
Right Audio jacks on the rear panel of the DVD-VCR
to the Auxiliary Inputs on your stereo receiver.
Connect the Video Output also in case you are using
a stereo TV.
2 Set Stereo to Auxiliary Mode
Set your stereo receiver or TV to either Aux or
Tape regardless of which line input you are using for
your particular device.
3 Play a Tape
Insert a DVD or Hi-Fi stereo videotape into your
system. Be sure to adjust the volume on your stereo
receiver or TV. Audio will be heard through your
stereo speakers
If there is no stereo sound even after you have
inserted a Hi-Fi stereo videotape, press the AUDIO
button until Hi-Fi appears on the on-screen display.
4 Turn On your DVD-VCR
Turn on the power by pressing the POWER button
on the remote control or on the front panel of the
unit.
5 Turn On your TV
Turn on the TV by pressing the POWER button on
the TV remote control.
6 Set the TV to Line
Set your TV to its Line Input.
00367A DVD-V4500/XAC-ENG 12/10/03 10:57 AM Page 6