recording
MAKING A ONE TOUCH RECORDING (OTR)
XCVKL
1.If you want to record through a connected external component, press the INPUT SEL. button to select an appropriate external input (AV1, AV2 or DV).
2.Press the DVD or VCR button on the remote, or DVD/VCR on the front panel to select the DVD or VCR mode.
3.Press the REC button to start recording.
4.While in Record mode, press the REC button again to activate the
•Record length 0:30 appears on the
5.Continue press the REC button to add recording time in preset increments up to 8 hours.
→ 0:30 → 1:00 → 1:30 → 2:00 → 2:30 → 3:00 → 3:30 → 4:00 → 4:30 → 5:00 → 5:30 → 6:00 → 6:30 → 7:00 → 7:30 → 8:00 → Normal
•The DVD Recorder & VCR stops recording automatically when the time has elapsed.
To stop recording
1.Press the STOP () button.
The message “Press STOP button once more to cancel Timer record.” is displayed.
2.Press the STOP () button again.
The message “Updating the Information of disc. Please wait for a moment.” is displayed.
M The timer counter decreases by the minute from the recording time set to 0:00, then the DVD Recorder & VCR stops recording.
MAKING A TIMER RECORDING
The clock (Setup – Clock Set) must be set before proceeding with a timer recording. (See page 30)
XCVKL
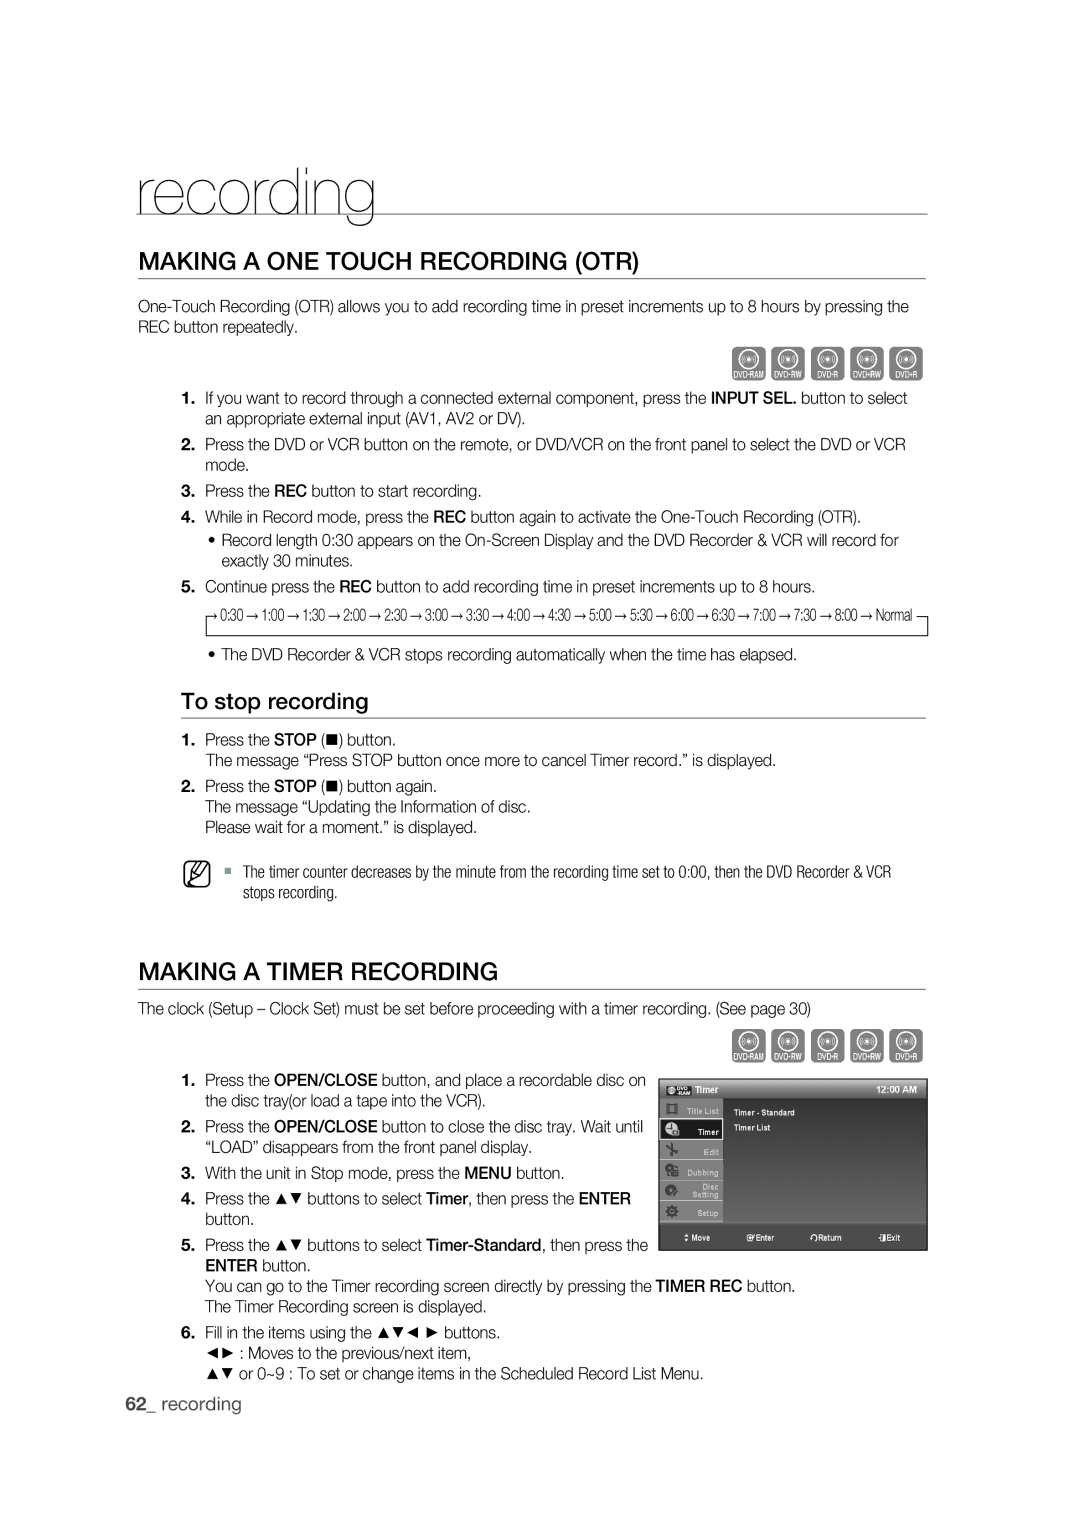
1. | Press the OPEN/CLOSE button, and place a recordable disc on |
|
|
|
|
|
| |
|
| Timer |
|
| 12:00 AM | |||
2. | the disc tray(or load a tape into the VCR). |
|
| Title List | Timer - Standard |
|
| |
|
|
|
| |||||
Press the OPEN/CLOSE button to close the disc tray. Wait until |
|
| Timer | Timer List |
|
| ||
| “LOAD” disappears from the front panel display. |
|
|
| Edit |
|
|
|
3. | With the unit in Stop mode, press the MENU button. |
|
| Dubbing |
|
|
| |
4. | Press the ▲▼ buttons to select Timer, then press the ENTER |
|
|
| Disc |
|
|
|
|
|
| Setting |
|
|
| ||
|
|
| Setup |
|
|
| ||
| button. |
|
|
|
|
|
| |
5. |
|
|
| > Move | sEnter | rReturn | eExit | |
Press the ▲▼ buttons to select |
|
| ||||||
|
|
|
|
|
| |||
|
|
|
|
|
| |||
ENTER button.
You can go to the Timer recording screen directly by pressing the TIMER REC button.
The Timer Recording screen is displayed.
6.Fill in the items using the ▲▼◄ ► buttons. ◄► : Moves to the previous/next item,
▲▼ or 0~9 : To set or change items in the Scheduled Record List Menu.
62_ recording