system setup
PROGRESSIVE SCAN
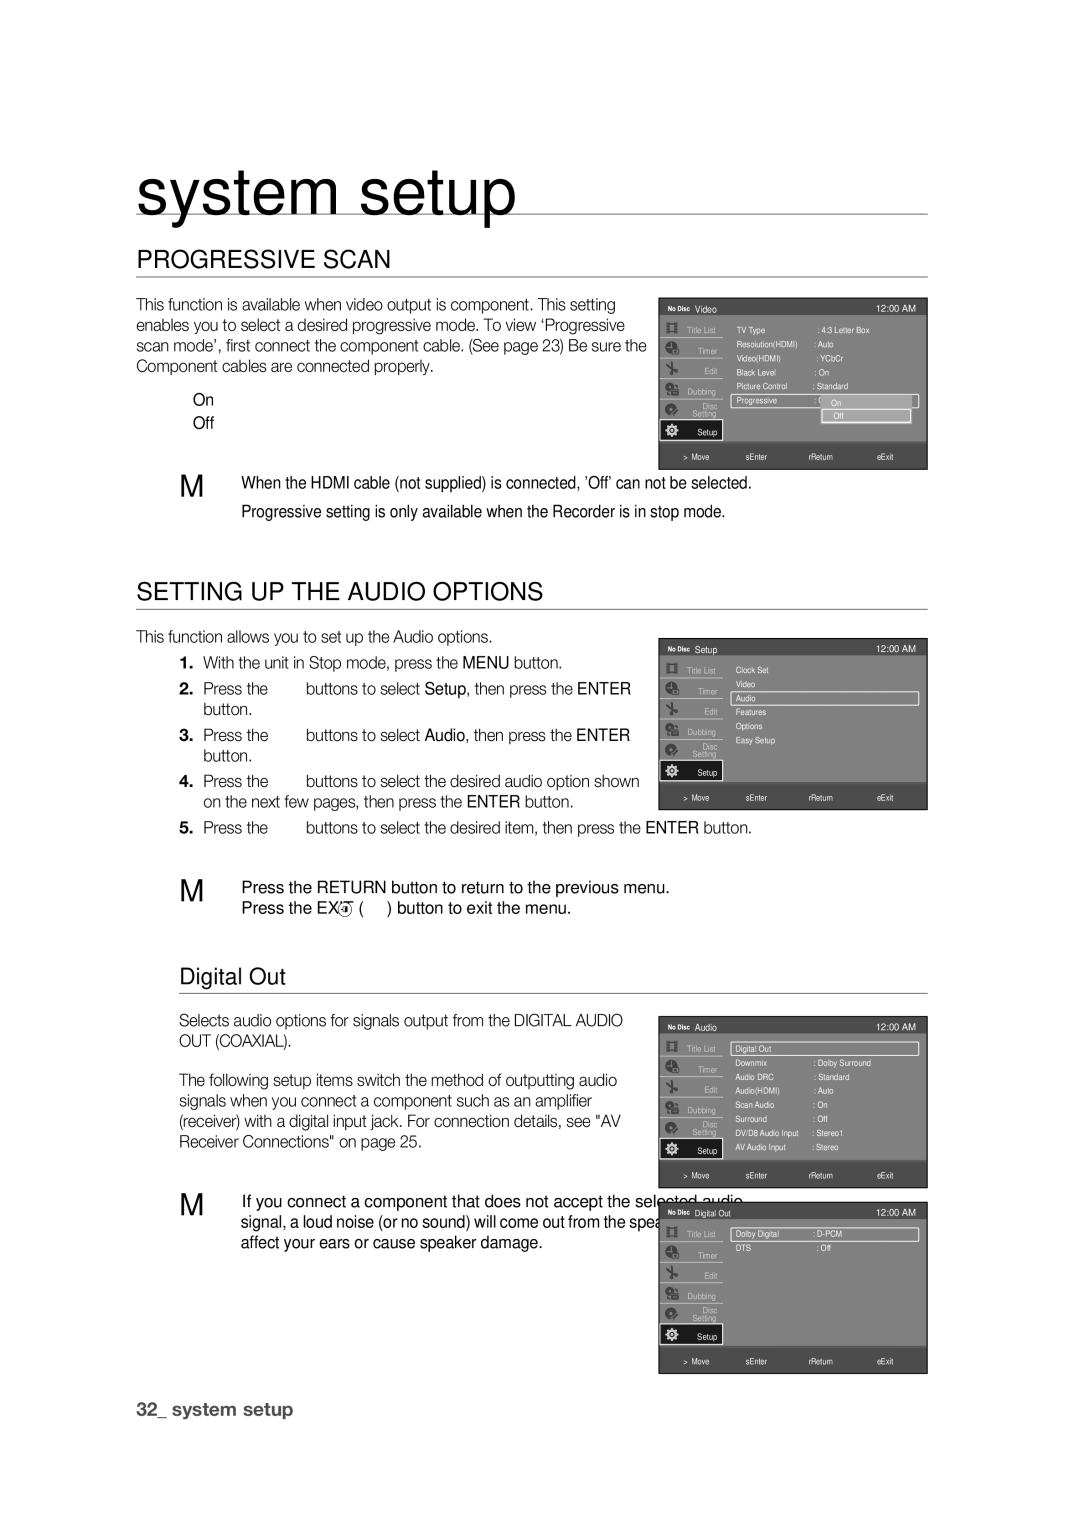
This function is available when video output is component. This setting enables you to select a desired progressive mode. To view ‘Progressive scan mode’, fi rst connect the component cable. (See page 23) Be sure the Component cables are connected properly.
•On
•Off
M When the HDMI cable (not supplied) is connected, 'Off' can not be selected.
Progressive setting is only available when the Recorder is in stop mode.
Video |
|
| 12:00 AM |
Title List | TV Type | : 4:3 Letter Box |
|
Timer | Resoiution(HDMI) | : Auto |
|
Video(HDMI) | : YCbCr |
| |
|
| ||
Edit | Black Level | : On |
|
Dubbing | Picture Control | : Standard |
|
Progressive | : OffOn |
| |
Disc |
| ||
Setting |
| ✔ Off |
|
Setup |
|
|
|
> Move | sEnter | rReturn | eExit |
SETTING UP THE AUDIO OPTIONS |
|
|
|
|
|
| |
This function allows you to set up the Audio options. |
|
|
|
|
|
| |
|
| Setup |
|
| 12:00 AM | ||
1. | With the unit in Stop mode, press the MENU button. |
|
|
|
| ||
|
| Title List | Clock Set |
|
| ||
|
|
|
| ||||
2. | Press the ▲▼ buttons to select Setup, then press the ENTER |
|
| Timer | Video |
|
|
|
| Audio |
|
| |||
| button. |
|
| Edit |
|
| |
|
|
| Features |
|
| ||
3. | Press the ▲▼ buttons to select Audio, then press the ENTER |
|
| Dubbing | Options |
|
|
|
| Easy Setup |
|
| |||
|
| Disc |
|
| |||
| button. |
|
|
|
|
| |
|
|
| Setting |
|
|
| |
4. | Press the ▲▼ buttons to select the desired audio option shown |
|
| Setup |
|
|
|
|
|
|
|
|
| ||
| on the next few pages, then press the ENTER button. |
|
| > Move | sEnter | rReturn | eExit |
|
|
|
|
|
|
| |
5.Press the ▲▼ buttons to select the desired item, then press the ENTER button.
M Press the RETURN button to return to the previous menu. Press the EXIT ( ![]() ) button to exit the menu.
) button to exit the menu.
Digital Out
Selects audio options for signals output from the DIGITAL AUDIO OUT (COAXIAL).
The following setup items switch the method of outputting audio signals when you connect a component such as an amplifi er (receiver) with a digital input jack. For connection details, see "AV Receiver Connections" on page 25.
M If you connect a component that does not accept the selected audio signal, a loud noise (or no sound) will come out from the speakers, and may affect your ears or cause speaker damage.
Audio |
|
| 12:00 AM |
Title List | Digital Out |
|
|
Timer | Downmix | : Dolby Surround | |
Audio DRC | : Standard |
| |
|
| ||
Edit | Audio(HDMI) | : Auto |
|
Dubbing | Scan Audio | : On |
|
Surround | : Off |
| |
Disc |
| ||
DV/D8 Audio Input | : Stereo1 |
| |
Setting |
| ||
Setup | AV Audio Input | : Stereo |
|
|
|
| |
> Move | sEnter | rReturn | eExit |
Digital Out |
|
| 12:00 AM |
Title List | Dolby Digital | : |
|
Timer | DTS | : Off |
|
|
|
| |
Edit |
|
|
|
Dubbing |
|
|
|
Disc |
|
|
|
Setting |
|
|
|
Setup |
|
|
|
> Move | sEnter | rReturn | eExit |
