Repairing the Printer software
Repair is required if your installation fails.
1From the Start menu, select Programs.
2Select Samsung ML-1710 Series and then Printer Maintenance.
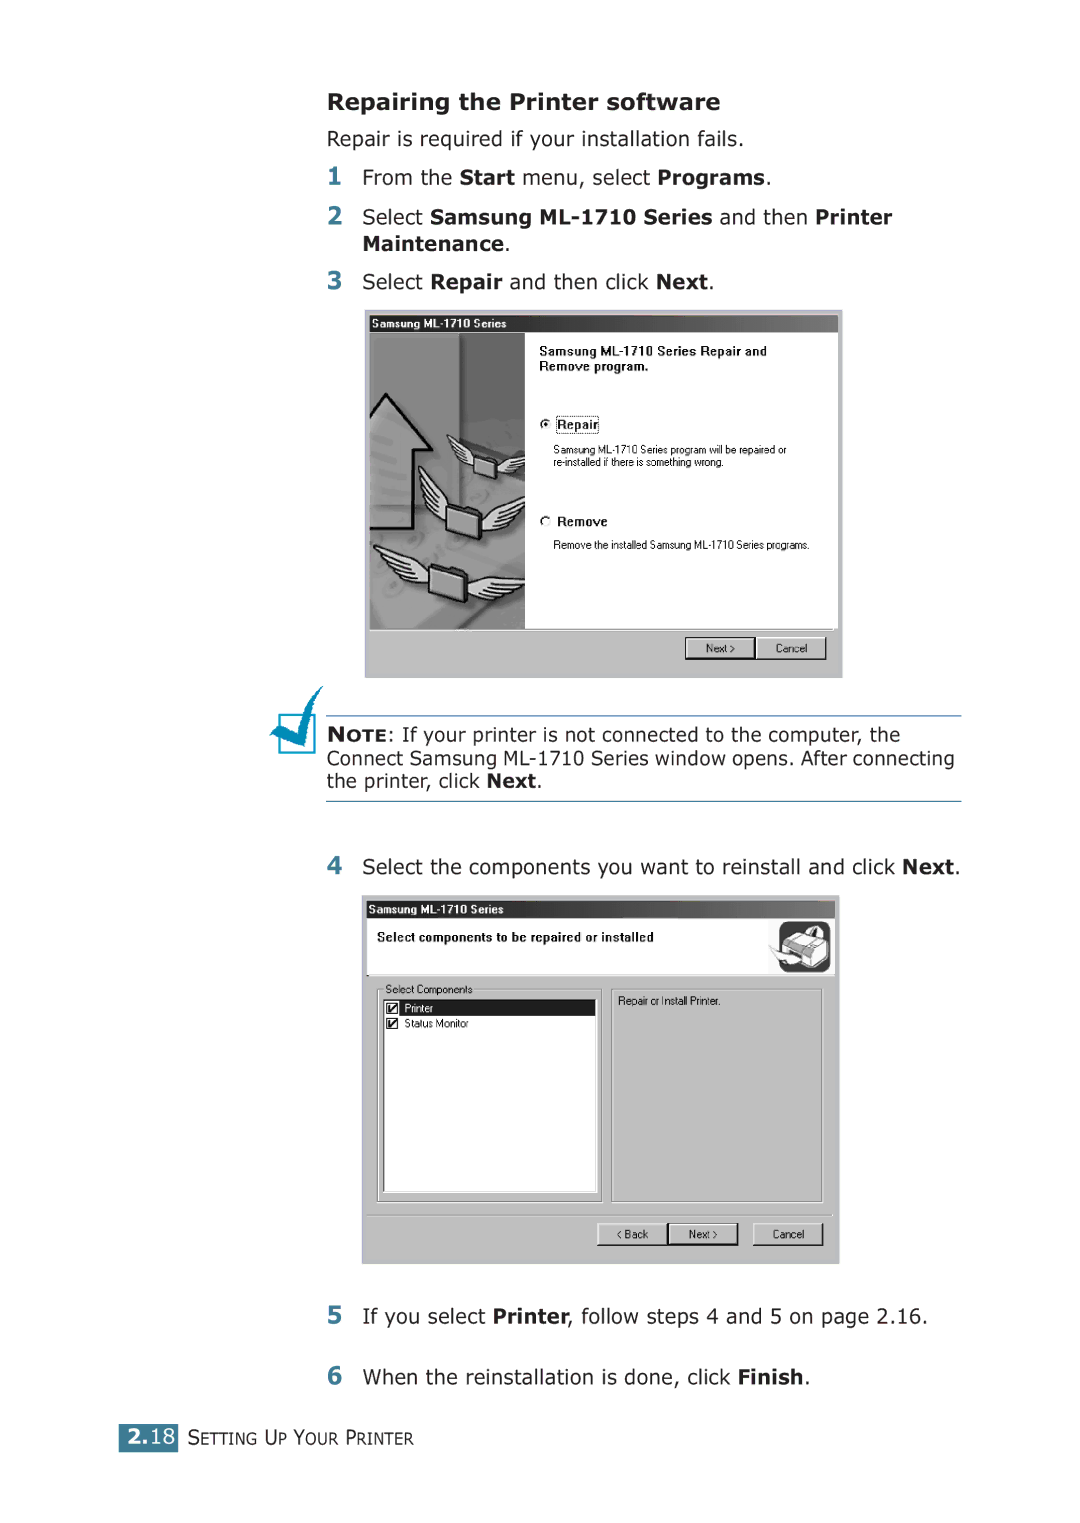
3Select Repair and then click Next.
NOTE: If your printer is not connected to the computer, the Connect Samsung
4Select the components you want to reinstall and click Next.
5If you select Printer, follow steps 4 and 5 on page 2.16.
6When the reinstallation is done, click Finish.