From the software application
1To change the print settings from your software application, access the printer properties. See page 4.2.
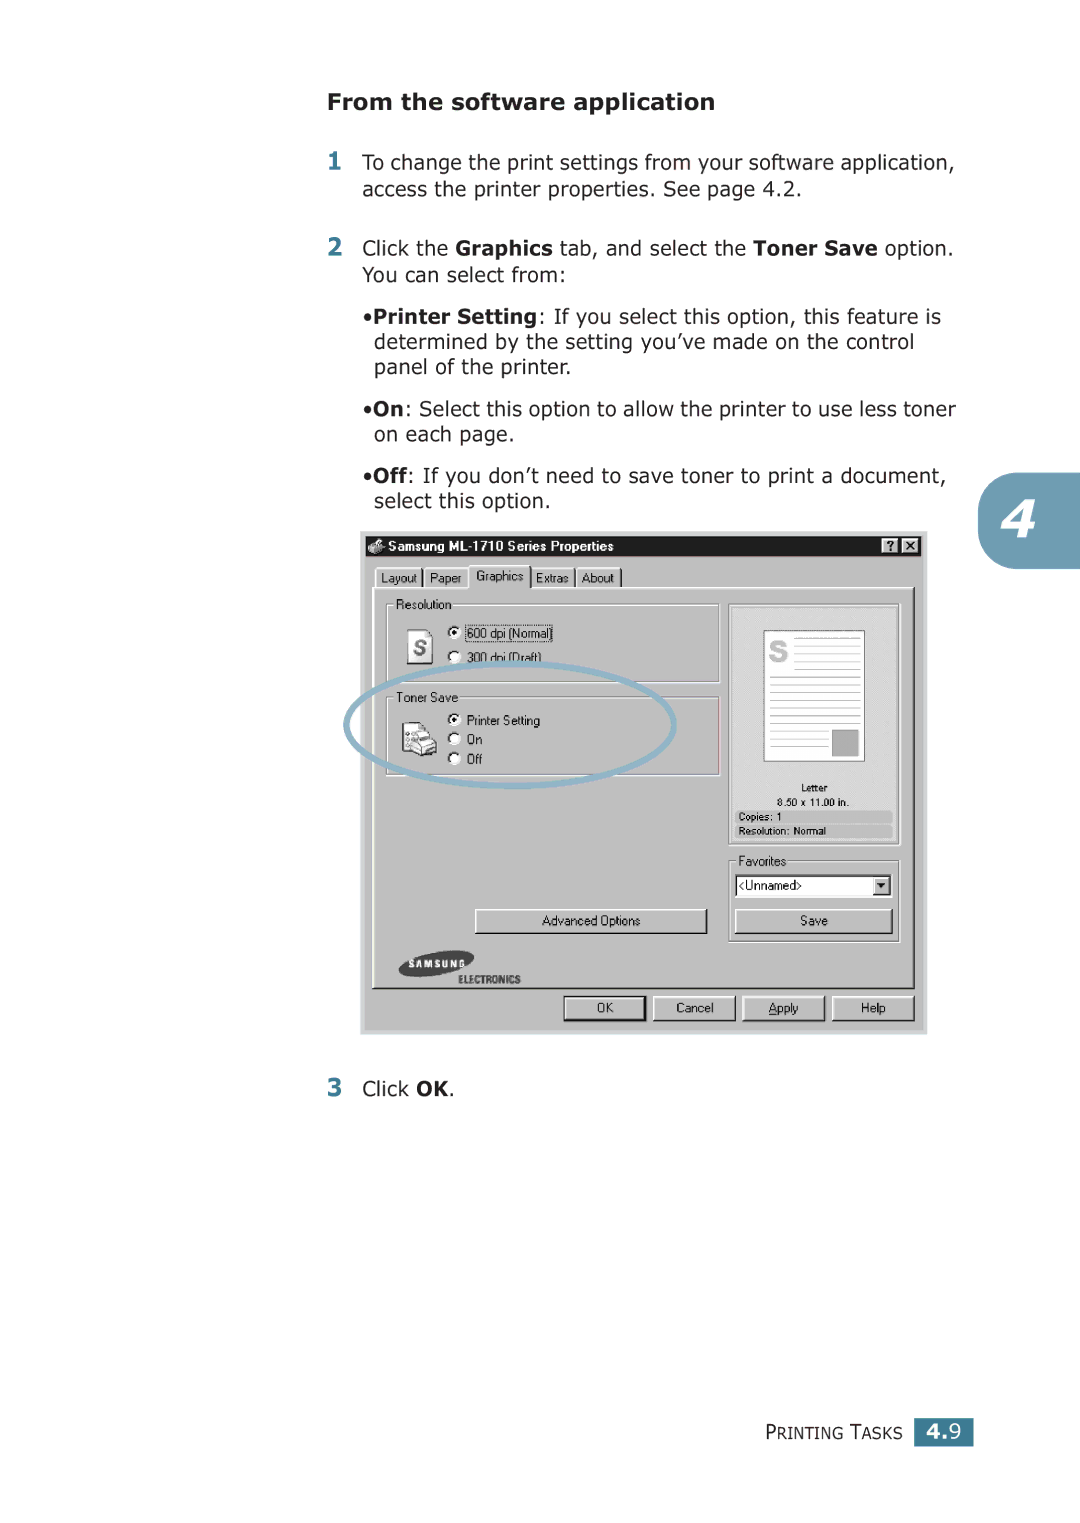
2Click the Graphics tab, and select the Toner Save option. You can select from:
•Printer Setting: If you select this option, this feature is determined by the setting you’ve made on the control panel of the printer.
•On: Select this option to allow the printer to use less toner on each page.
•Off: If you don’t need to save toner to print a document, | 4 |
select this option. | |
|
3Click OK.
PRINTING TASKS 4.9