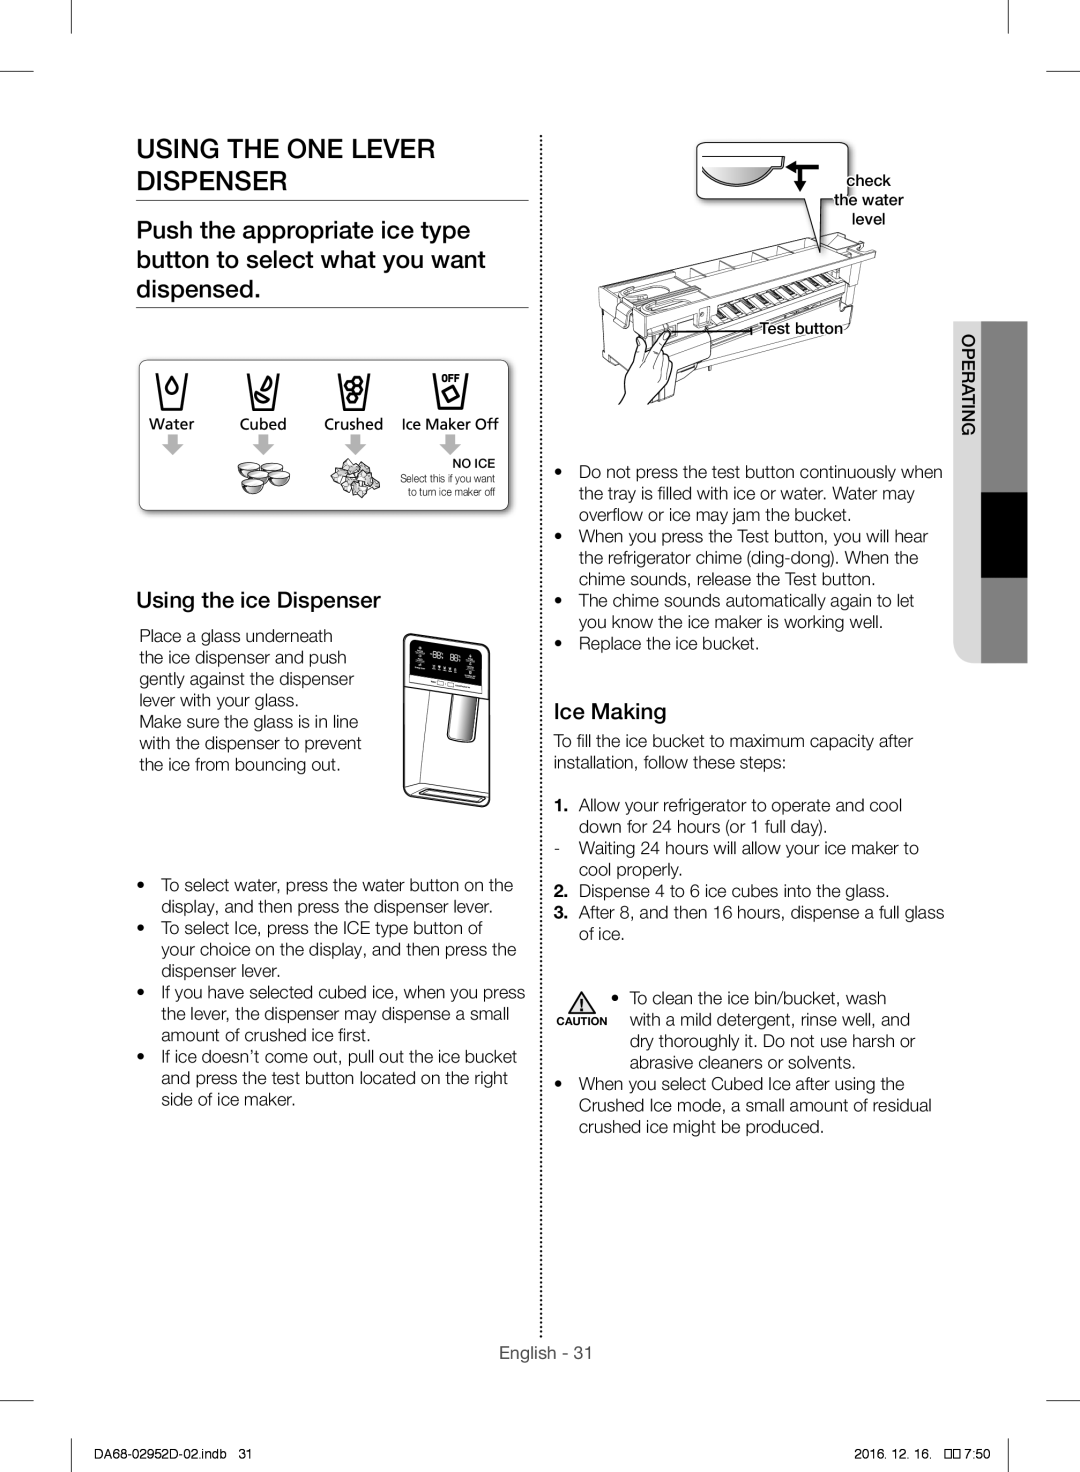
USING THE ONE LEVER DISPENSER
Push the appropriate ice type button to select what you want dispensed.
check
the water
level![]()
![]()
g
Test button | poeratin |
|
NO ICE
Select this if you want to turn ice maker off
Using the ice Dispenser
Place a glass underneath the ice dispenser and push gently against the dispenser lever with your glass.
Make sure the glass is in line with the dispenser to prevent the ice from bouncing out.
•To select water, press the water button on the display, and then press the dispenser lever.
•To select Ice, press the ICE type button of your choice on the display, and then press the dispenser lever.
•If you have selected cubed ice, when you press the lever, the dispenser may dispense a small amount of crushed ice first.
•If ice doesn’t come out, pull out the ice bucket and press the test button located on the right side of ice maker.
•Do not press the test button continuously when
the tray is filled | with ice or | water. Water may |
overflow or ice | may jam the | bucket. |
•When you press the Test button, you will hear the refrigerator chime
•The chime sounds automatically again to let you know the ice maker is working well.
•Replace the ice bucket.
Ice Making
To fill the ice bucket to maximum capacity after installation, follow these steps:
1.Allow your refrigerator to operate and cool down for 24 hours (or 1 full day).
-Waiting 24 hours will allow your ice maker to cool properly.
2.Dispense 4 to 6 ice cubes into the glass.
3.After 8, and then 16 hours, dispense a full glass of ice.
•To clean the ice bin/bucket, wash CAUTION with a mild detergent, rinse well, and
dry thoroughly it. Do not use harsh or abrasive cleaners or solvents.
• When you select Cubed Ice after using the Crushed Ice mode, a small amount of residual crushed ice might be produced.
English - 31
2016. 12. 16. |
��![]()
![]()
![]() 7:50
7:50
