Manuals
/
Sanyo
/
Computer Equipment
/
Network Card
Sanyo
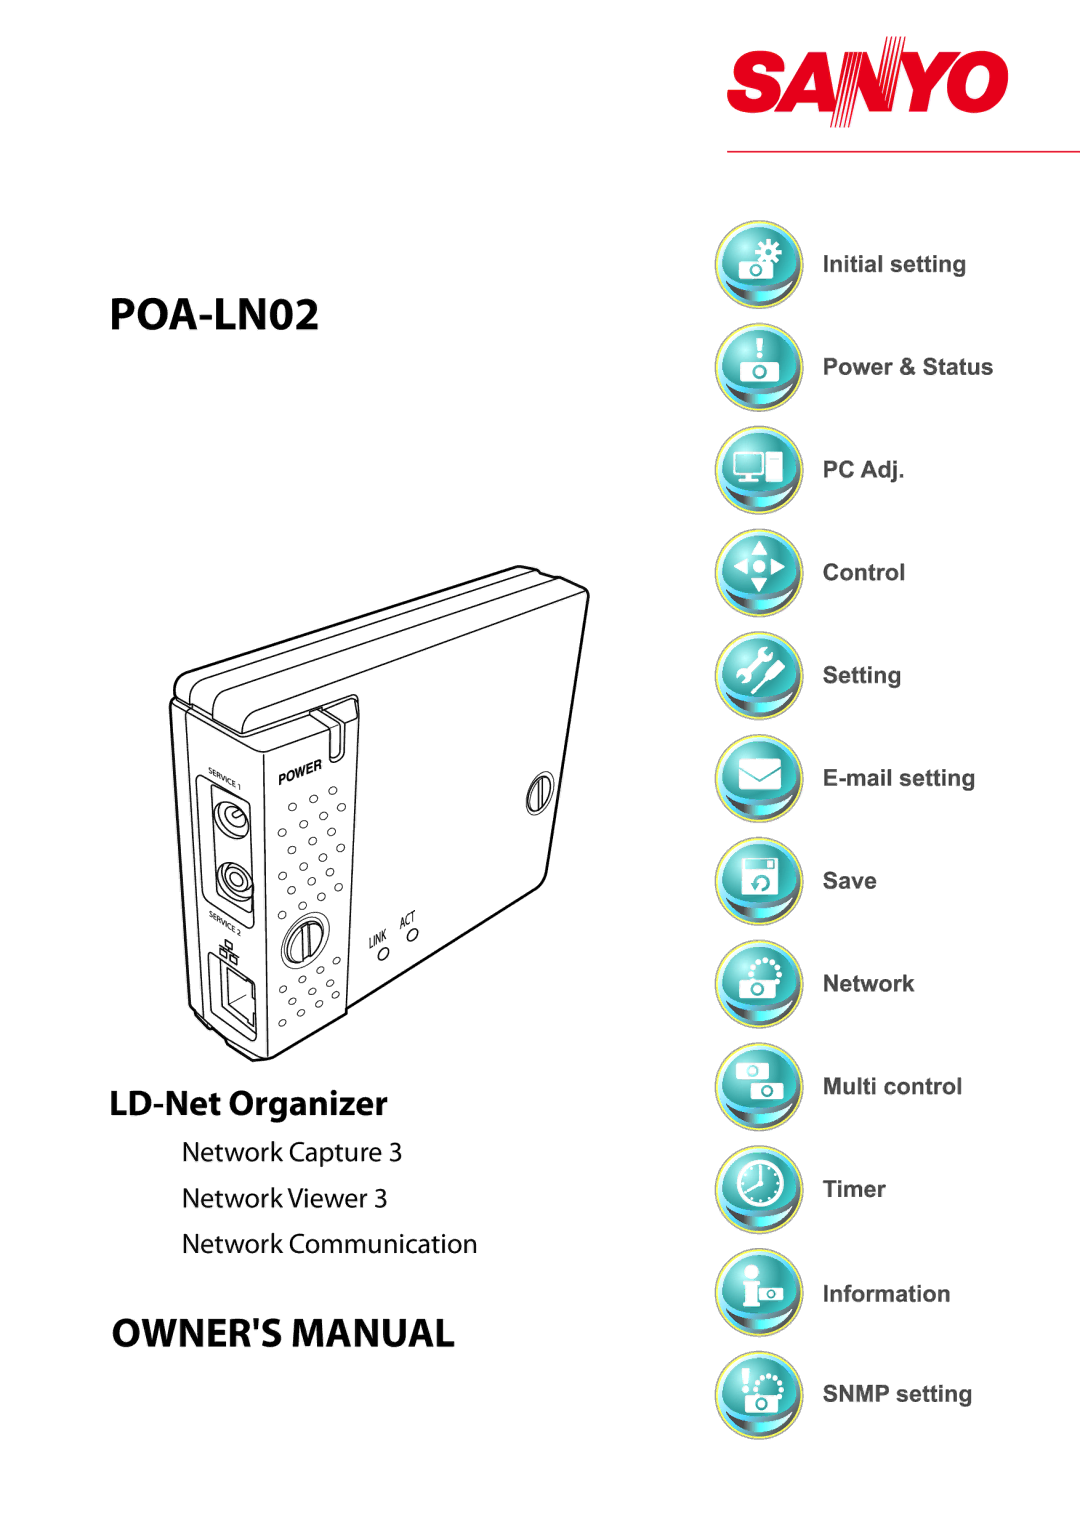
POA-LN02
owner manual
LD-Net Organizer
Models:
POA-LN02
1
1
116
116
Download
116 pages
60.29 Kb
1
2
3
4
5
6
7
8
Specs
Install
Error messages
When the signal is interrupted
Error information
Timer setting
Network configuration
Quick Setup Guide
Commands on the task bar
Pin modular connector RJ-45
Page 1
Image 1
POA-LN02
LD-Net
Organizer
Network Capture 3
Network Viewer 3
Network Communication
OWNER'S MANUAL
Page 1
Page 2
Page 1
Image 1
Page 1
Page 2
Contents
LD-Net Organizer
POA-LN02
Federal Communication Commission Notice
Compliance
Model Numbers POA-LN02 Trade Name Sanyo Responsible party
Address
Compliance and Caution
Contents
Appendix
Network Viewer
Page
Chapter
Features
Web Management function p.45
Multi-control function p.59
Operating environment of LD-Net Organizer
Before use
Quick Setup Guide
Package contains
Network unit
Use of this manual
Expression/Abbreviation
Trademarks
Preparation
Installation
Installation and network configuration p.18-25
Flow of installation
Installation of the software p.26-28
Set up is complete
Name and function of each part
Mounting
Installation and network configuration
Installation and network configuration
Connection of LAN cable
Procedure of Connecting the monitor to the network
Network configuration
Configure the network with computer
Default network configuration is set as follows
Configure the network with the computer
As follows and restart the computer
Completing of installation
Configure the network of computer
Network PIN code setting
Network Viewer & Capture 3 installation
Installing the software
Set the supplied Network Viewer & Capture
Following 3 software are installed on your computer
Installed software
Network Capture
Network Viewer 3 File Converter
Installed software and places
File Converter 2 Installation
Basic Setting and Operation
Select a display mode and login
Login the setting page of the monitor
Enter the IP address
Entering User Name must be user and it can not be changed
Main setting page in the Standard Mode display
Display of main setting
Main setting page in the Light Mode display
How to use the setting
Example of the Setting
Set button
Text box setting
Type of the setting pallet
Pull-down menu setting
Radio button setting
Use of Battery
Initial setting
Description
Initial setting
Auto setting
Date and time setting
Manual setting
Sets IP address of the monitor
Network configuration
Setting Smtp server and administrator address
Mail setting
Registering and deleting E-mail addresses
Is turned off except Power/Fan fail, High Temp, Power save
Option selection for sending alert mail
Addresses are listed as the figure on the right
Examples Type and contents of alert mail
When power save function turns Monitor off
When panel usage time reaches hours
When the signal is interrupted
Enter user name of the monitor etc. optional
Snmp setting
Enter place of the monitor optional
Community
Trap
Check and delete the trap address
Item Description
Up to 10 trap addresses can be registered
Trap option
Trap option setting
Controlling the Monitor
Description Monitor status
Power control and status check
Power control and status check
Selects signal source of the input
Selects input mode of the monitor
Controls
Input
This function is to adjust the displayed picture image
Picture adjustment
Sound
Adjusts the sound volume
Suppresses the sound. ON, OFF
PC adjustment
Switches the screen mode. Full, Zoom169
Setting up the monitor
There may not be available mode depending on
Input mode
This function is not effective for the settings
Sets remote control inhibition mode. ON, OFF
Mail settings, etc
Sets the image to freeze mode.ON, OFF
Adjusts the vertical picture for smooth image
Sets tile mode active. Off, On
Sets to divide the horizontal picture
Sets to divide the vertical picture
How to set the timer
Timer setting
Set a day or date
Change the event mode
Check the timer events
Set an execute time
Select an event action
Time
Items Description
Monitor information
Multi-control
Controlling and setting the multi-monitors
Example of multi control
Start/stop the multi control
Multi control setting
Confirmation of registered monitor
Register the monitor
Mode Operation
Change the mode of the registered monitor
Status
Indications
Setting all together
Check & Change page in the light mode
Controlling all together
Viewer auto setting all together
Network Capture
About Network Capture function
Commands on the task bar
Launching the Network Capture
Real Time Capture p.68
Click Network Capture 3 icon on the task bar
Parameter set up
About Image Quality
Registering the computers
Using the Real Time Capture
Up to 30 computers can be registered
Control by the computer
Select input mode to Network previously
Start capturing of the PC1 from the PC5
Control by the web browser
Using the Network Communication
Settings before using the Network Communication
Menu tree
Description of capture editing window
Command Tool
Command Tool Save
Tool bar button names
Bar of Sub PC
How to use the Network Communication
Edit capture image
Setting of the drawing tool attribute
Drawing figures
Erase drawn object
Drawing letter
Letter attribute setting
Preparation
Network Communication operation and change of state
On the Communication
Releases the editing authority forcibly
Executing the forcing mode
Quits the communication forcibly
Error messages
Network Viewer
Creating the available data Network Viewer
How to use the Network Viewer 3 File Converter
Launch and quit the File Converter
File Converter 1 window
Create the available data
Update Updates contents of the preview window
Menu Tree
Menu Sub Menu Description
Network Viewer
Conversion mode
Setting of output destination and conversion mode
Output destination
Folder
Select a folder and click Save button
Open a document with the individual software
Creating a program file Program Editor
Procedure of making program
Enter the FTP server name or IP address
Specify the root directory of the FTP server. Normally use
Deletes the folder path from the folder list
Displays the folder selection window
Moves up the selected folder path
Moves down the selected folder path
Setting up the display order and time of the images
Blue frame
Image frame on the index window
Red frame
Shows that the image in the folder is unchanged
Example of the created program selection
This function is not available in the light mode
Limitation of the Program file
Used when using the network capture function
Using the Network Viewer function
Condition to use the Network Viewer function
Setup the setting page 2 of Selection display setting
Setup the setting page 1 of Image display setting
Switches to the thumbnail mode
Switches to the List mode
Steps down the startup image
Auto display function
Auto Display setting and control
Error type Description
Error information
Appendix
Peer-To-Peer connection
Examples of connection
To another network
Entrance hall
Gateway Router installed in the network
Active Script/JavaScript enable
Web browser setting
Flash Player enable
Proxy setting
Examples OS/Browsers
ActiveX controls and plug-ins setting
Windows XP Professional
101
Using proxy server
Flash Player Add-on setting
Not using proxy server
102
Netscape Navigator
103
104
105
Product specification
Pin modular connector RJ-45
Port specification
106
107
Why doesn’t the setting page appear in my web browser?
Following causes are possible. Please check them
108
How can I restrict access from the computer
How many monitors can I control with multi-control function?
109
You can register up to 10 addresses
110
111
Why am I not receiving E-mail alert messages?
112
Can I update the firmware of the network unit
113
What is the MAC address assigned to the network unit?
What are the rules for IP address assignment?
MAC address is indicated on the case back as the below
114
Why doesn’t the computer screen appear on the monitor?
Images from the file server don’t appear on the monitor?
Cannot make a new program file
115
Microsoft power point format .ppt
What kind of image formats can I convert?
Bitmap format .bmp Jpeg format .jpeg .jpg
Ifkm
Top
Page
Image
Contents