8 | E D I T | |
This Chapter will show you how to use the | ||
and the |
Follow these steps to use the
A U
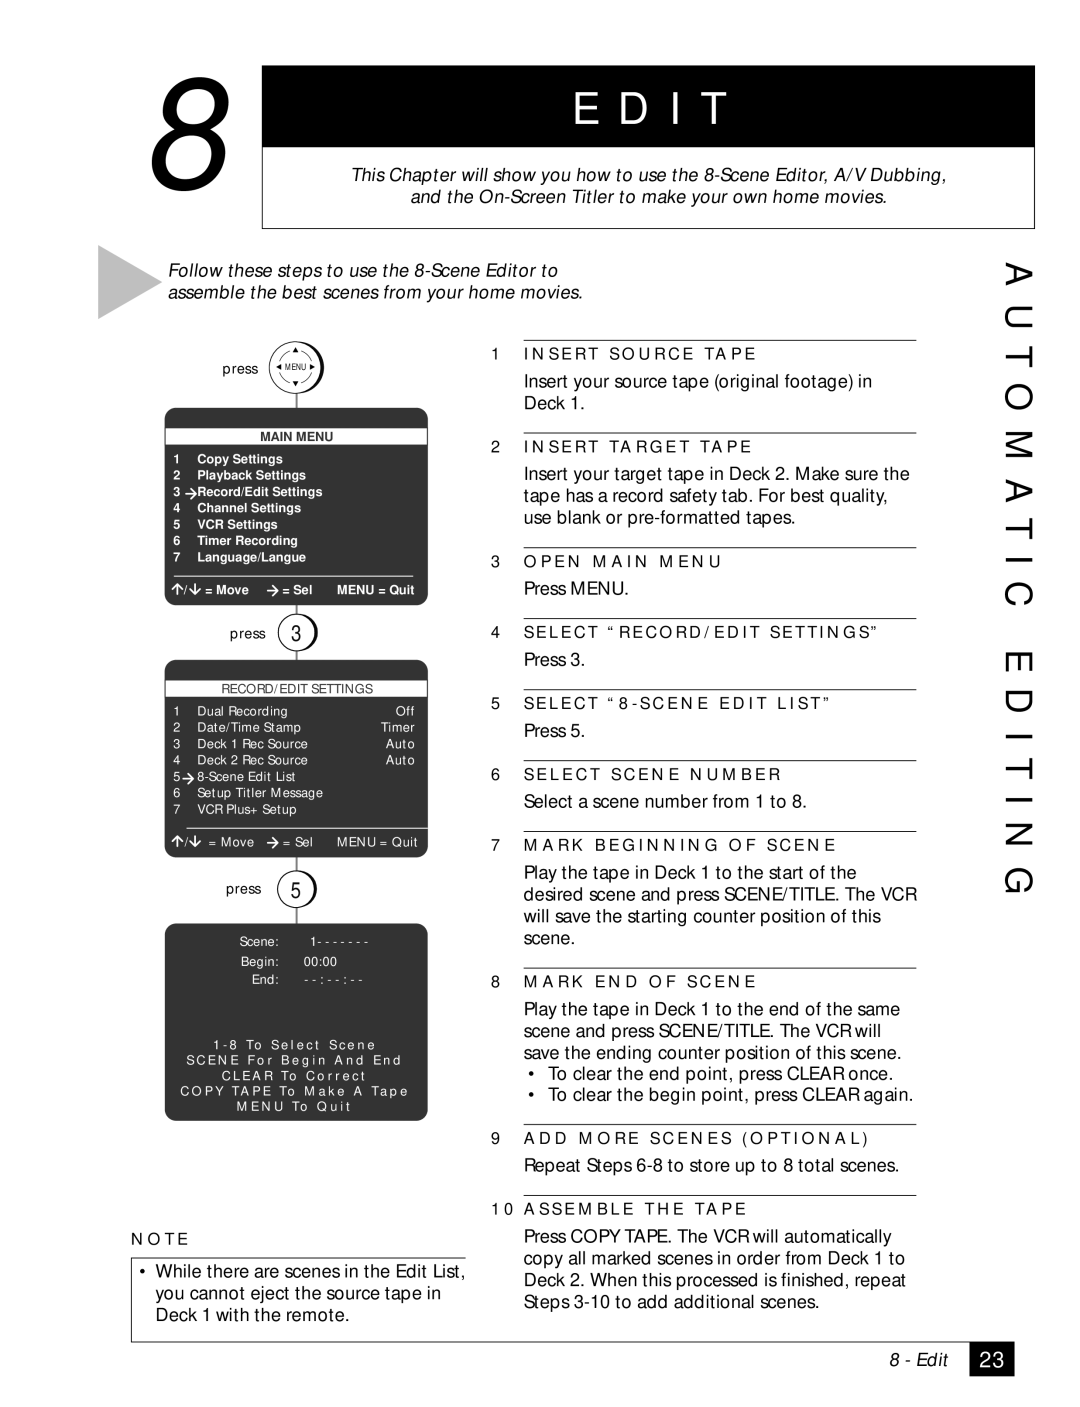
press ![]() MENU
MENU ![]()
MAIN MENU
1Copy Settings
2Playback Settings
3Record/Edit Settings
4Channel Settings
5VCR Settings
6Timer Recording
7Language/Langue
/ | = Move | = Sel | MENU = Quit |
| press | 3 |
|
|
| ||
| RECORD/EDIT SETTINGS | ||
1 | Dual Recording | Off | |
2 | Date/Time Stamp | Timer | |
3 | Deck 1 Rec Source | Auto | |
4 | Deck 2 Rec Source | Auto | |
5
6Setup Titler Message
7VCR Plus+ Setup
/ = Move | = Sel MENU = Quit |
press | 5 |
Scene: | 1- - - - - - - |
Begin: | 00:00 |
End: | - |
1 - 8 To S e l e c t S c e n e
S C E N E F o r B e g i n A n d E n d
C L E A R To C o r r e c t
C O P Y TA P E To M a k e A Ta p e
M E N U To Q u i t
1I N S E R T S O U R C E TA P E
Insert your source tape (original footage) in Deck 1.
2I N S E R T TA R G E T TA P E
Insert your target tape in Deck 2. Make sure the tape has a record safety tab. For best quality, use blank or
3O P E N M A I N M E N U
Press MENU.
4S E L E C T “ R E C O R D / E D I T S E T T I N G S ”
Press 3.
5 S E L E C T “ 8 - S C E N E E D I T L I S T ”
Press 5.
6S E L E C T S C E N E N U M B E R
Select a scene number from 1 to 8.
7M A R K B E G I N N I N G O F S C E N E
Play the tape in Deck 1 to the start of the desired scene and press SCENE/TITLE. The VCR will save the starting counter position of this scene.
8M A R K E N D O F S C E N E
Play the tape in Deck 1 to the end of the same scene and press SCENE/TITLE. The VCR will save the ending counter position of this scene.
•To clear the end point, press CLEAR once.
•To clear the begin point, press CLEAR again.
9A D D M O R E S C E N E S ( O P T I O N A L )
T O M A T I C E D I T I N G
N O T E
•While there are scenes in the Edit List, you cannot eject the source tape in Deck 1 with the remote.
Repeat Steps
1 0 A S S E M B L E T H E TA P E
Press COPY TAPE. The VCR will automatically copy all marked scenes in order from Deck 1 to Deck 2. When this processed is finished, repeat Steps
8 - Edit
23