"Watermark" Menu Settings (part 2)
Printer Properties
Text
To create your own Watermark, type in the desired text overwriting the original characters, and then click the "Add" button.
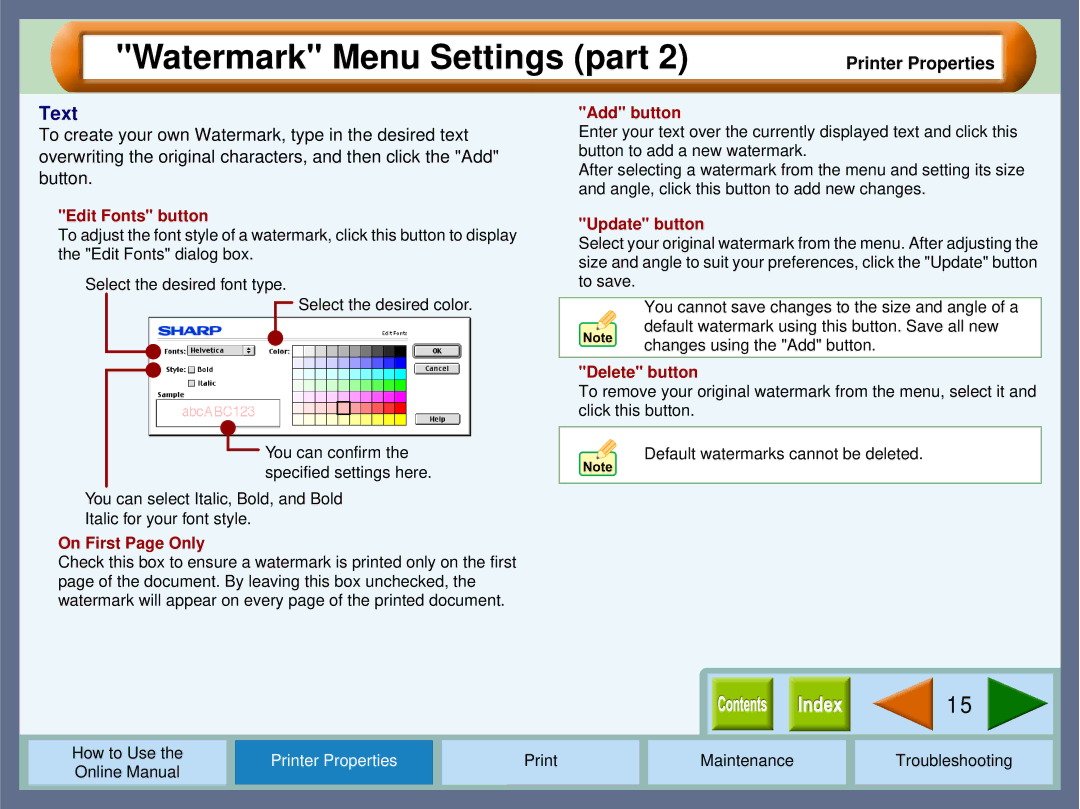
"Edit Fonts" button
To adjust the font style of a watermark, click this button to display the "Edit Fonts" dialog box.
Select the desired font type.
Select the desired color.
You can confirm the specified settings here.
You can select Italic, Bold, and Bold
Italic for your font style.
On First Page Only
Check this box to ensure a watermark is printed only on the first page of the document. By leaving this box unchecked, the watermark will appear on every page of the printed document.
"Add" button
Enter your text over the currently displayed text and click this button to add a new watermark.
After selecting a watermark from the menu and setting its size and angle, click this button to add new changes.
"Update" button
Select your original watermark from the menu. After adjusting the size and angle to suit your preferences, click the "Update" button to save.
You cannot save changes to the size and angle of a default watermark using this button. Save all new changes using the "Add" button.
"Delete" button
To remove your original watermark from the menu, select it and click this button.
Default watermarks cannot be deleted.
|
|
|
|
|
|
|
| 15 |
|
|
|
|
|
|
|
|
|
|
|
|
|
|
|
|
|
|
|
|
|
How to Use the |
|
| Printer Properties |
| Maintenance | Troubleshooting | |||
Online Manual |
|
|
| ||||||
|
|
|
|
|
|
|
|
| |
|
|
|
|
|
|
|
|
|
|
