SET-UP
GETTING STARTED
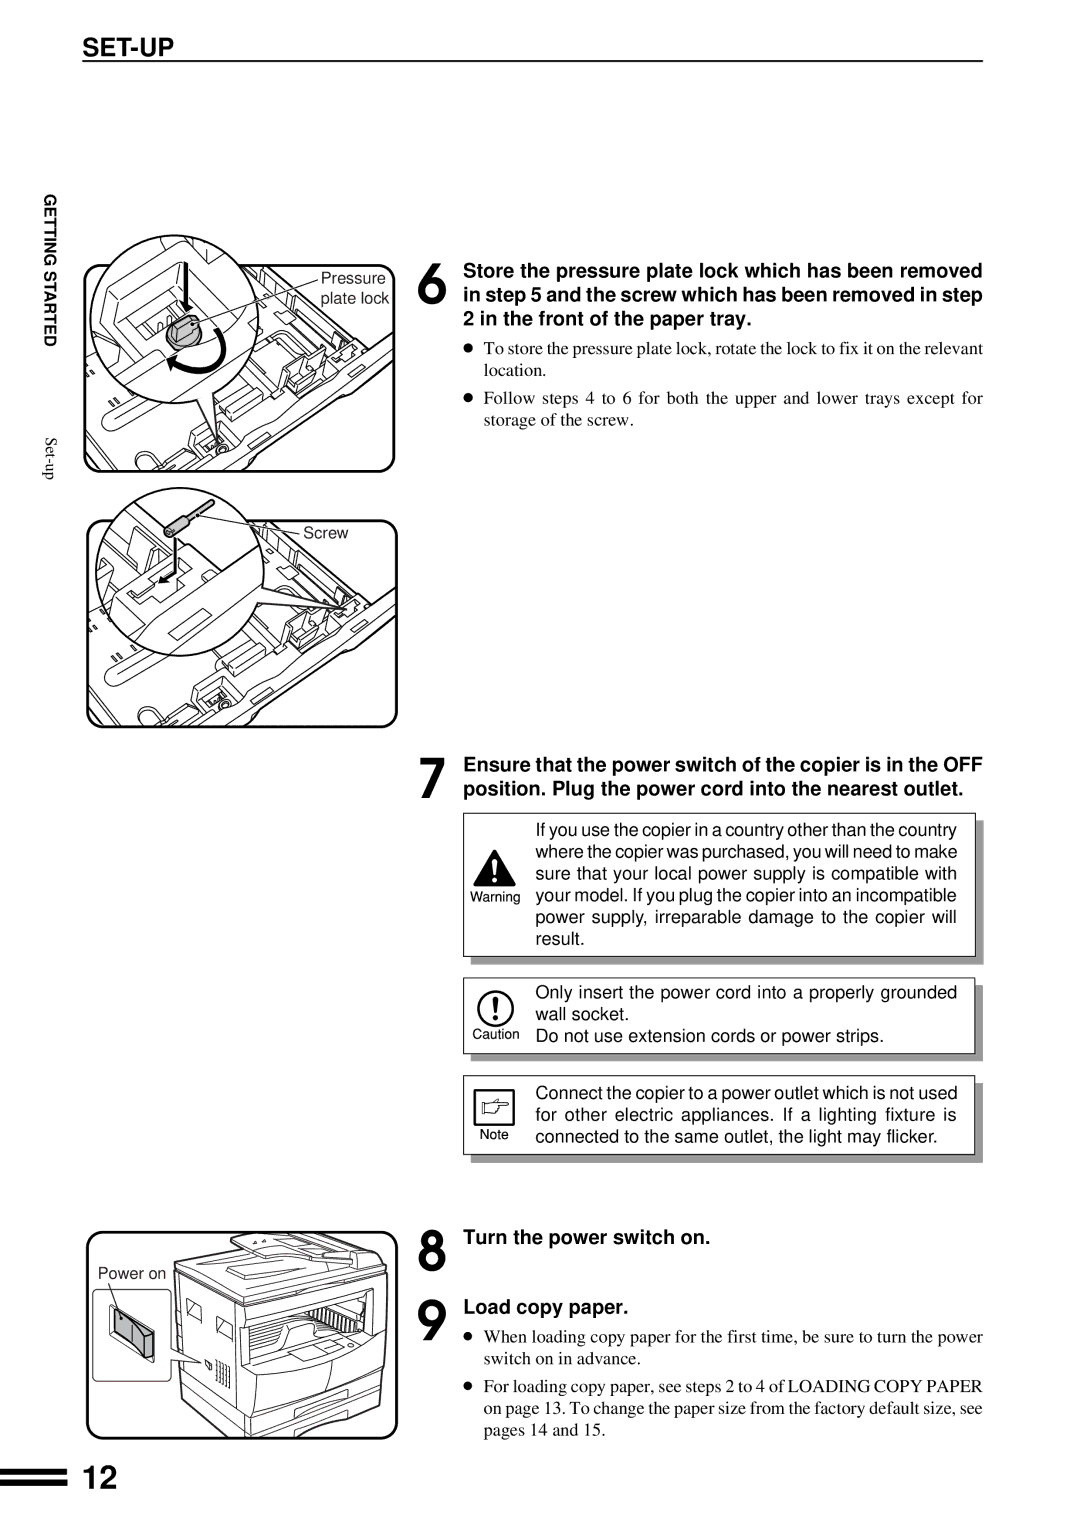
Pressure | Store the pressure plate lock which has been removed | |
6 in step 5 and the screw which has been removed in step | ||
plate lock | ||
| 2 in the front of the paper tray. |
● To store the pressure plate lock, rotate the lock to fix it on the relevant location.
●Follow steps 4 to 6 for both the upper and lower trays except for storage of the screw.
![]()
![]() Screw
Screw
Ensure that the power switch of the copier is in the OFF
7 position. Plug the power cord into the nearest outlet.
Power on | 8 |
| 9 |
If you use the copier in a country other than the country where the copier was purchased, you will need to make sure that your local power supply is compatible with your model. If you plug the copier into an incompatible power supply, irreparable damage to the copier will result.
Only insert the power cord into a properly grounded wall socket.
Do not use extension cords or power strips.
Connect the copier to a power outlet which is not used for other electric appliances. If a lighting fixture is connected to the same outlet, the light may flicker.
Turn the power switch on.
Load copy paper.
●When loading copy paper for the first time, be sure to turn the power switch on in advance.
●For loading copy paper, see steps 2 to 4 of LOADING COPY PAPER on page 13. To change the paper size from the factory default size, see pages 14 and 15.
12