OperationBasic
Adjusting the Computer Images (RGB menu only)
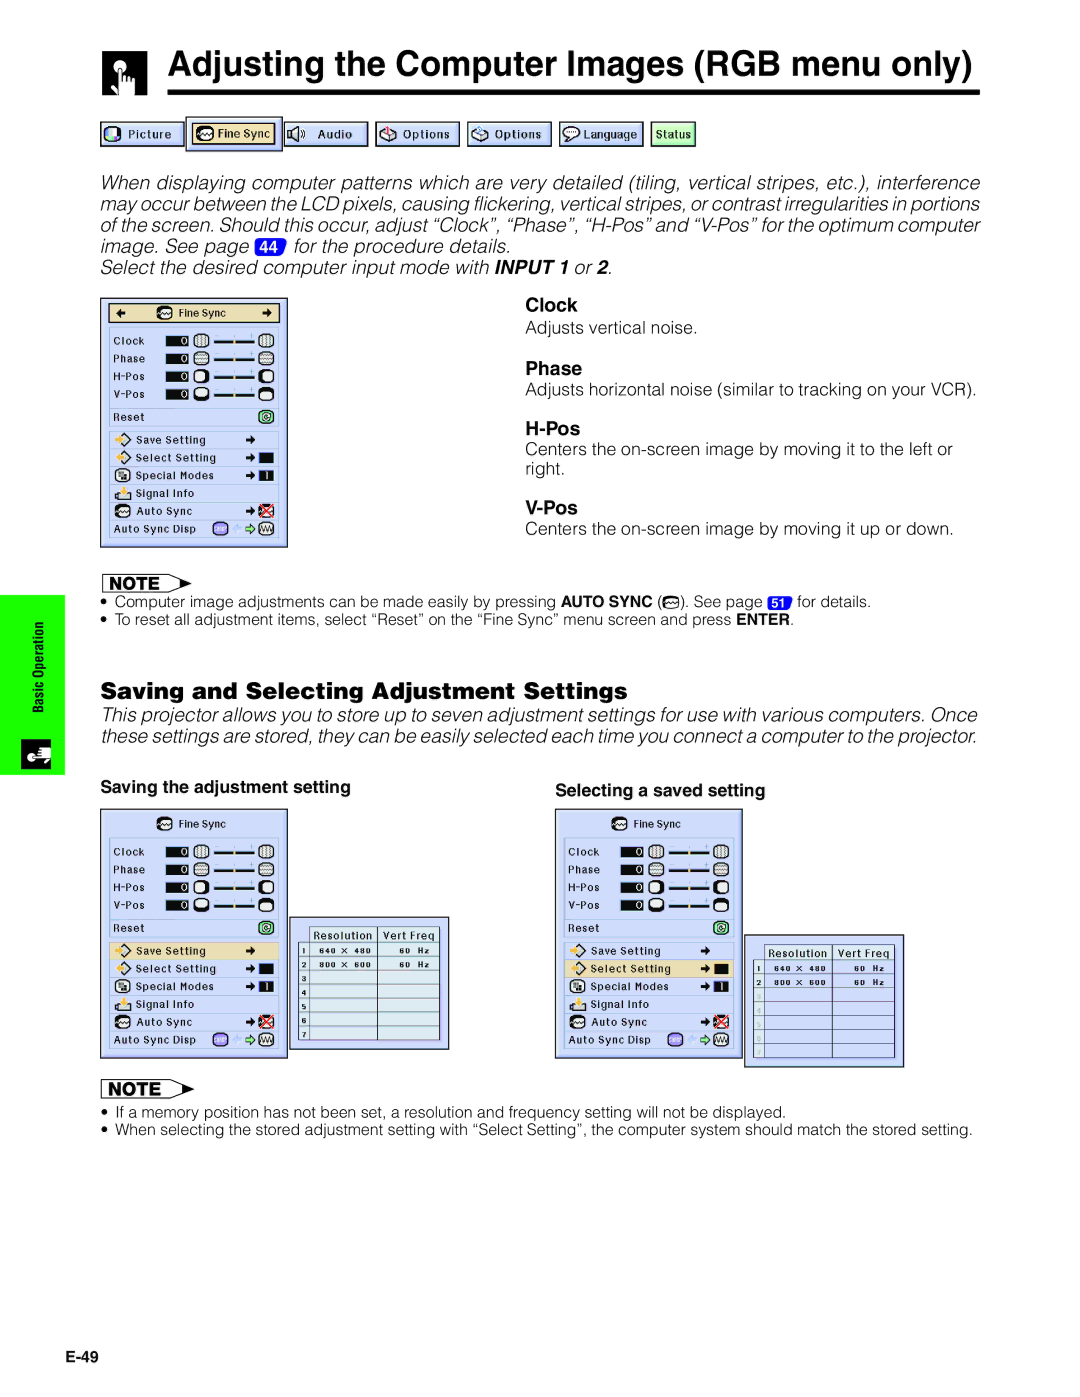
When displaying computer patterns which are very detailed (tiling, vertical stripes, etc.), interference may occur between the LCD pixels, causing flickering, vertical stripes, or contrast irregularities in portions of the screen. Should this occur, adjust “Clock”, “Phase”,
Select the desired computer input mode with INPUT 1 or 2.
Clock
Adjusts vertical noise.
Phase
Adjusts horizontal noise (similar to tracking on your VCR).
H-Pos
Centers the
Centers the on-screen image by moving it up or down.
•Computer image adjustments can be made easily by pressing AUTO SYNC (![]() ). See page 51 for details.
). See page 51 for details.
•To reset all adjustment items, select “Reset” on the “Fine Sync” menu screen and press ENTER.
Saving and Selecting Adjustment Settings
This projector allows you to store up to seven adjustment settings for use with various computers. Once these settings are stored, they can be easily selected each time you connect a computer to the projector.
Saving the adjustment setting | Selecting a saved setting |
•If a memory position has not been set, a resolution and frequency setting will not be displayed.
•When selecting the stored adjustment setting with “Select Setting”, the computer system should match the stored setting.