Image Projection
Rear Projection
Connections&
Setup
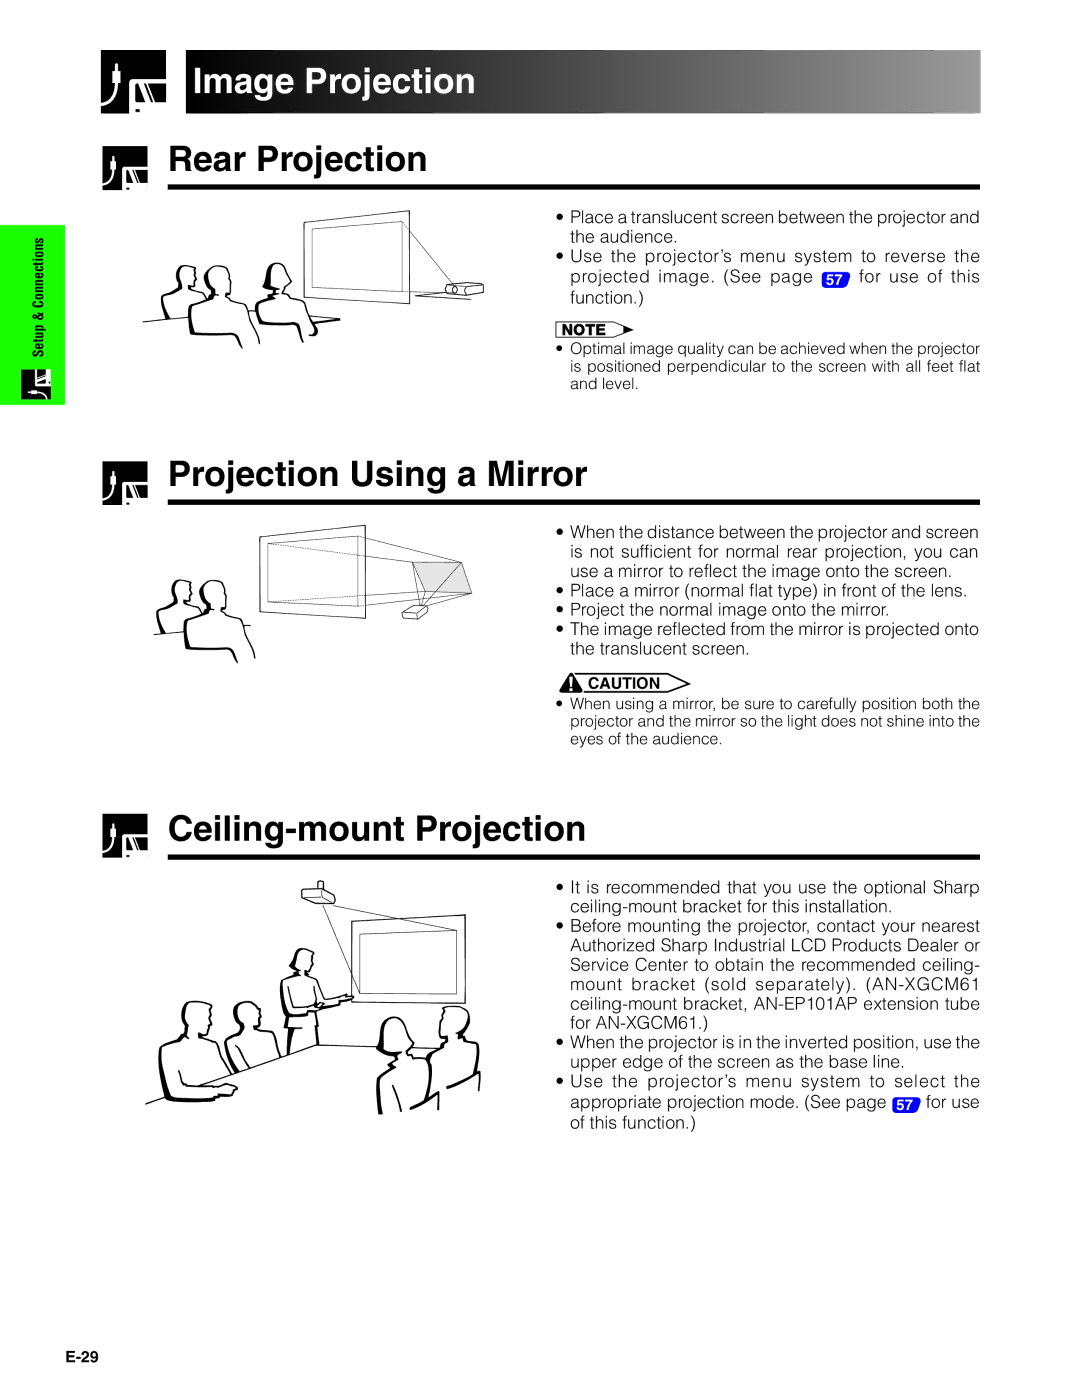
•Place a translucent screen between the projector and the audience.
•Use the projector’s menu system to reverse the projected image. (See page 57 for use of this function.)
•Optimal image quality can be achieved when the projector is positioned perpendicular to the screen with all feet flat and level.
Projection Using a Mirror
• When the distance between the projector and screen is not sufficient for normal rear projection, you can use a mirror to reflect the image onto the screen.
• Place a mirror (normal flat type) in front of the lens.
• Project the normal image onto the mirror.
• The image reflected from the mirror is projected onto the translucent screen.
![]() CAUTION
CAUTION
• When using a mirror, be sure to carefully position both the projector and the mirror so the light does not shine into the eyes of the audience.
Ceiling-mount Projection
• It is recommended that you use the optional Sharp
• Before mounting the projector, contact your nearest Authorized Sharp Industrial LCD Products Dealer or Service Center to obtain the recommended ceiling- mount bracket (sold separately).
• When the projector is in the inverted position, use the upper edge of the screen as the base line.
• Use the projector’s menu system to select the appropriate projection mode. (See page 57 for use of this function.)