XL-BD601PH specifications
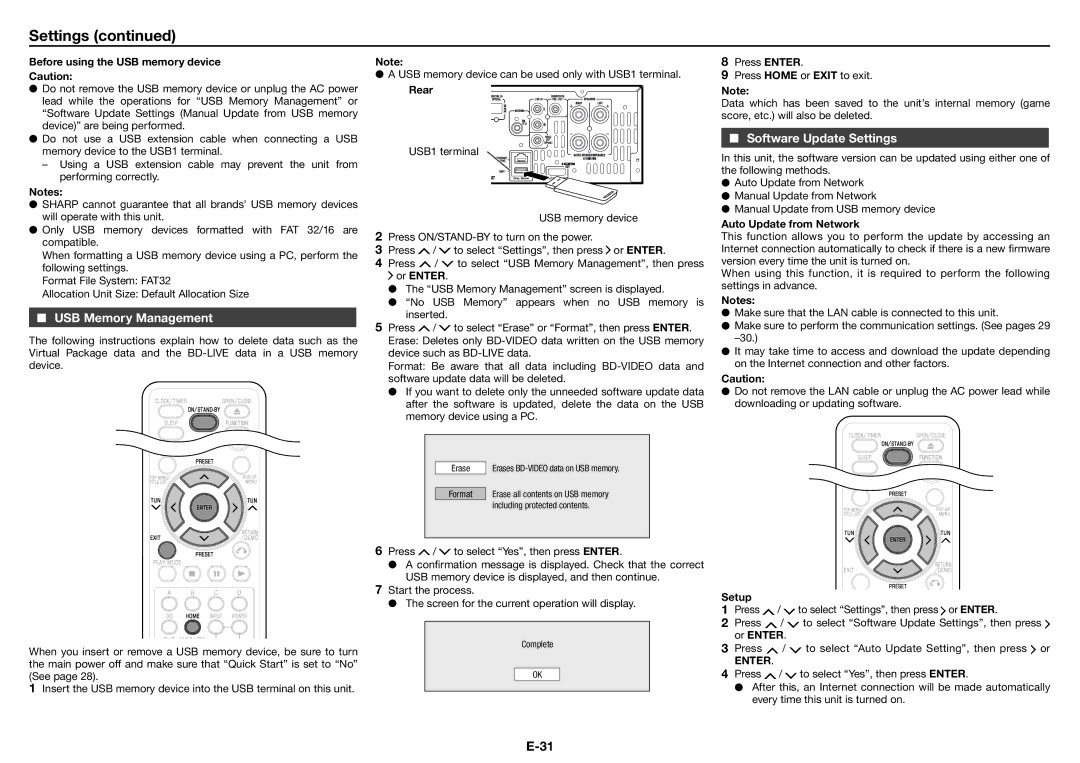
The Sharp XL-BD601PH is a sophisticated home audio system designed to deliver high-quality sound and a multitude of multimedia functionalities. As a versatile component of modern home entertainment, this model combines contemporary design with advanced technology, appealing to audiophiles and casual listeners alike.At the heart of the XL-BD601PH is its powerful audio output, capable of producing clear and dynamic sound across a range of frequencies. This system features an integrated digital amplifier which enhances audio fidelity and contributes to a rich listening experience. The speakers are engineered to deliver robust bass and crisp highs, ensuring that users can enjoy their favorite music, podcasts, or movies with immersive sound quality.
A standout feature of the XL-BD601PH is its Blu-ray Disc player, which supports full HD 1080p resolution. This allows users to enjoy their movie collection with remarkable clarity and detail. In addition to standard Blu-ray discs, the player is compatible with a variety of formats, including CDs, DVD-Video, and DVD-R/RW, making it a versatile choice for media playback. With built-in support for multiple audio formats, this system ensures compatibility with various types of media.
Connectivity options are abundant with the XL-BD601PH. Users can easily connect their devices via Bluetooth, enabling seamless streaming from smartphones and tablets. Additionally, the system is equipped with USB ports, allowing for direct playback from flash drives and external hard drives. An auxiliary input provides further connectivity for older devices, ensuring that the system remains accessible to a wide range of users.
The system's intuitive interface and remote control make navigation simple, enabling users to switch between various media sources and control playback with ease. Furthermore, the XL-BD601PH features a sleek design that complements any room decor, making it an attractive addition to turntables and home theaters alike.
In terms of energy efficiency, the XL-BD601PH is designed to minimize power consumption without sacrificing performance. This consideration for sustainability makes it an appealing choice for environmentally-conscious consumers.
Overall, the Sharp XL-BD601PH is a remarkable home audio solution that seamlessly blends advanced technology with user-friendly features, providing an exceptional entertainment experience in the comfort of one's home.

