Network and Service Configuration Settings
The service provider or network administrator who supplied this unit may have provided
Please locate the following before using the phone:
# | Item | Instructions |
1 | User Guide | This User Guide provides instructions on |
|
| functionality on the |
|
| User Guide is only available at |
|
| www.sipura.com/support |
2 | Quickstart Guide | The Quickstart Guide explains how to |
|
| and use the phone at a basic level. |
3 | Handset and | From the left side of the phone, please insert the |
| Cord | |
|
| handset into the holder on the left side of the |
|
| phone. |
4 | RJ45 Ethernet | On the rear of the phone, there is a port for an |
| Cable | RJ 45 Ethernet cable. Please plug the Ethernet |
|
| cable into this port. Plug the other end into and |
|
| available LAN switch port. |
5 | 5 Volt Power | On the rear of the phone there is a socket for the |
| Supply | 5 Volt power supply. Please plug the connector |
|
| into this socket on the phone and then into the |
|
| wall. Attach the wall interface clip connector |
|
| onto the power supply body. Slide the clip onto |
|
| the power supply until it clicks into place. Make |
|
| sure that it is secure before plugging it into the |
|
| wall socket. |
6 | Headset | A headset may be plugged into the right side of |
| connection | the phone. The phone works with 2.5mm |
|
| headset connectors. Headset not supplied. |
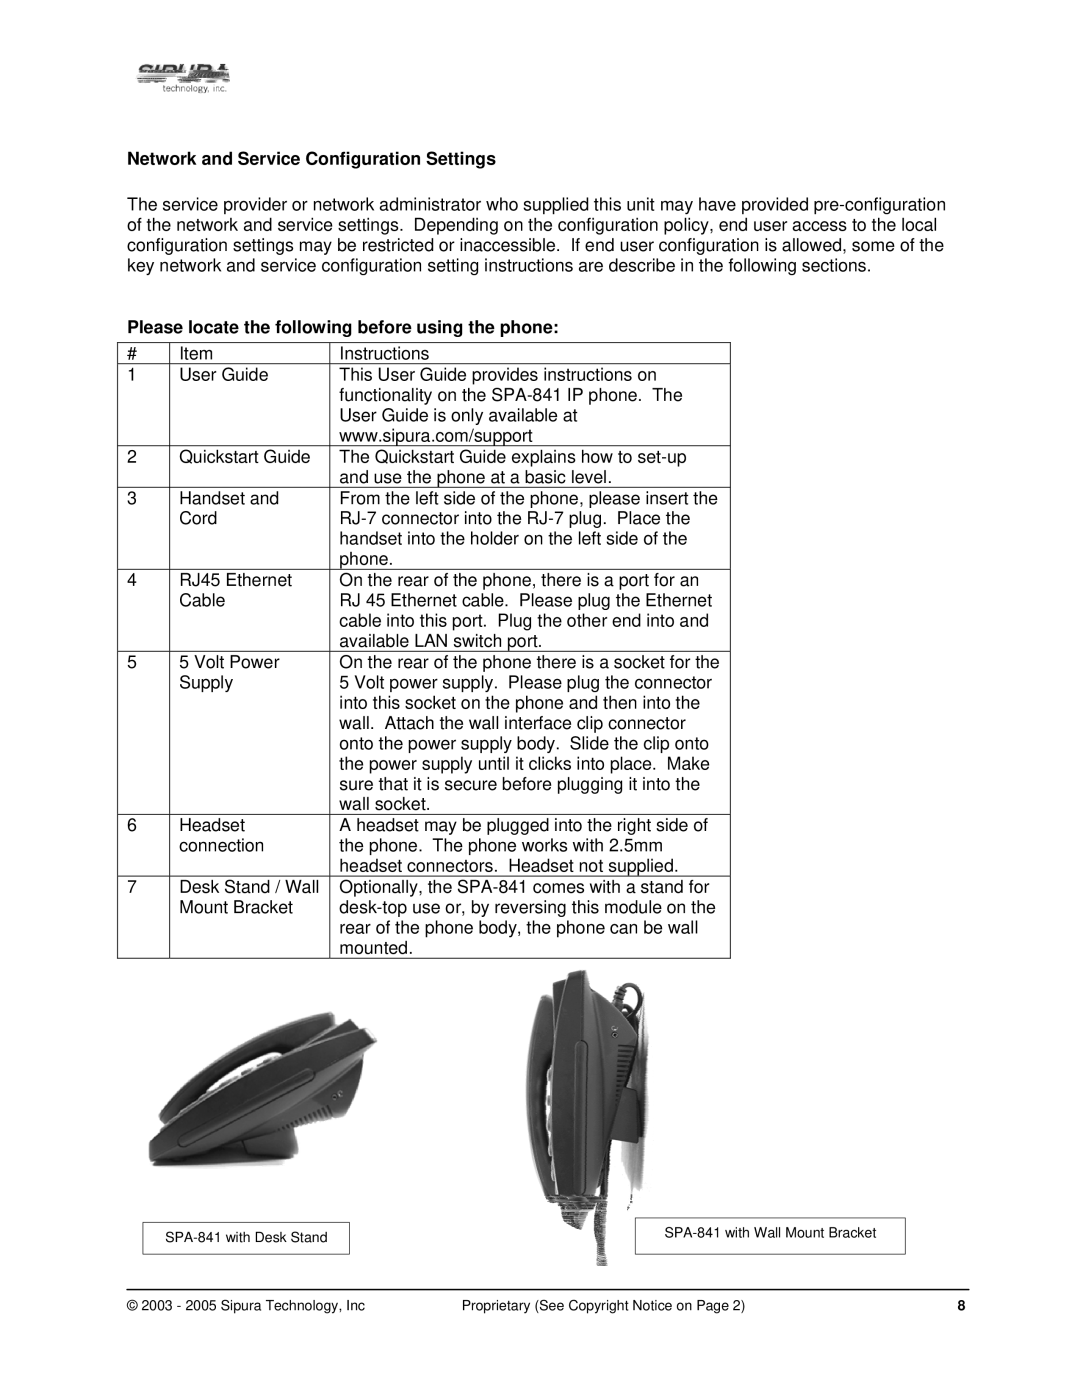
7 | Desk Stand / Wall | Optionally, the |
| Mount Bracket | |
|
| rear of the phone body, the phone can be wall |
|
| mounted. |
© 2003 - 2005 Sipura Technology, Inc | Proprietary (See Copyright Notice on Page 2) | 8 |
