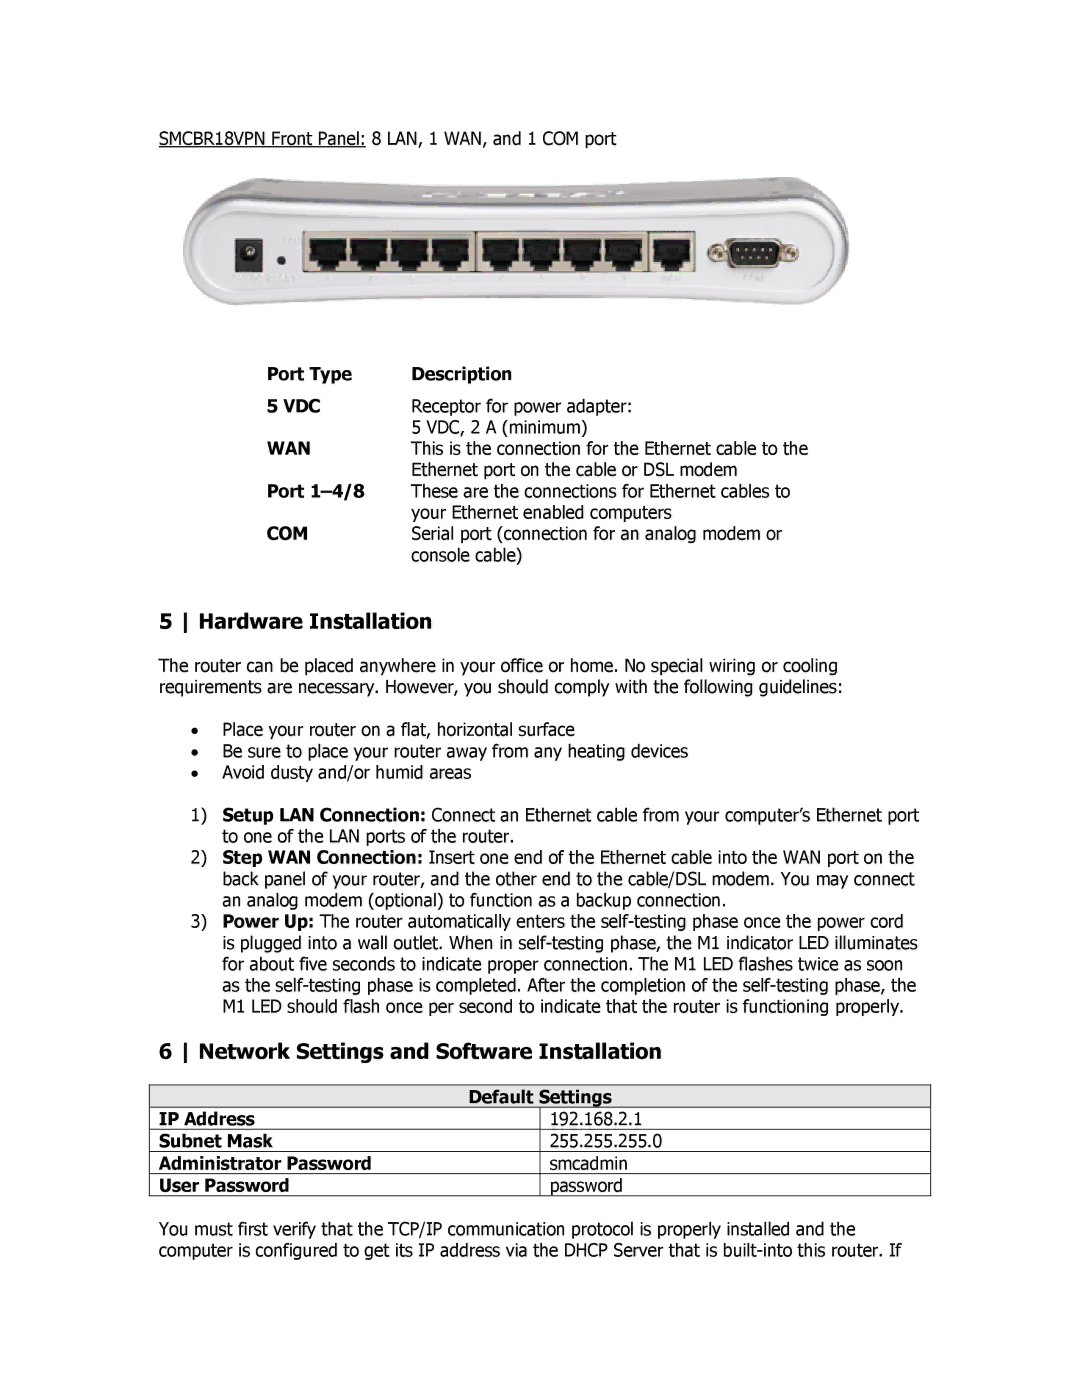
SMCBR18VPN Front Panel: 8 LAN, 1 WAN, and 1 COM port
Port Type | Description |
5 VDC | Receptor for power adapter: |
WAN | 5 VDC, 2 A (minimum) |
This is the connection for the Ethernet cable to the | |
Port | Ethernet port on the cable or DSL modem |
These are the connections for Ethernet cables to | |
COM | your Ethernet enabled computers |
Serial port (connection for an analog modem or | |
| console cable) |
5 Hardware Installation
The router can be placed anywhere in your office or home. No special wiring or cooling requirements are necessary. However, you should comply with the following guidelines:
•Place your router on a flat, horizontal surface
•Be sure to place your router away from any heating devices
•Avoid dusty and/or humid areas
1)Setup LAN Connection: Connect an Ethernet cable from your computer’s Ethernet port to one of the LAN ports of the router.
2)Step WAN Connection: Insert one end of the Ethernet cable into the WAN port on the back panel of your router, and the other end to the cable/DSL modem. You may connect an analog modem (optional) to function as a backup connection.
3)Power Up: The router automatically enters the
6 Network Settings and Software Installation
| Default Settings | |
IP Address |
| 192.168.2.1 |
Subnet Mask |
| 255.255.255.0 |
Administrator Password |
| smcadmin |
User Password |
| password |
You must first verify that the TCP/IP communication protocol is properly installed and the computer is configured to get its IP address via the DHCP Server that is