log, since you will need to know the IP address of the unit to complete the configuration over your Web browser. (If you are unsure of how to access your network’s DHCP log, contact your System Administrator for details.) If the unit is powered on and connected to the network via the LAN port on the rear panel, it will automatically attempt to lease an IP address using DHCP.
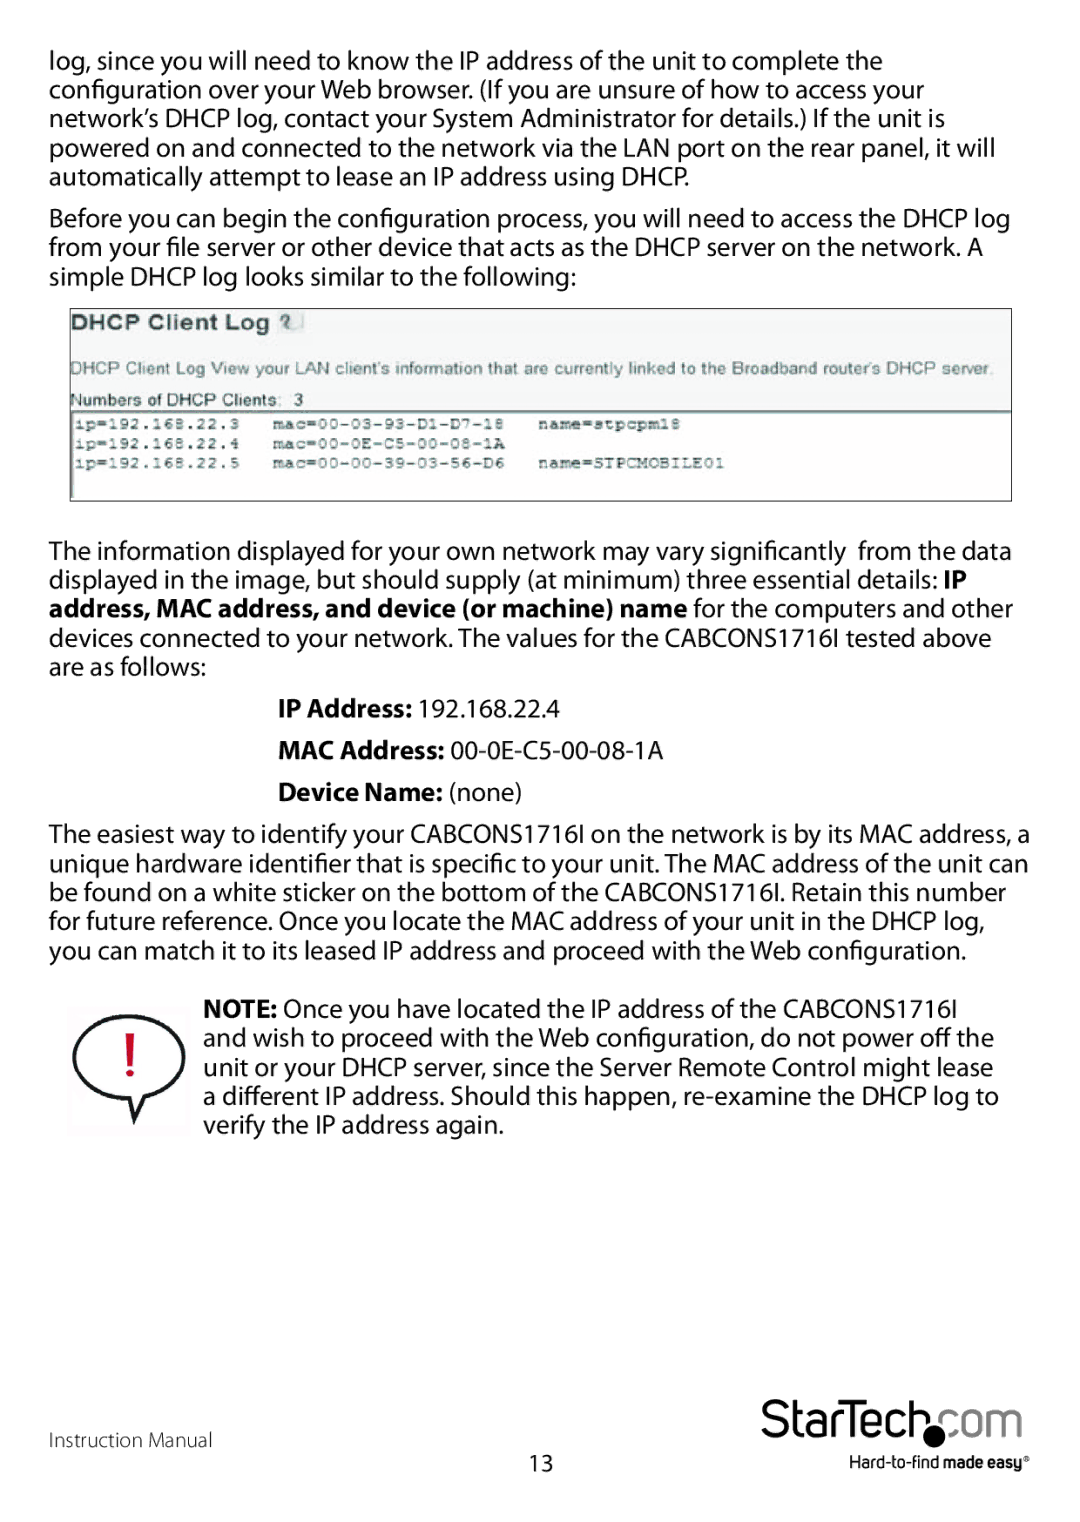
Before you can begin the configuration process, you will need to access the DHCP log from your file server or other device that acts as the DHCP server on the network. A simple DHCP log looks similar to the following:
The information displayed for your own network may vary significantly from the data displayed in the image, but should supply (at minimum) three essential details: IP address, MAC address, and device (or machine) name for the computers and other devices connected to your network. The values for the CABCONS1716I tested above are as follows:
IP Address: 192.168.22.4
MAC Address: 00-0E-C5-00-08-1A
Device Name: (none)
The easiest way to identify your CABCONS1716I on the network is by its MAC address, a unique hardware identifier that is specific to your unit. The MAC address of the unit can be found on a white sticker on the bottom of the CABCONS1716I. Retain this number for future reference. Once you locate the MAC address of your unit in the DHCP log, you can match it to its leased IP address and proceed with the Web configuration.
NOTE: Once you have located the IP address of the CABCONS1716I and wish to proceed with the Web configuration, do not power off the unit or your DHCP server, since the Server Remote Control might lease a different IP address. Should this happen,
Instruction Manual
13
