Chapter 5: Chassis Setup and Maintenance
Installing and Removing 3.5" Fixed Hard Drives
Removing 3.5" Fixed Hard Drives from the Node
1.Power down the system and remove the power cords from the rear of the power supplies as described in Section
2.Remove the screw securing the 3.5" hard drive tray to the floor of the chassis.
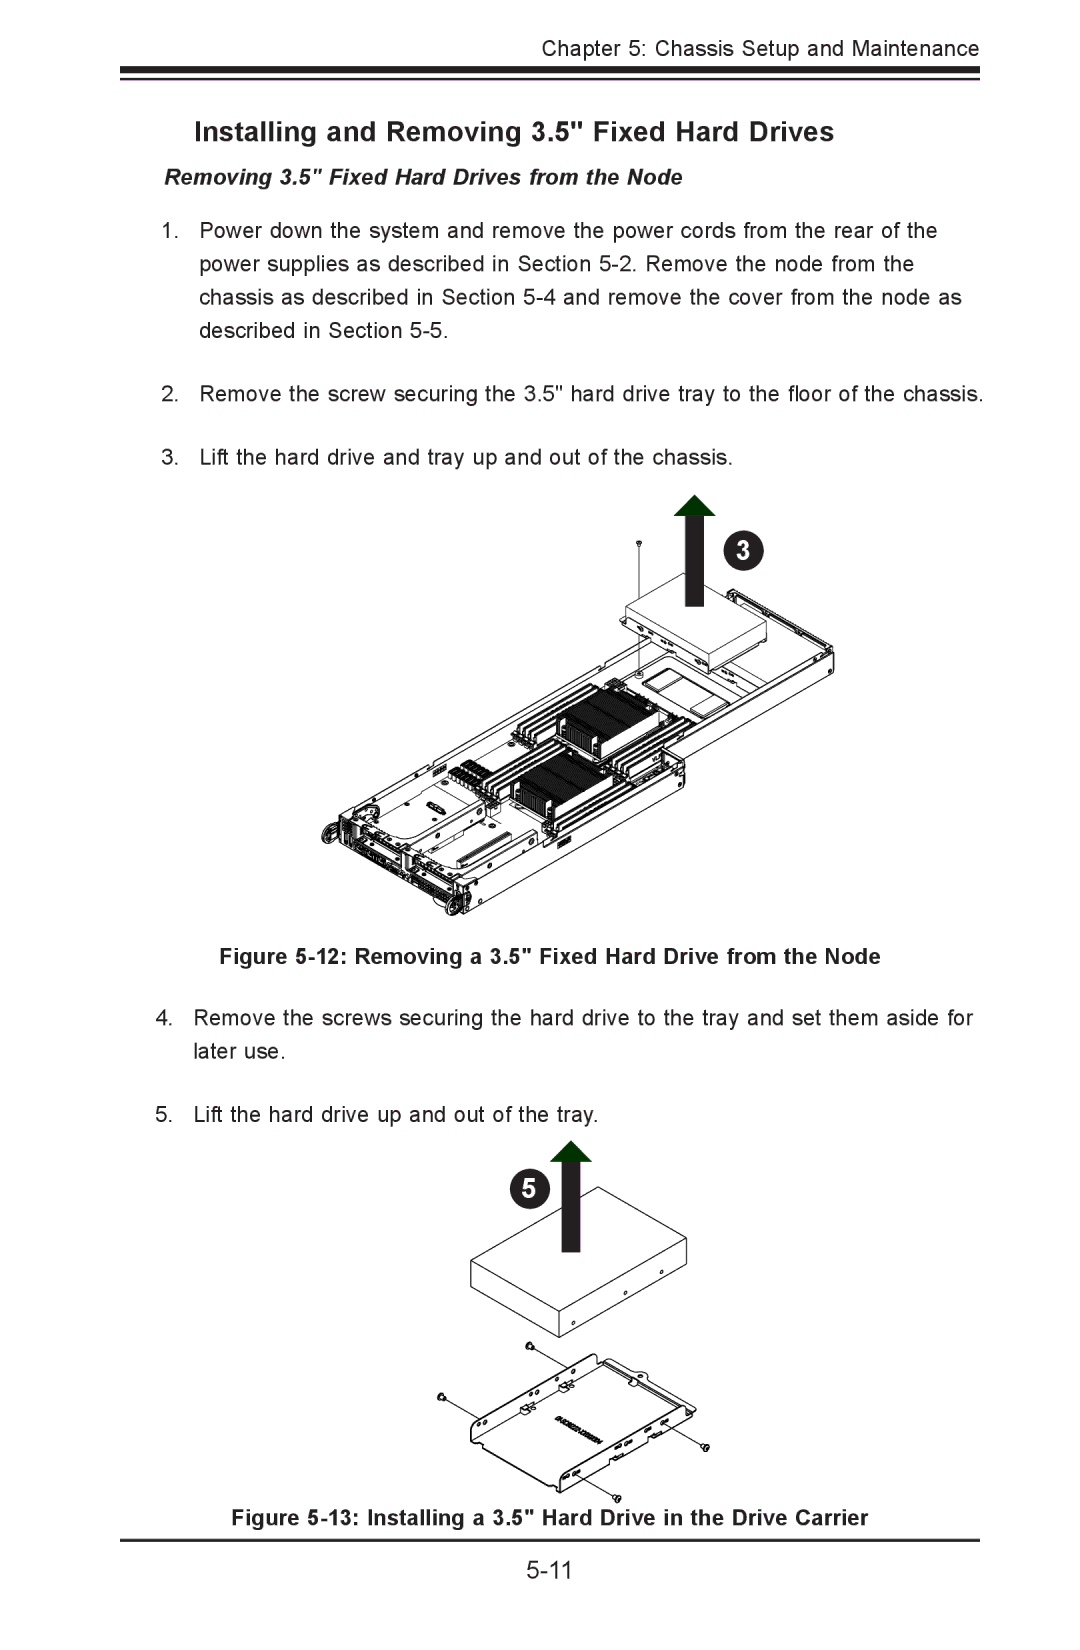
3.Lift the hard drive and tray up and out of the chassis.
13
Figure 5-12: Removing a 3.5" Fixed Hard Drive from the Node
4.Remove the screws securing the hard drive to the tray and set them aside for later use.
5.Lift the hard drive up and out of the tray.
15