2488neo
Declaration of Conformity
Important Safety Precautions
Important Safety Instructions
Optical pickup
Safety Information
Contents
− Mastering and CD recorder
− Recorder
14 − Specifications, etc
11 − Backup and restoration
16 − FAQ 122
− Reformatting
Main features of the 2488neo
Supplied accessories
− Introductions
Use with a personal computer
Manual conventions
Handling of compact discs
Precautions and notes for placement and use
Beware of condensation
Never use a stabilizer or printable discs
About finalizing
About CD-R and CD-RW discs
Setting up the 2488neo
− Setting up and basic knowledge
Shutdown
Basic knowledge
Hard disk and partitions
Selecting the active partition
Screen
Songs
ªª Menu screen
ªª Home screen
Some general notes on using the 2488neo
Shift key
− Names and functions of the 2488neo
Top panel
Input channel section
Track mixer section
Effects section
Sub mixer section
Stereo Bus section
Monitor Section
Access indicator section
LCD display section
Utility section
Channel section
Locate section
Mark/Title section
Transport section
Transport keys
Mixdown and Mastering section
Front panel
Routing section
Other keys
Rear panel
567
Setting up your first song
− Recording
New song
Setting the tempo
Recording the guitar
Making the first recording
− Recording
Congratulations
Lead line
Inputs and assignments
− Mixer
Digital input assignment
ªª Assignment to a stereo track
Checking assignments
Breaking assignments
Saving and loading assignments Quick Routing
Track channels and input channels
Channel functions
ªª Digital pad/gain
ªª EQ
Effect send
ªª Phase
Fader/pan
ªª Faders
Mute
Stereo bus functions
Linking channels
Stereo EQ
Stereo fader
Stereo dynamics
Direct output
Sub mixer
Monitor selection
Monitoring
Mono monitoring
Record source monitoring
Soloing and toggle
Scene memories
Scene recall
ªª Internal faders and physical faders
Jump mode
Real mode factory setting
Catch mode
Saving scenes
− Effects
Settings insert effect modes
Mic effects
Assigning mic effects
Selecting mic effects
Saving mic effects in the library
Editing mic effects
Multi-effect
Using the multi-effect library
Assigning the multi-effect
Editing the multi-effect
Saving multi-effect settings
Single effect
Saving single effects
Tuner
First steps in recording song management
− Recorder
Creating a song
Loading a song
Saving a song
Reverting to the previously saved version of a song
Erasing a song
Erasing unneeded audio data from songs
Copying songs
Transport controls
Setting the playback position
Protecting a song
Return to zero RTZ
Jog positioning
Fast forward and rewind
Recording
Skipping to marks
Punch recording
IN, OUT, to and from points
Editing the IN, OUT, to and from points
Mark functions
Inserting marks
Active marks
Skip between marks
Editing the active mark
ªª Titling using the list
Using the mark list
ªª Erasing marks using the list
ªª Locating using the list
Direct location
Direct location
Setting the repeat interval
Repeat
Auto punch operations
Setting the punch points
Checking the punch points
Rehearsing the punch
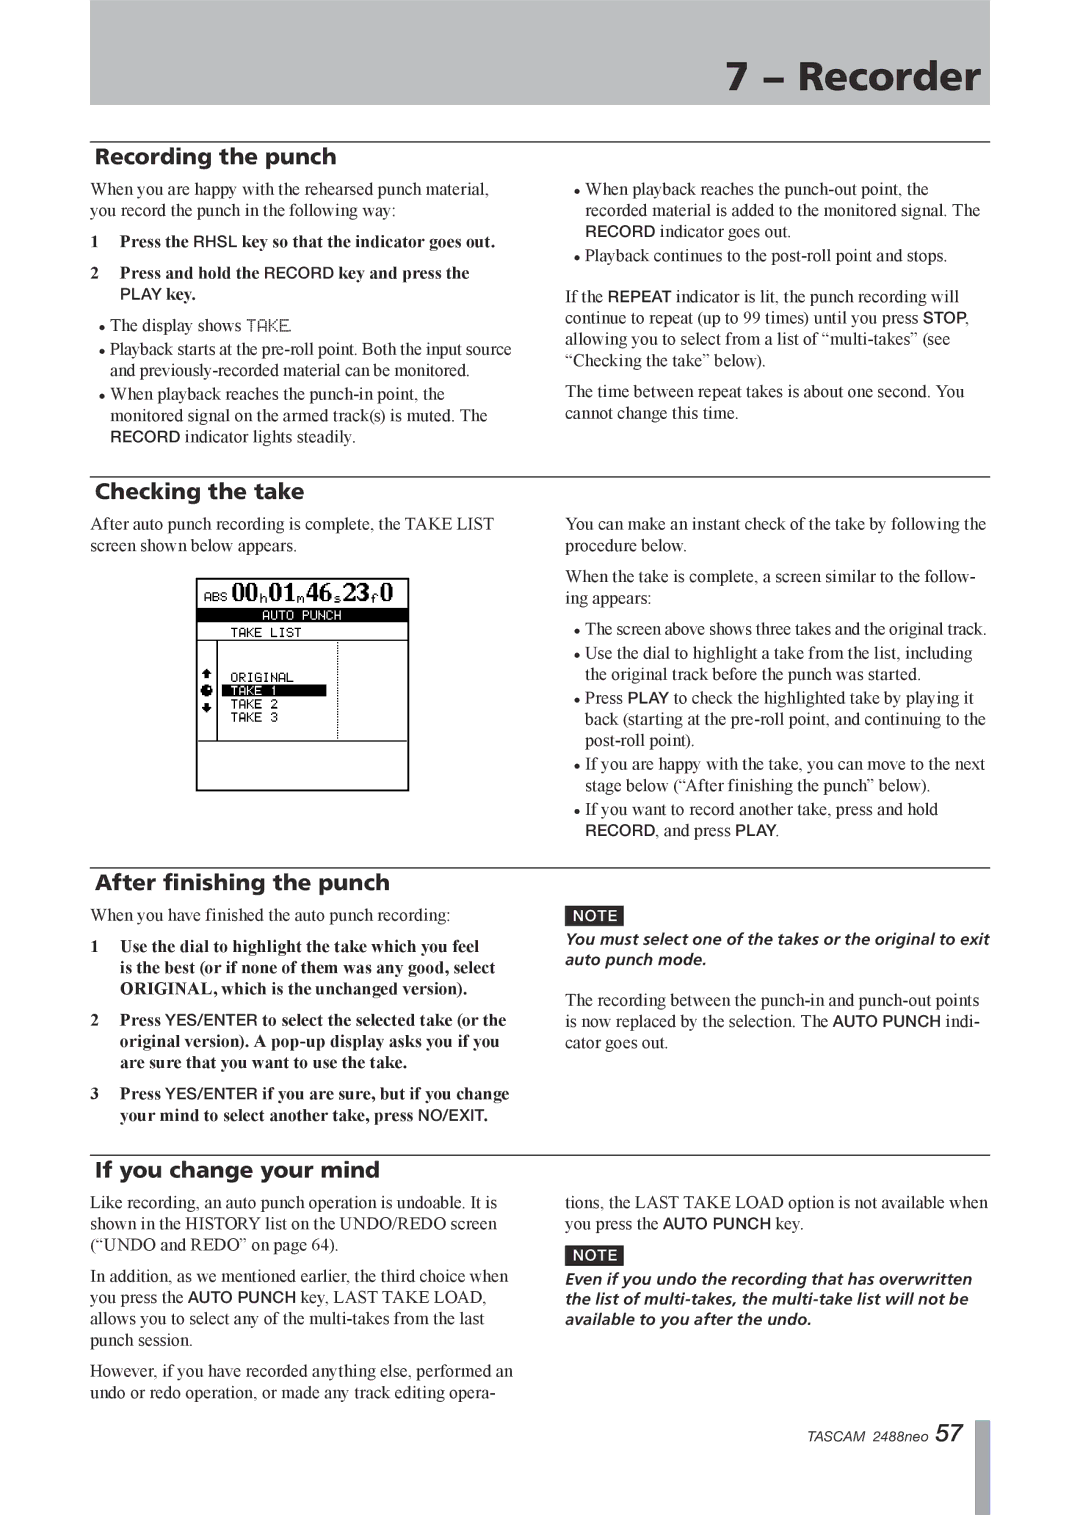
Checking the take
Recording the punch
After finishing the punch
If you change your mind
Bouncing tracks
About track editing
Making a bounce mix
Entering the edit mode
IN, OUT, to and from
Track editing functions
Copy Paste
Copy Insert
Move Insert
Silence
Undoing and redoing actions
Undo and Redo
An undo/redo example
Virtual Tracks
Virtual tracks
Drums Best Bass take
Drums Three best Bass takes
Varispeed operations pitch and SSA
Pitch
SSA Slow Speed Audition
− Mastering and CD recorder
Mixdown
Recording the master track
Exiting master check mode
Ending mixdown mode
Mastering procedures
Checking the master
Use the mastering tools to make adjust- ments
Using the mastering compressor
Record
If you are not satisfied with the result
Cross LO only when a multiband compressor is selected
Cross HI only when a multiband compressor is selected
Makeup only when a single band compressor is selected
ªª Saving compressor settings
Using the mastering EQ/noise shaper
ªª Settings the EQ
ªª Noise shaper setting
Copying the master track
Trimming the master track
Creating an audio CD
Creating an audio CD using TAO
Finalizing the disc
Creating an audio CD using DAO
Creating an audio CD using Live Writer
CD-RW erase
Playing CDs
Reformatting the entire hard disk
− Reformatting
Reformatting the FAT partition
Reformatting Tascam partitions
10 − File import/export
USB mode
Opening the USB connection
Closing the USB connection
USB import stereo WAV files
USB import mono WAV files
USB import SMF files
USB export virtual tracks
Importing from CD mono WAV files
Exporting master tracks
Exporting to CD virtual tracks
Backup
11 − Backup and restoration
Restoring from CD
Using USB for backup and restore
Backing up
Restoring
Metronome
12 − Tempo and Midi
ªª In Free mode
Using the metronome
ªª In REC mode or REC&PLAY mode
Free Metronome screen
Tempo map
Time signature setting
ªª Midi clock
Midi synchronization
SMF playback
ªª Remote Control
Midi remote control
ªª MMC Mode
ªª MMC Device ID
13 − General preferences13− General preferences
Global preferences
Mixer preferences
Recorder preferences
13 − General preferences
User words
ªª Digital input channel selection
Block diagram
14 − Specifications,14etc−. Specifications, etc
Level diagram
14 − Specifications, etc
Specifications
Audio connections
Audio performance
Physical specifications, etc
Dimensional drawing
Preset name Description
Library of mastering compressor presets
15 − Appendix
ªª Multiband compress
Mixer Control Change parameters
Midi Control/Program change message
ªª Example effect parameter change
Effect parameter change Midi messages
Mic effects
Effect
Parameter Values
Single effect
Stereo dynamics processor
Chain #
Multi effect
AMP
15 − Appendix
Single effect preset Program Change 0 to
Mic effects preset Program Change 0 to
Midi Program Change messages
ªª Scene memory Program Change messages
Preset stereo dynamics effects
Preset mic effects
Preset Multi effects
Name shown on display Effect component
Program Name shown on Type of effect Change Display
Preset single effects
Function Transmitted Recognized Remarks
Midi Implementation chart
Bit-map array of MMC commands
MMC Bit map commands
Bit-map array of Response/Information field
Message Meaning Action
Mixdown
Song Protect
No. Message Meaning Action
SMF Player
No. Question Answer
16 − FAQ
Question Answer
2488neo