5.4 Current Loop Calibration
A current loop option can be ordered that will provide a
1.Perform an A/D - D/A calibration as outlined in Section 5.3.
2.Connect a Multimeter capable of measuring milliamperes to the analog output on the rear panel. Note: When measuring the current output with a multimeter or similar
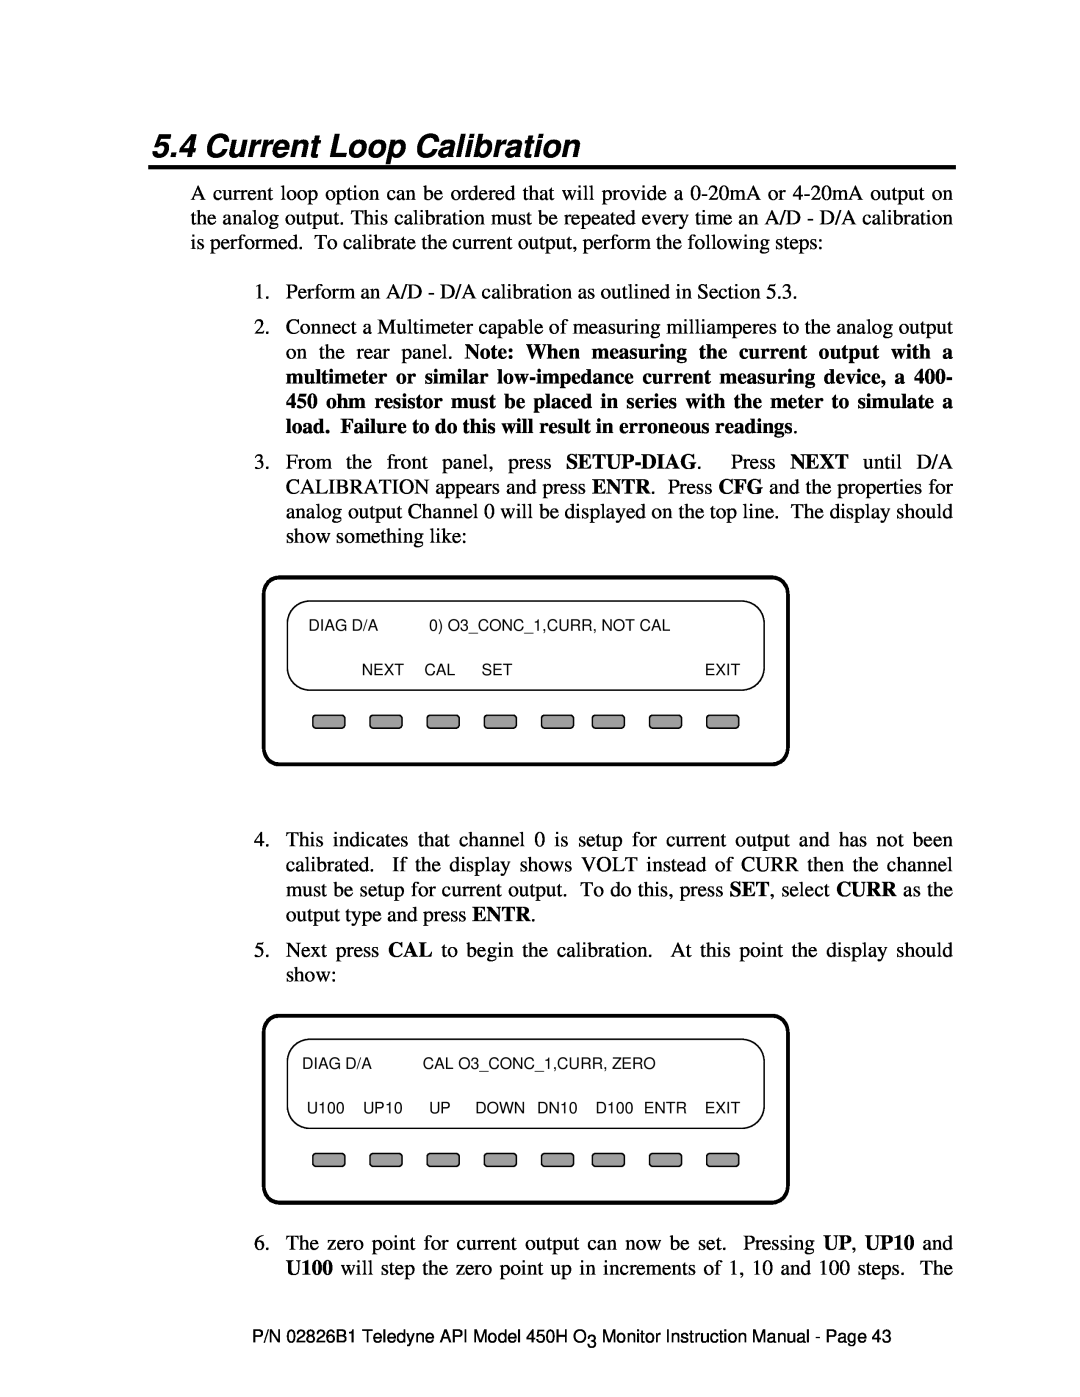
3.From the front panel, press
DIAG D/A |
|
|
| 0) O3_CONC_1,CURR, NOT CAL |
|
| ||||
|
|
|
|
|
|
|
|
|
|
|
| NEXT |
| CAL |
| SET |
|
| EXIT | ||
|
|
|
|
|
|
|
|
|
|
|
4.This indicates that channel 0 is setup for current output and has not been calibrated. If the display shows VOLT instead of CURR then the channel must be setup for current output. To do this, press SET, select CURR as the output type and press ENTR.
5.Next press CAL to begin the calibration. At this point the display should show:
DIAG D/A |
|
|
| CAL O3_CONC_1,CURR, ZERO |
| ||||
|
|
|
|
|
|
|
|
|
|
U100 |
| UP10 |
|
| UP |
| DOWN DN10 D100 ENTR EXIT | ||
|
|
|
|
|
|
|
|
|
|
6.The zero point for current output can now be set. Pressing UP, UP10 and U100 will step the zero point up in increments of 1, 10 and 100 steps. The
P/N 02826B1 Teledyne API Model 450H O3 Monitor Instruction Manual - Page 43