All installations and services must be performed by qualified service personnel.
3.Place second flashing plate on roof over existing hole.
4.Plate must be sealed to roof to ensure a weather proof seal.
5.Secure plate to roof.
6.Drop pvc pipes thru holes in flashing plates.
7.Secure with hose clamps to flashing plate.
8.Seal with silicone type caulk.
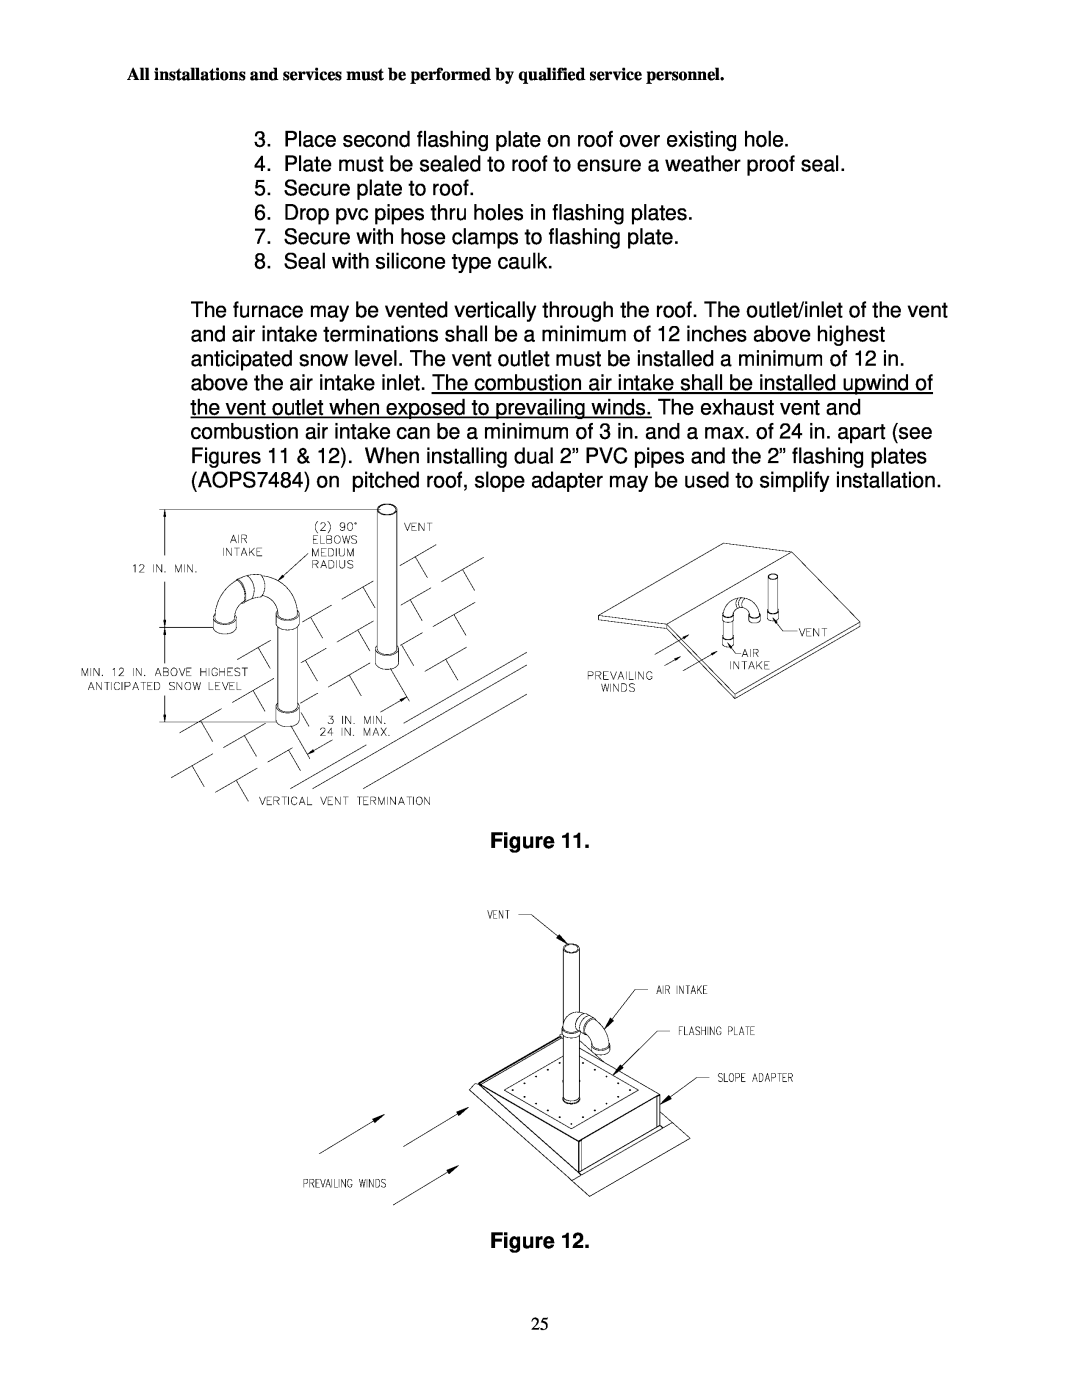
The furnace may be vented vertically through the roof. The outlet/inlet of the vent and air intake terminations shall be a minimum of 12 inches above highest anticipated snow level. The vent outlet must be installed a minimum of 12 in. above the air intake inlet. The combustion air intake shall be installed upwind of the vent outlet when exposed to prevailing winds. The exhaust vent and combustion air intake can be a minimum of 3 in. and a max. of 24 in. apart (see Figures 11 & 12). When installing dual 2” PVC pipes and the 2” flashing plates (AOPS7484) on pitched roof, slope adapter may be used to simplify installation.
Figure 11.
Figure 12.
25