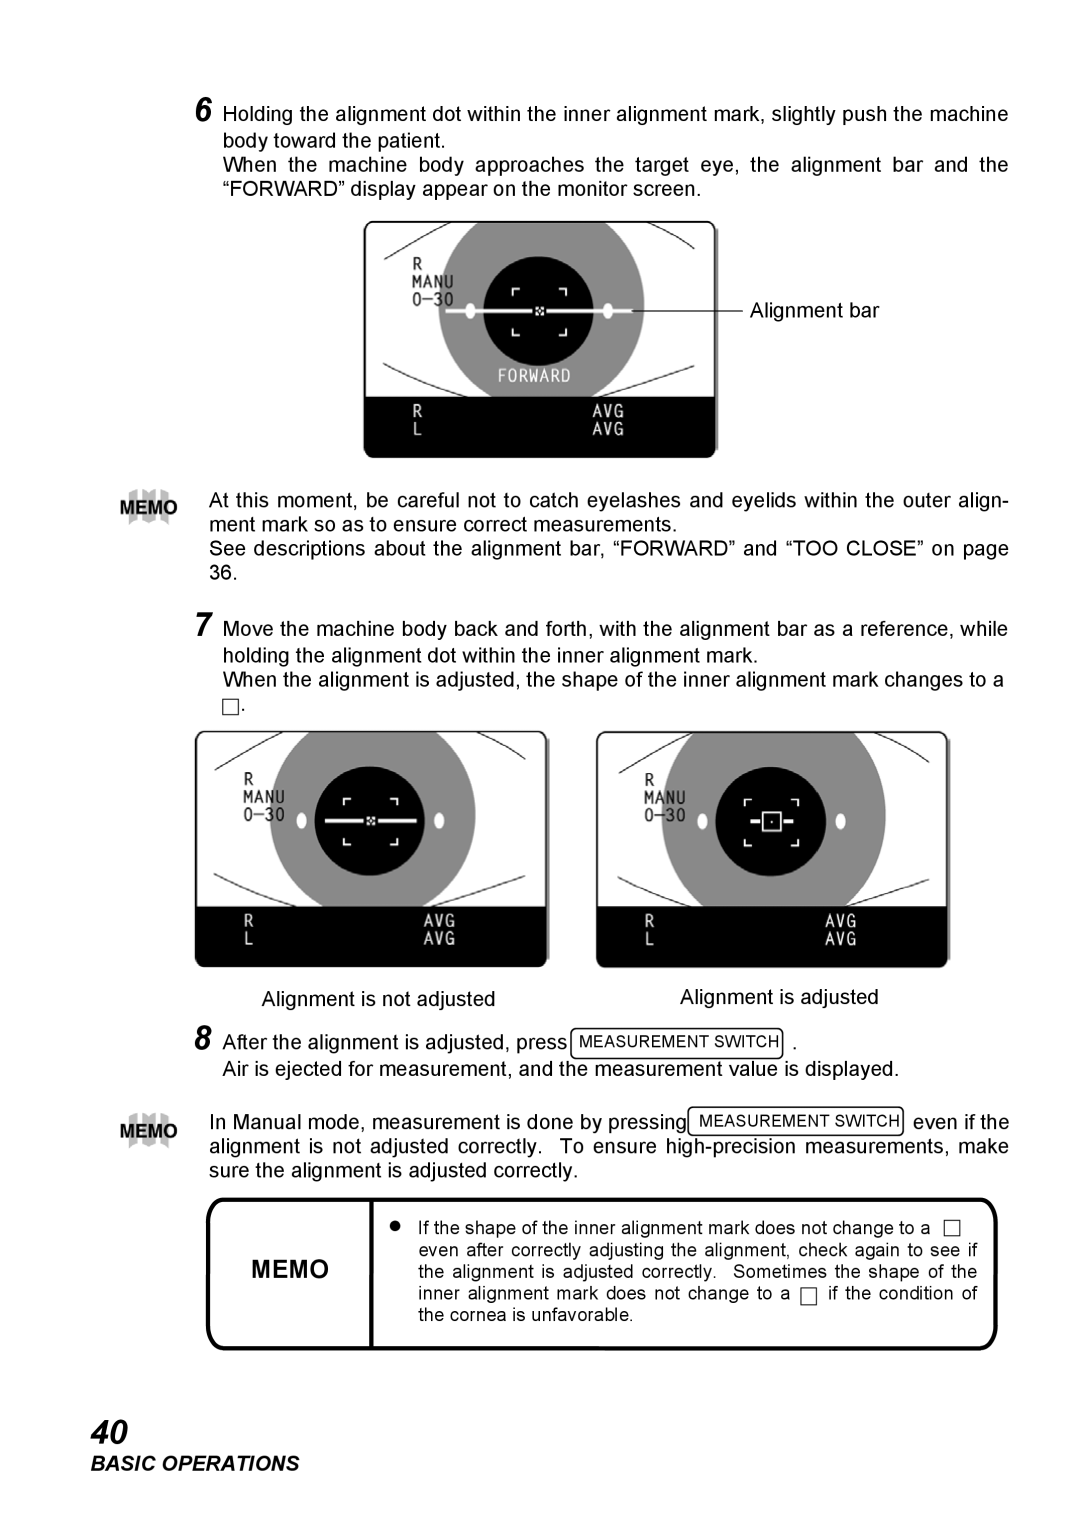
6 Holding the alignment dot within the inner alignment mark, slightly push the machine body toward the patient.
When the machine body approaches the target eye, the alignment bar and the “FORWARD” display appear on the monitor screen.
Alignment bar
At this moment, be careful not to catch eyelashes and eyelids within the outer align- ment mark so as to ensure correct measurements.
See descriptions about the alignment bar, “FORWARD” and “TOO CLOSE” on page 36.
7 Move the machine body back and forth, with the alignment bar as a reference, while holding the alignment dot within the inner alignment mark.
When the alignment is adjusted, the shape of the inner alignment mark changes to a
![]()
![]() .
.
Alignment is not adjusted | Alignment is adjusted |
8 After the alignment is adjusted, press | MEASUREMENT SWITCH . |
Air is ejected for measurement, and the measurement value is displayed.
In Manual mode, measurement is done by pressingeven if the alignment is not adjusted correctly. To ensure
| • If the shape of the inner alignment mark does not change to a | |
MEMO | even after correctly adjusting the alignment, check again to see if | |
the alignment is adjusted correctly. Sometimes the shape of the | ||
| inner alignment mark does not change to a | if the condition of |
| the cornea is unfavorable. |
|
40