Archer C9 AC1900 Wireless Dual Band Gigabit Router
If the wireless adapter supports
Note:
To build a successful connection by WPS, you should also do the corresponding configuration of the new device for WPS function meanwhile.
I.Use the Wi-Fi Protected Setup Button
Use this method if your client device has a
Step 1: Press the WPS/Reset button on the back panel of the router
Step 2: Press and hold the WPS button of the client device directly. The
Step 3: When the WPS LED is on, the client device has successfully connected to the router.
II. Enter the client device’s PIN on the router
Use this method if your client device does not have the WPS button, but has a
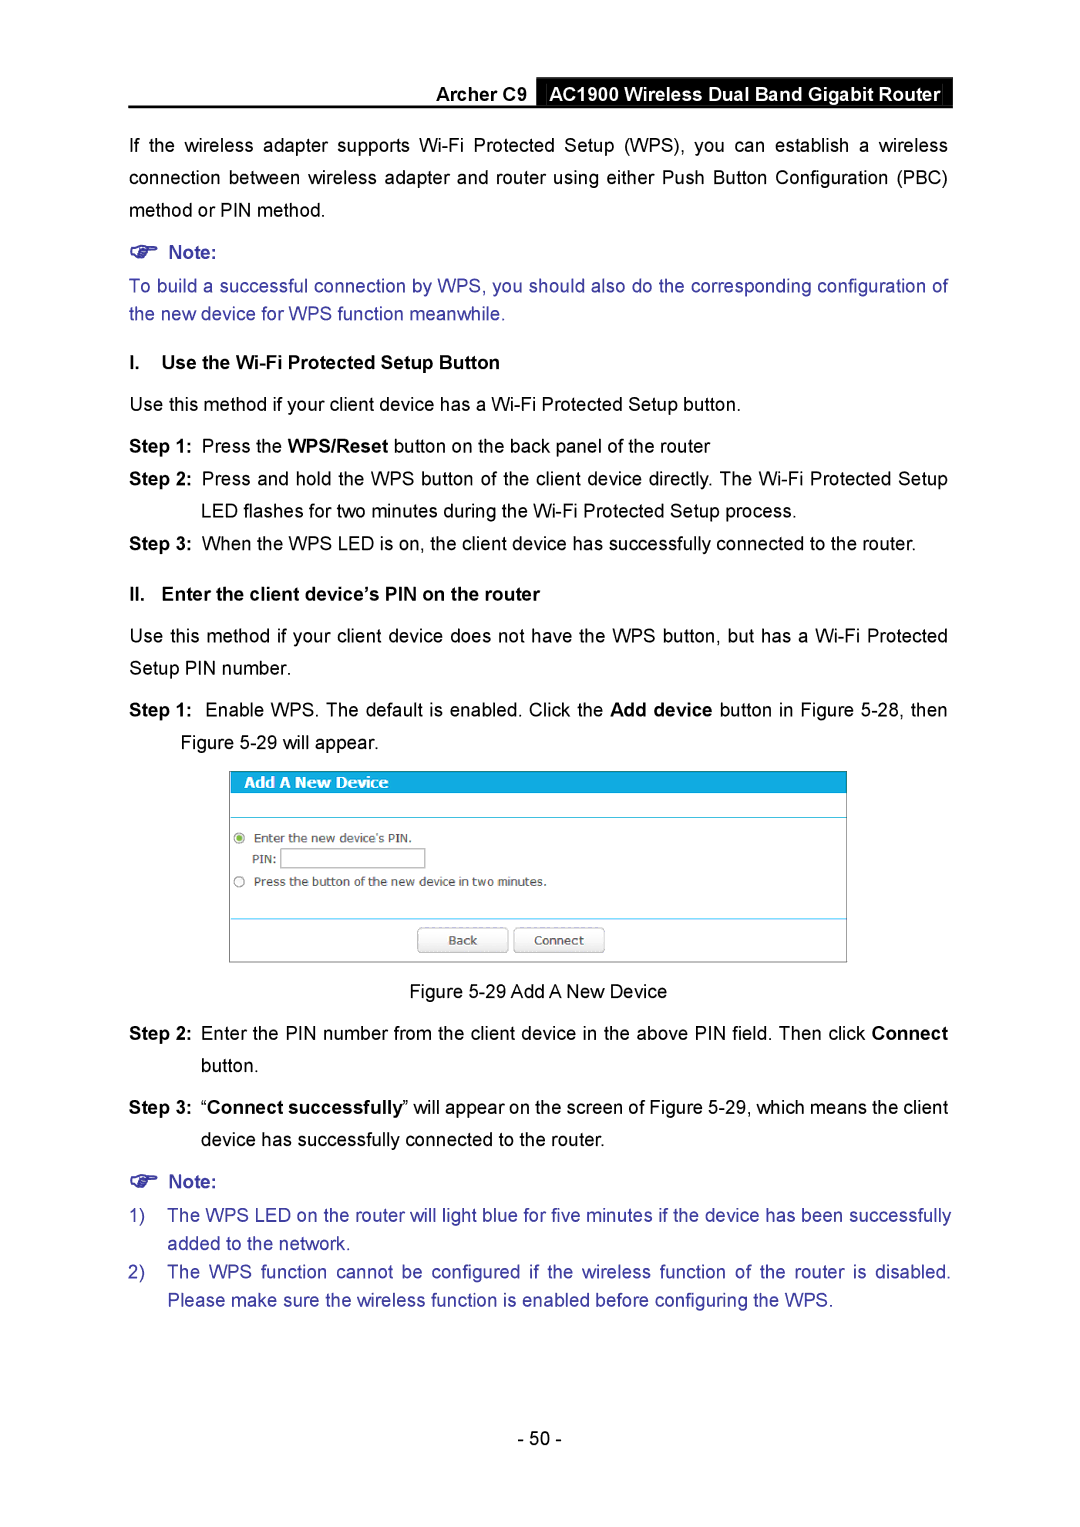
Step 1: Enable WPS. The default is enabled. Click the Add device button in Figure
Figure 5-29 Add A New Device
Step 2: Enter the PIN number from the client device in the above PIN field. Then click Connect button.
Step 3: “Connect successfully” will appear on the screen of Figure 5-29, which means the client device has successfully connected to the router.
Note:
1)The WPS LED on the router will light blue for five minutes if the device has been successfully added to the network.
2)The WPS function cannot be configured if the wireless function of the router is disabled. Please make sure the wireless function is enabled before configuring the WPS.
- 50 -
