Step 1: LCD monitor installation
In the first stage of the installation process, Cintiq is installed as a monitor on your system. As you work through the first stage of the installation process, please refer to the LCD monitor cabling diagram on page 18 when making cable connections.
Important: Do not connect the USB data cable until instructed to do so.
•Turn off your computer.
Caution: Never connect or disconnect the video or power cables while your computer or Cintiq are powered on – this can damage the LCD monitor or video card.
•If your computer has only one video connector, you will need to unplug your previous monitor. Determine if your computer has a digital
•Follow the instructions below for your video connector. See – B – in the diagram on page 18.
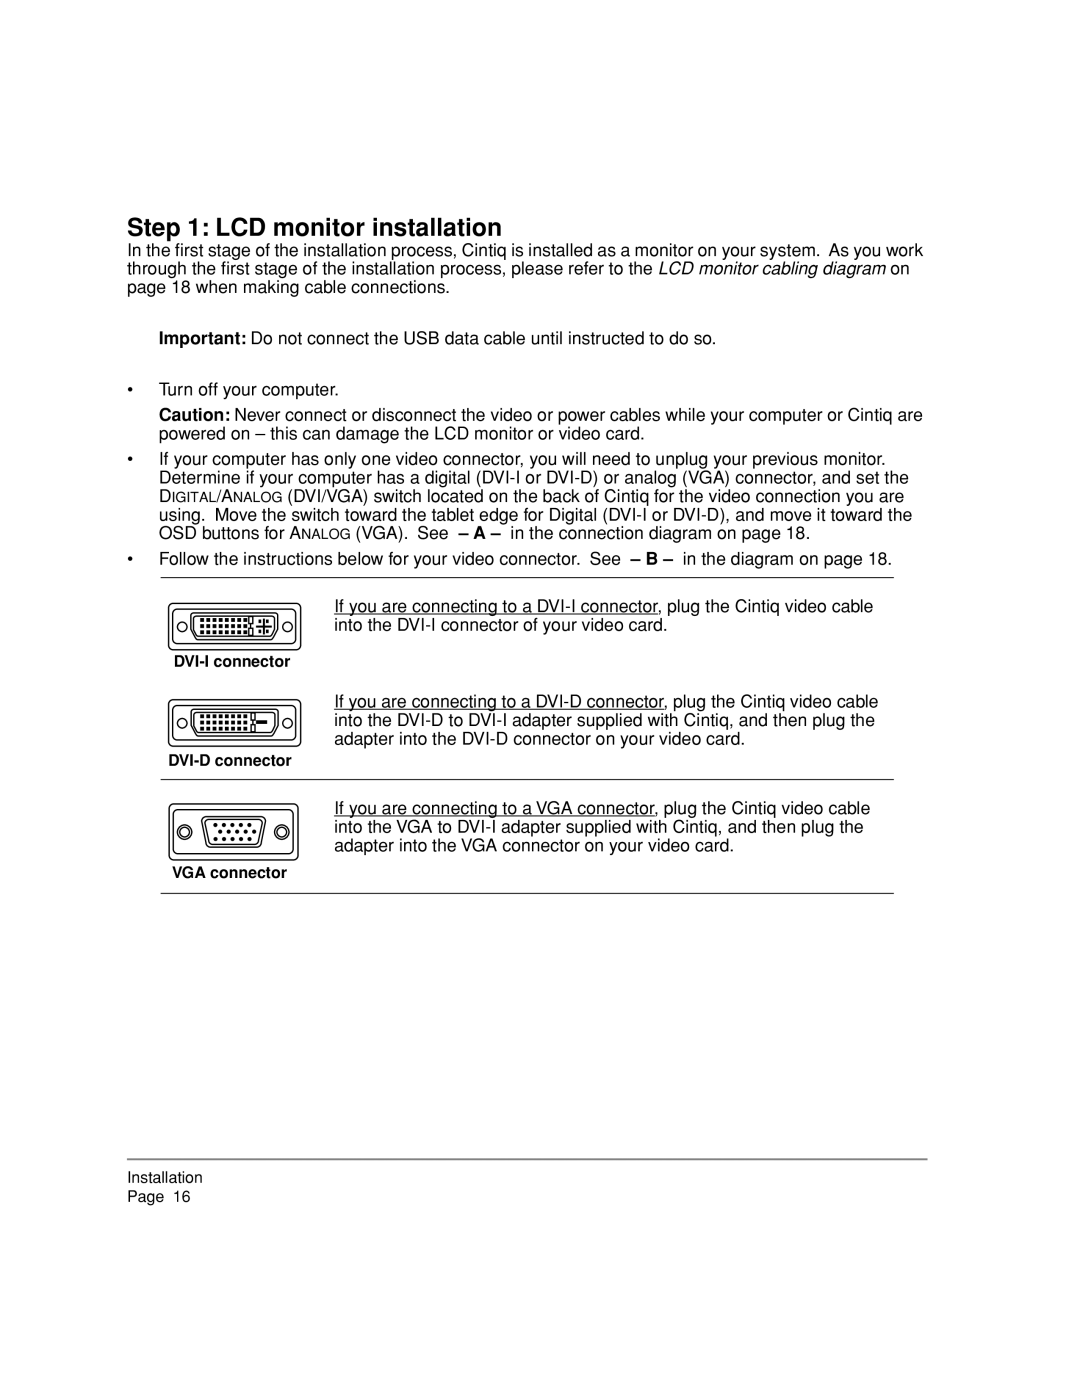
If you are connecting to a
DVI-I connector
If you are connecting to a
DVI-D connector
If you are connecting to a VGA connector, plug the Cintiq video cable into the VGA to
VGA connector
Installation
Page 16