Installation
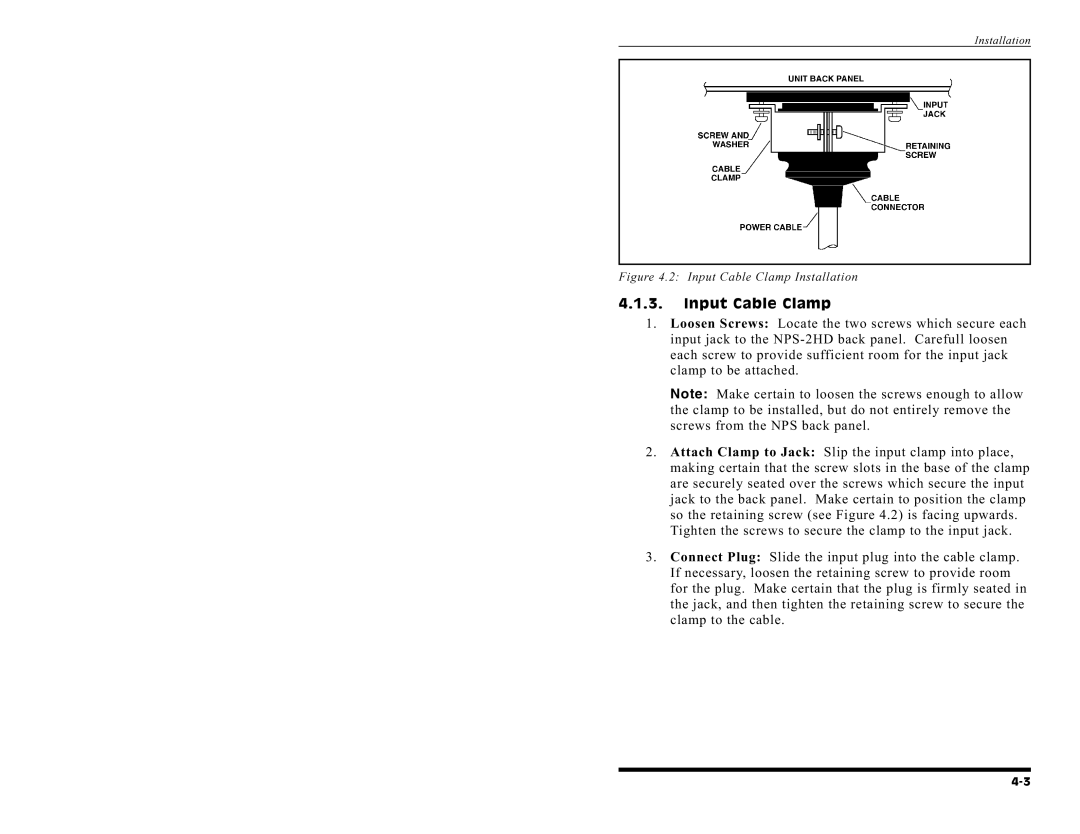
Figure4.2:InputCableClampInstallation
4.1.3.Input Cable Clamp
1. Loosen Screws: Locate the two screws which secure each input jack to the
Note: Make certain to loosen the screws enough to allow the clamp to be installed, but do not entirely remove the screws from the NPS back panel.
2. Attach Clamp to Jack: Slip the input clamp into place, making certain that the screw slots in the base of the clamp are securely seated over the screws which secure the input jack to the back panel. Make certain to position the clamp so the retaining screw (see Figure 4.2) is facing upwards. Tighten the screws to secure the clamp to the input jack.
3. Connect Plug: Slide the input plug into the cable clamp. If necessary, loosen the retaining screw to provide room for the plug. Make certain that the plug is firmly seated in the jack, and then tighten the retaining screw to secure the
clamp to the cable.
