W1754 20" Planer With Mobile Base
Handwheel, Dust Hood &
Caster
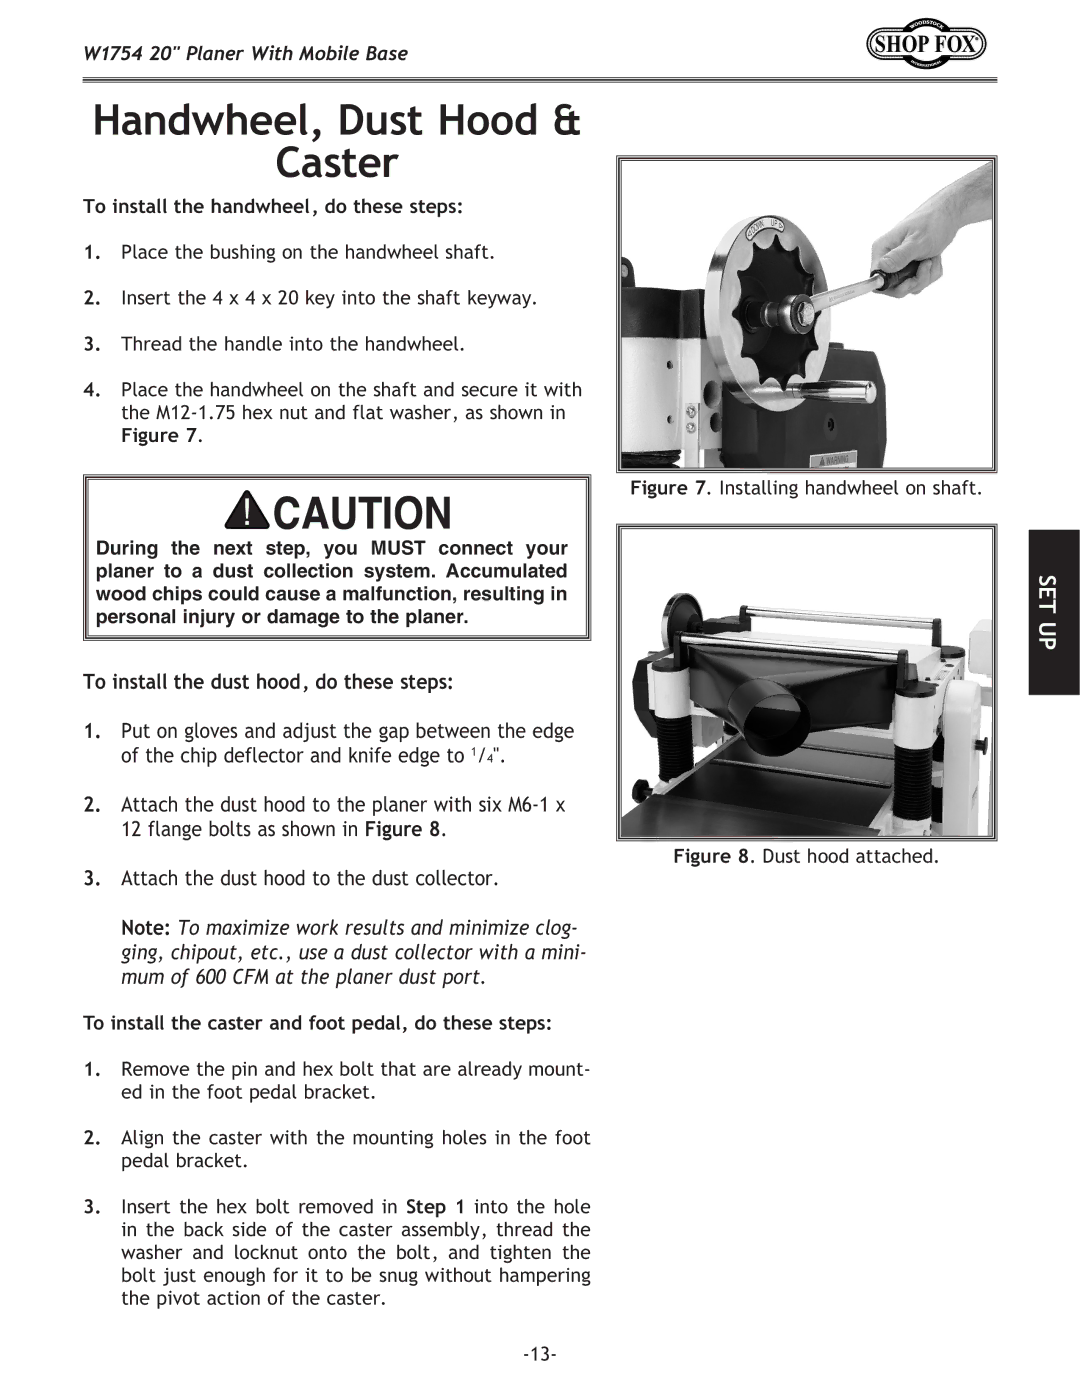
To install the handwheel, do these steps:
1.Place the bushing on the handwheel shaft.
2.Insert the 4 x 4 x 20 key into the shaft keyway.
3.Thread the handle into the handwheel.
4.Place the handwheel on the shaft and secure it with the
Figure 7.
During the next step, you MUST connect your planer to a dust collection system. Accumulated wood chips could cause a malfunction, resulting in personal injury or damage to the planer.
To install the dust hood, do these steps:
1.Put on gloves and adjust the gap between the edge of the chip deflector and knife edge to 1/4".
2.Attach the dust hood to the planer with six
3.Attach the dust hood to the dust collector.
Note: To maximize work results and minimize clog- ging, chipout, etc., use a dust collector with a mini- mum of 600 CFM at the planer dust port.
Figure 7. Installing handwheel on shaft.
Figure 8. Dust hood attached.
SET UP
To install the caster and foot pedal, do these steps:
1.Remove the pin and hex bolt that are already mount- ed in the foot pedal bracket.
2.Align the caster with the mounting holes in the foot pedal bracket.
3.Insert the hex bolt removed in Step 1 into the hole in the back side of the caster assembly, thread the washer and locknut onto the bolt, and tighten the bolt just enough for it to be snug without hampering the pivot action of the caster.