W1754 20" Planer With Mobile Base
SERVICE
To adjust the table parallelism, do these steps:
1.DISCONNECT THE PLANER FROM THE POWER SOURCE!
2.Remove the motor and front access panels and locate the chain on the underside of the table.
3.Loosen the lock bolts and idler sprocket (see Chain Tension instructions on Page 28).
4.Mark the location of one tooth in the sprocket that you are adjusting.
5.Move the chain away from only the sprocket you want to adjust so only that sprocket can be turned independent of the chain.
Note: If the left side of the table is too high, the left two sprockets will need to be adjusted. Each tooth on the sprocket represents 0.016" of vertical movement as the cogs are turned. Make sure, as you turn the sprockets, to keep an accurate tooth count to ensure that the table is adjusted equally.
6.Carefully turn the sprocket (counterclockwise to raise the table; clockwise to lower the table) just enough to position the next tooth at the marked location, then fit the chain around the sprocket again.
7.Repeat Steps
8.Make sure the chain is properly fitted on the sprock- ets, and tighten the idler sprocket and lock bolts.
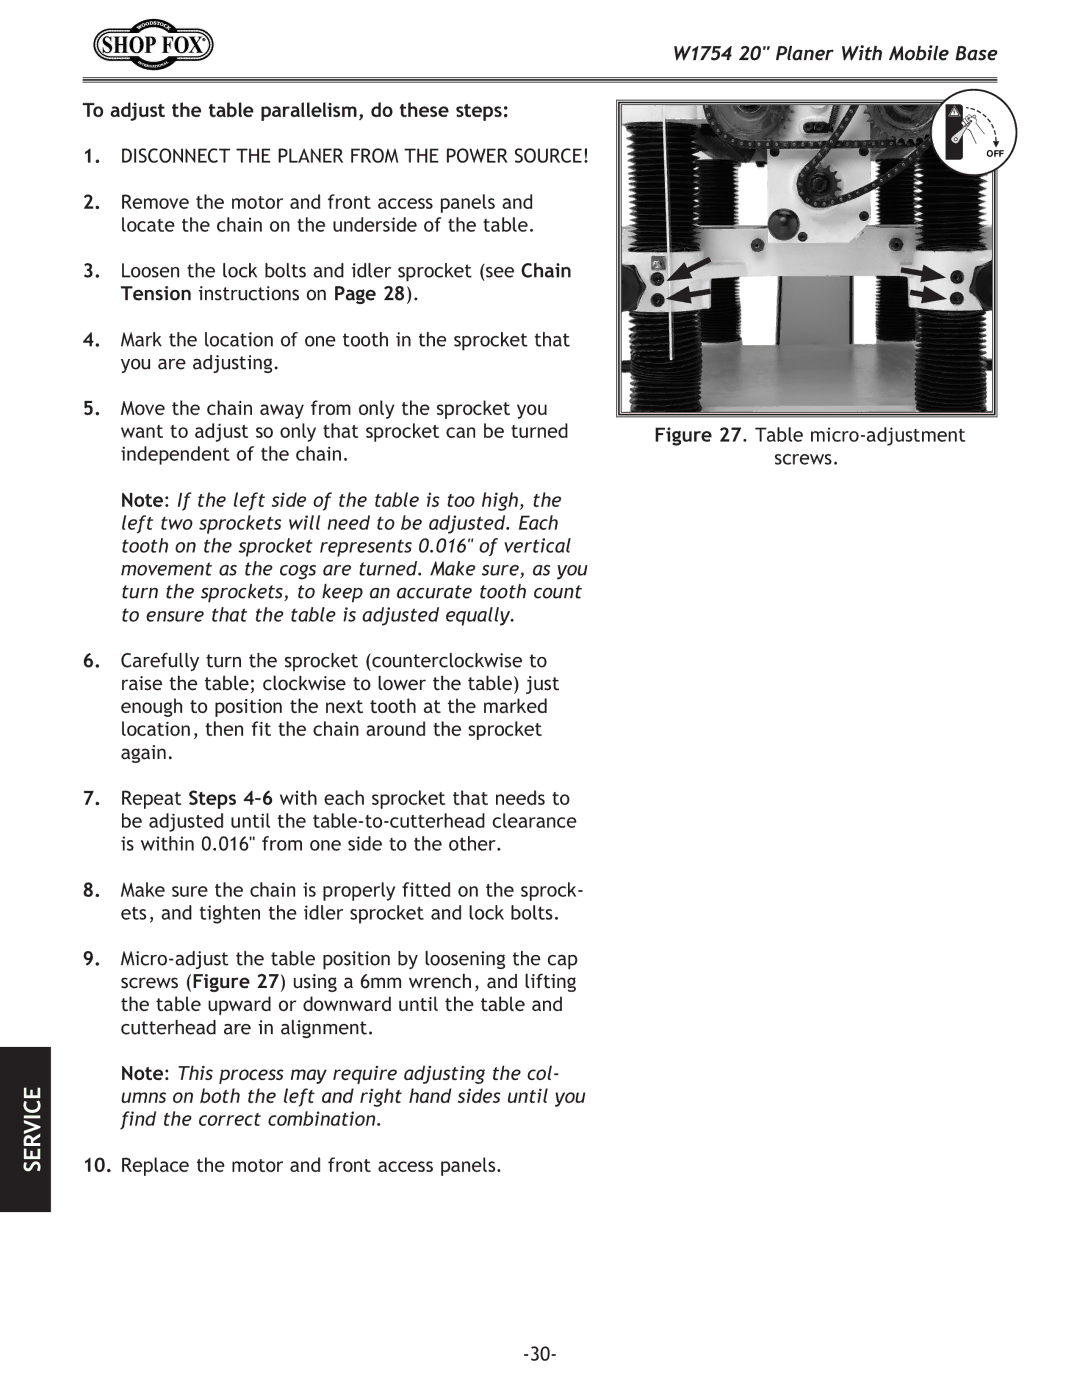
9.
Note: This process may require adjusting the col- umns on both the left and right hand sides until you find the correct combination.
10.Replace the motor and front access panels.
OFF