LFE/Bass out BASS OUT
Use this feature to select the speakers that output the LFE
•Select “SWFR” (subwoofer) if you connected a subwoofer. The LFE signals as well as the low- frequency signals of other speakers set to “SML” (or “SMALL”) or to “NONE” are directed to the subwoofer.
•Select “FRNT” (front) if you did not connect a subwoofer. The LFE signals, the
•Select “BOTH” (both) if you connected a subwoofer. The
Crossover CROSSOVER
Use this feature to select a crossover frequency of all the speakers set to “SML” (or “SMALL”) or to “NONE” in “SPEAKER SET” (see page 78). All frequencies below the selected frequency will be sent to the subwoofer or to the speakers set to “LRG” (or “LARGE”) in “SPEAKER SET” (see page 78).
Choices: 40Hz, 60Hz, 80Hz, 90Hz, 100Hz, 110Hz, 120Hz, 160Hz, 200Hz
Subwoofer phase SWFR PHASE
Use this feature to switch the phase of your subwoofer if bass sounds are lacking or unclear.
Choices: NRM, REV
•Select “NRM” if you do not want to reverse the phase of your subwoofer.
•Select “REV” to reverse the phase of your subwoofer.
SET MENU
■Speaker level B) SP LEVEL
Use this feature to manually balance the speaker levels between the front left or surround left speakers and each speaker selected in “SPEAKER SET” (see page 78). The selected speaker outputs test tone and the speaker indicator of the speaker flashes.
Control range:
Control step: 1.0 dB
Initial setting: 0 dB
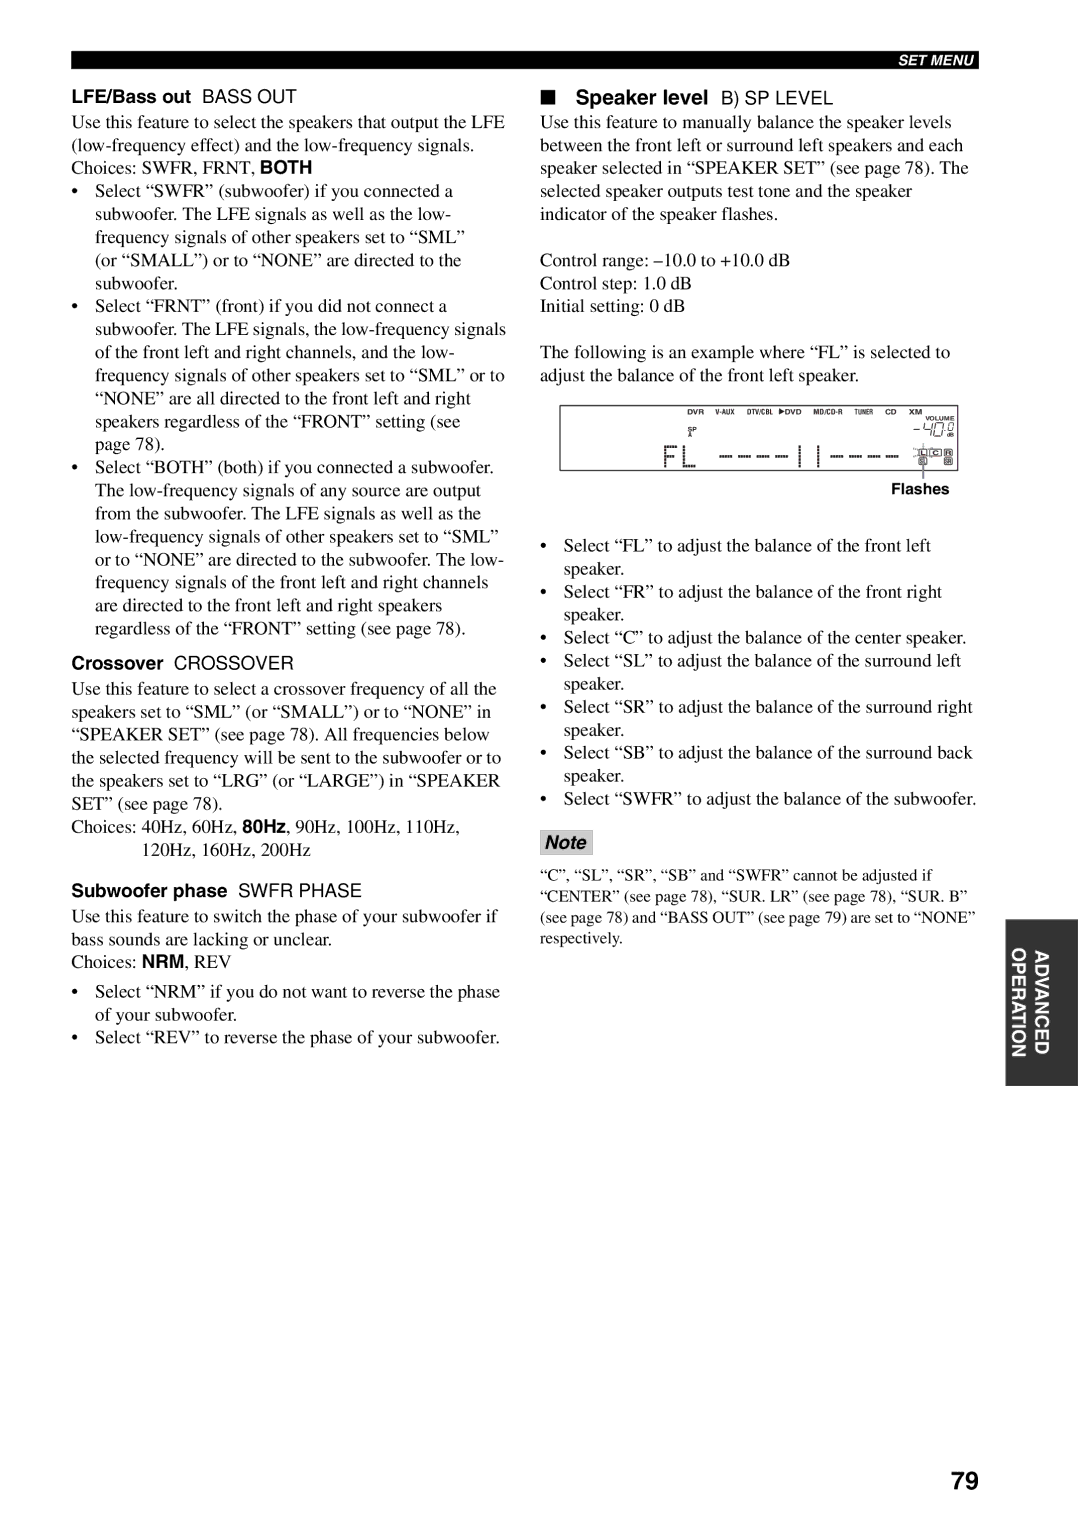
The following is an example where “FL” is selected to adjust the balance of the front left speaker.
DVR
| VOLUME |
SP |
|
A | dB |
FL | SL | SR |
| L | C R |
Flashes
•Select “FL” to adjust the balance of the front left speaker.
•Select “FR” to adjust the balance of the front right speaker.
•Select “C” to adjust the balance of the center speaker.
•Select “SL” to adjust the balance of the surround left speaker.
•Select “SR” to adjust the balance of the surround right speaker.
•Select “SB” to adjust the balance of the surround back speaker.
•Select “SWFR” to adjust the balance of the subwoofer.
Note
“C”, “SL”, “SR”, “SB” and “SWFR” cannot be adjusted if “CENTER” (see page 78), “SUR. LR” (see page 78), “SUR. B” (see page 78) and “BASS OUT” (see page 79) are set to “NONE” respectively.
OPERATION | ADVANCED |
|
|
79