Connections
Connecting the AC power supply cable
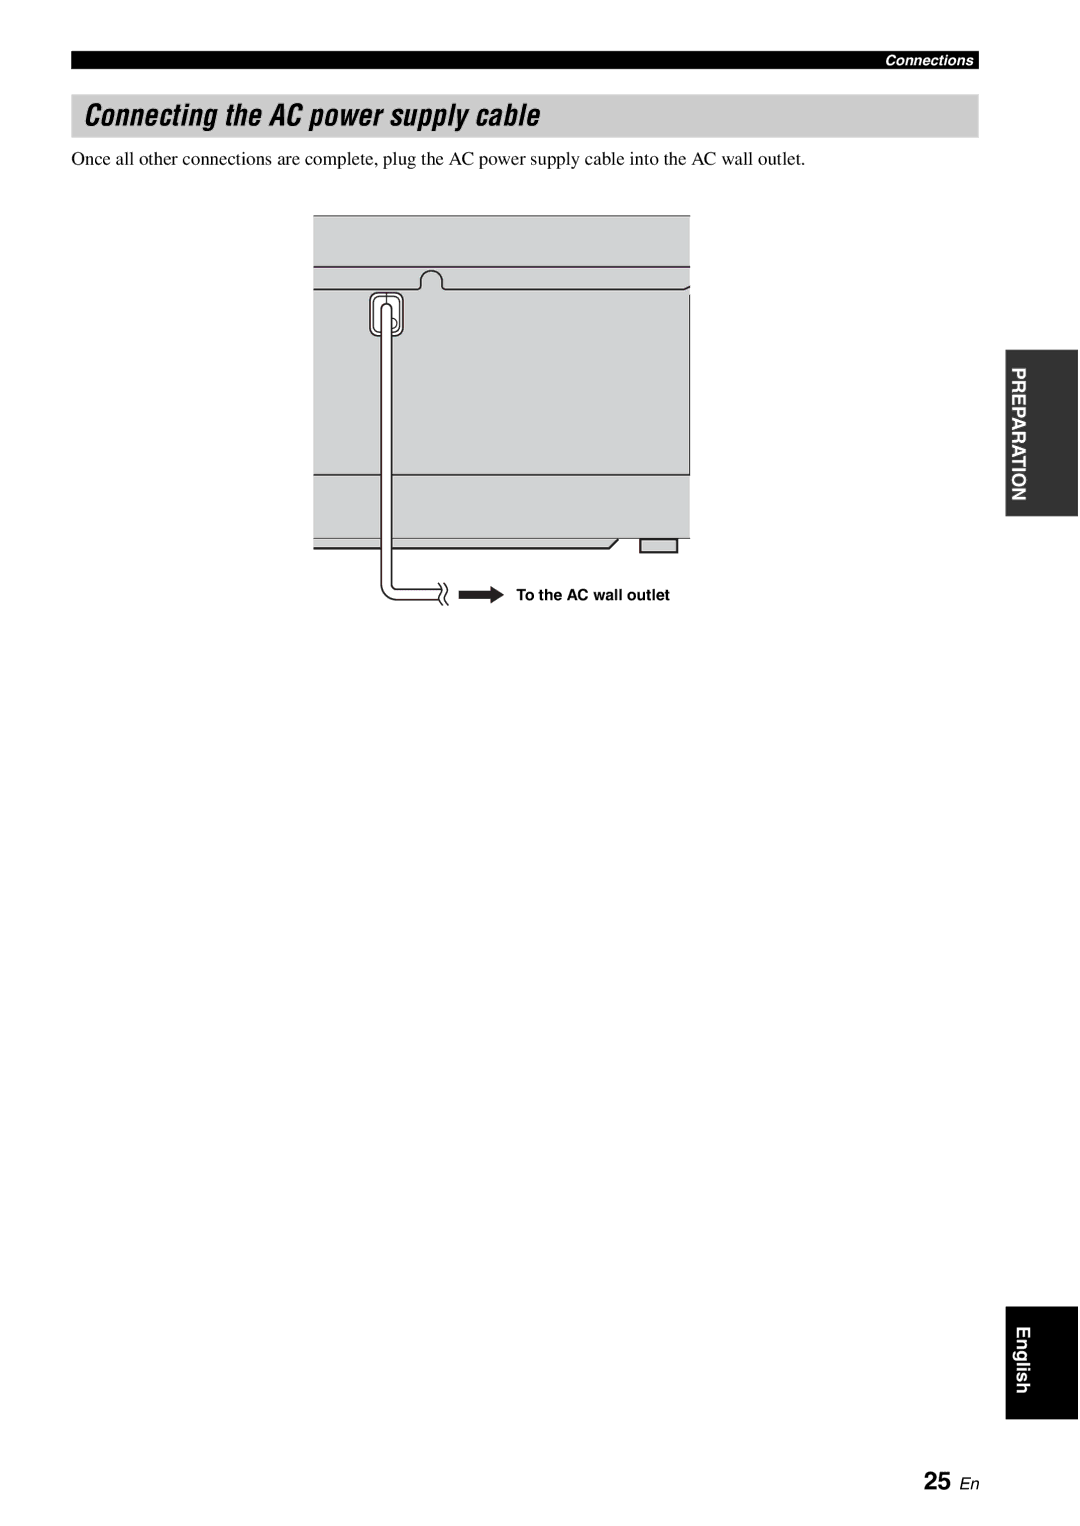
Once all other connections are complete, plug the AC power supply cable into the AC wall outlet.
PREPARATION
To the AC wall outlet
English
Connections
Once all other connections are complete, plug the AC power supply cable into the AC wall outlet.
PREPARATION
English