Pic 23
CONNECTING THE MAIN A/C SUPPLY
The Operator should be installed in accordance with local codes and national electric code.
To reduce the risk of electric shock, this equipment has a grounding type plug that has a third (grounding pin). This plug will only fit into a grounding type outlet. If the plug does not fit into the outlet, contact a qualified electrician to install the proper outlet. Do not change the plug in any way.
If it is required to permanently wire the Control unit to the permanent electric wiring in the building then this should be completed by a qualified electrician.
The factory fitted Mains power cord should be secured next. A 1.8 metres / 6 ft main power cable is supplied ready connected to the
The power plug can then be located next to a convenient power socket.
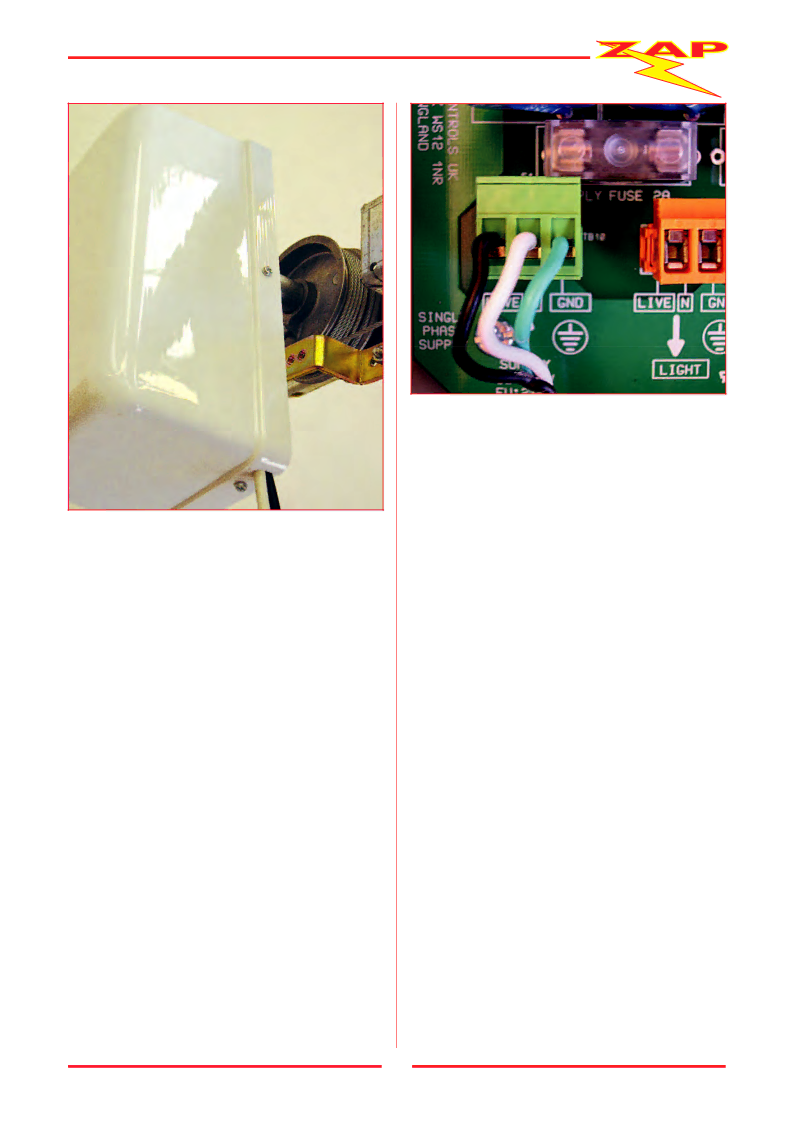
Pic 24
DO NOT PLUG THE POWER PLUG INTO THE
SOCKET YET. Please ensure that any unused cable is coiled and secured using cable clips or cable ties provided.
If the Control unit is to be wired permanently into the house wiring circuit, then the main 120 volt (Europe: 220 volt, UK 240 volt) supply lead, with plug attached, should be removed from the Control unit case as follows:
1.Ensure that the main supply plug is disconnected from the line power supply.
2.Unscrew the outer clamp nut of the cable gland through which the main supply cable passes.
3.Unplug the GREEN power connector from the panel socket.
4.Unscrew the three supply wires from the GREEN power connector.
5.Gently pull the cable through the loosened cable gland.
6.Note that two sizes of cable gland entries are provided in the Control unit case, both 3/4” and 7/8”. Either entry may be used to provide a conduit entry point for the new supply wiring. Whichever entry point is not used should be secured with a blanking plug of the correct size.
9
