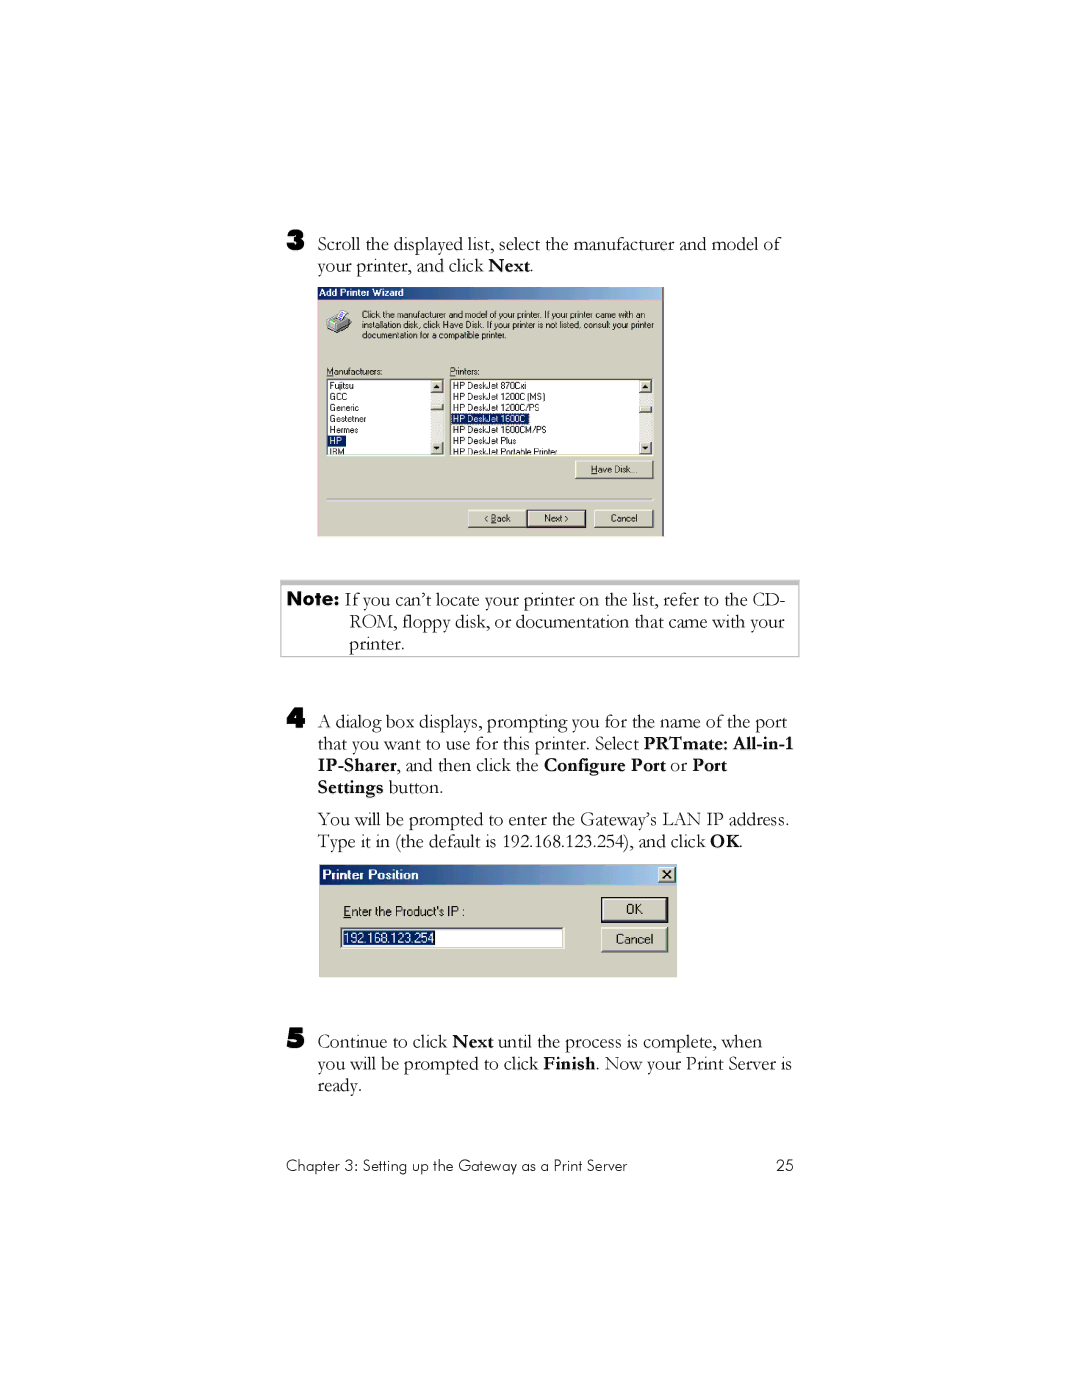
3 Scroll the displayed list, select the manufacturer and model of your printer, and click Next.
Note: If you can’t locate your printer on the list, refer to the CD- ROM, floppy disk, or documentation that came with your printer.
4 A dialog box displays, prompting you for the name of the port that you want to use for this printer. Select PRTmate:
You will be prompted to enter the Gateway’s LAN IP address. Type it in (the default is 192.168.123.254), and click OK.
5 Continue to click Next until the process is complete, when you will be prompted to click Finish. Now your Print Server is ready.
Chapter 3: Setting up the Gateway as a Print Server | 25 |
