


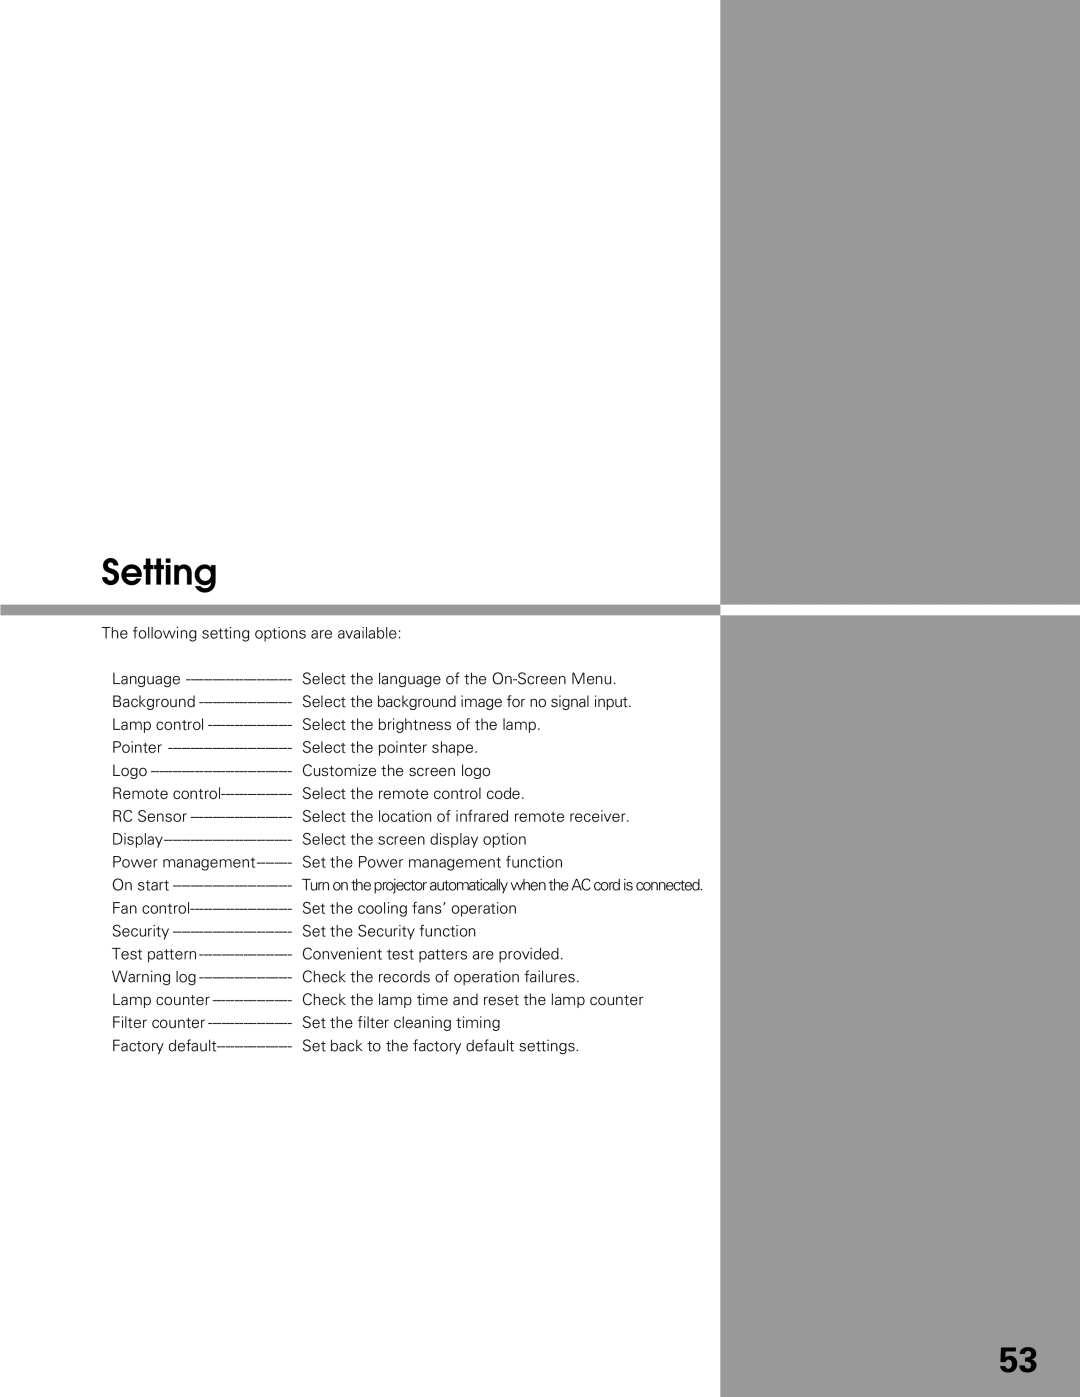


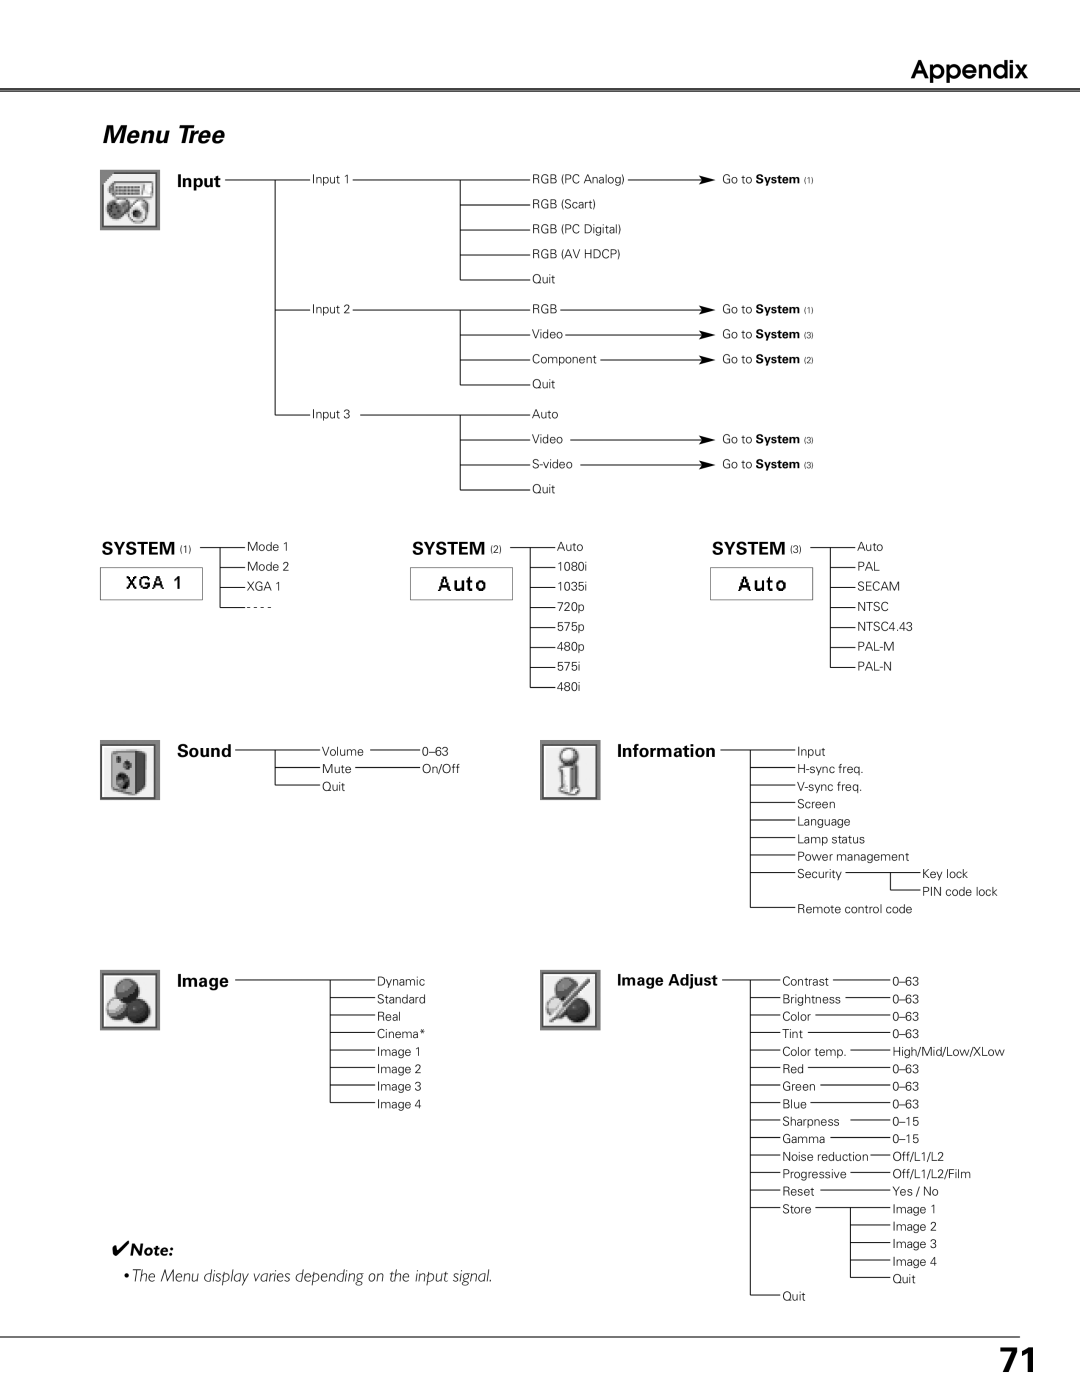
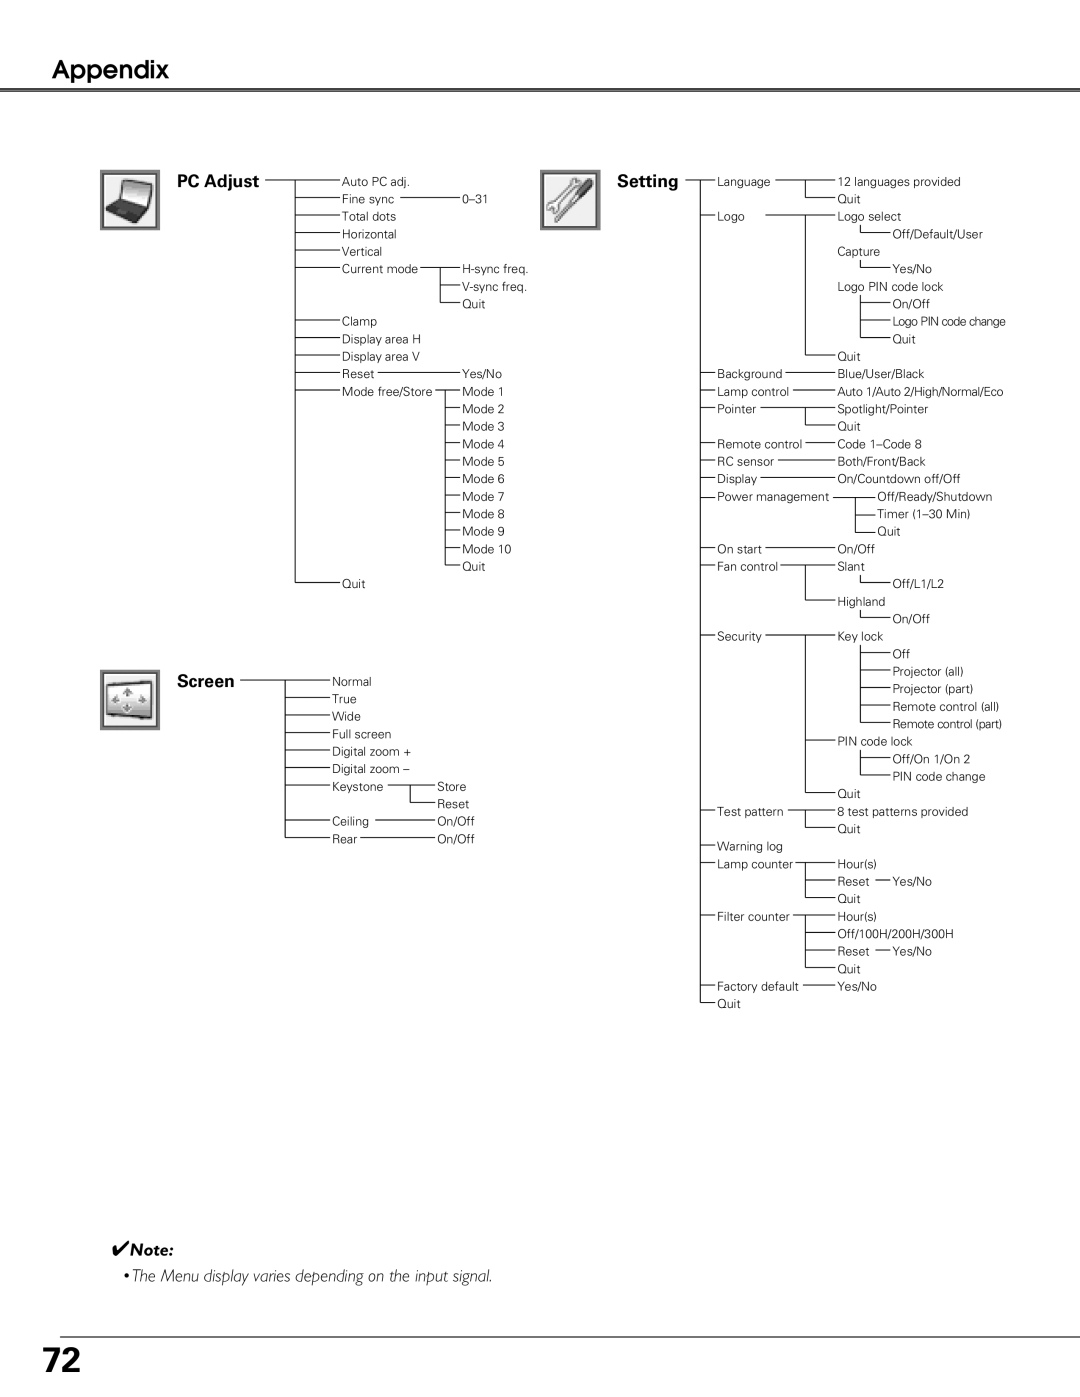

Setting
The following setting options are available:
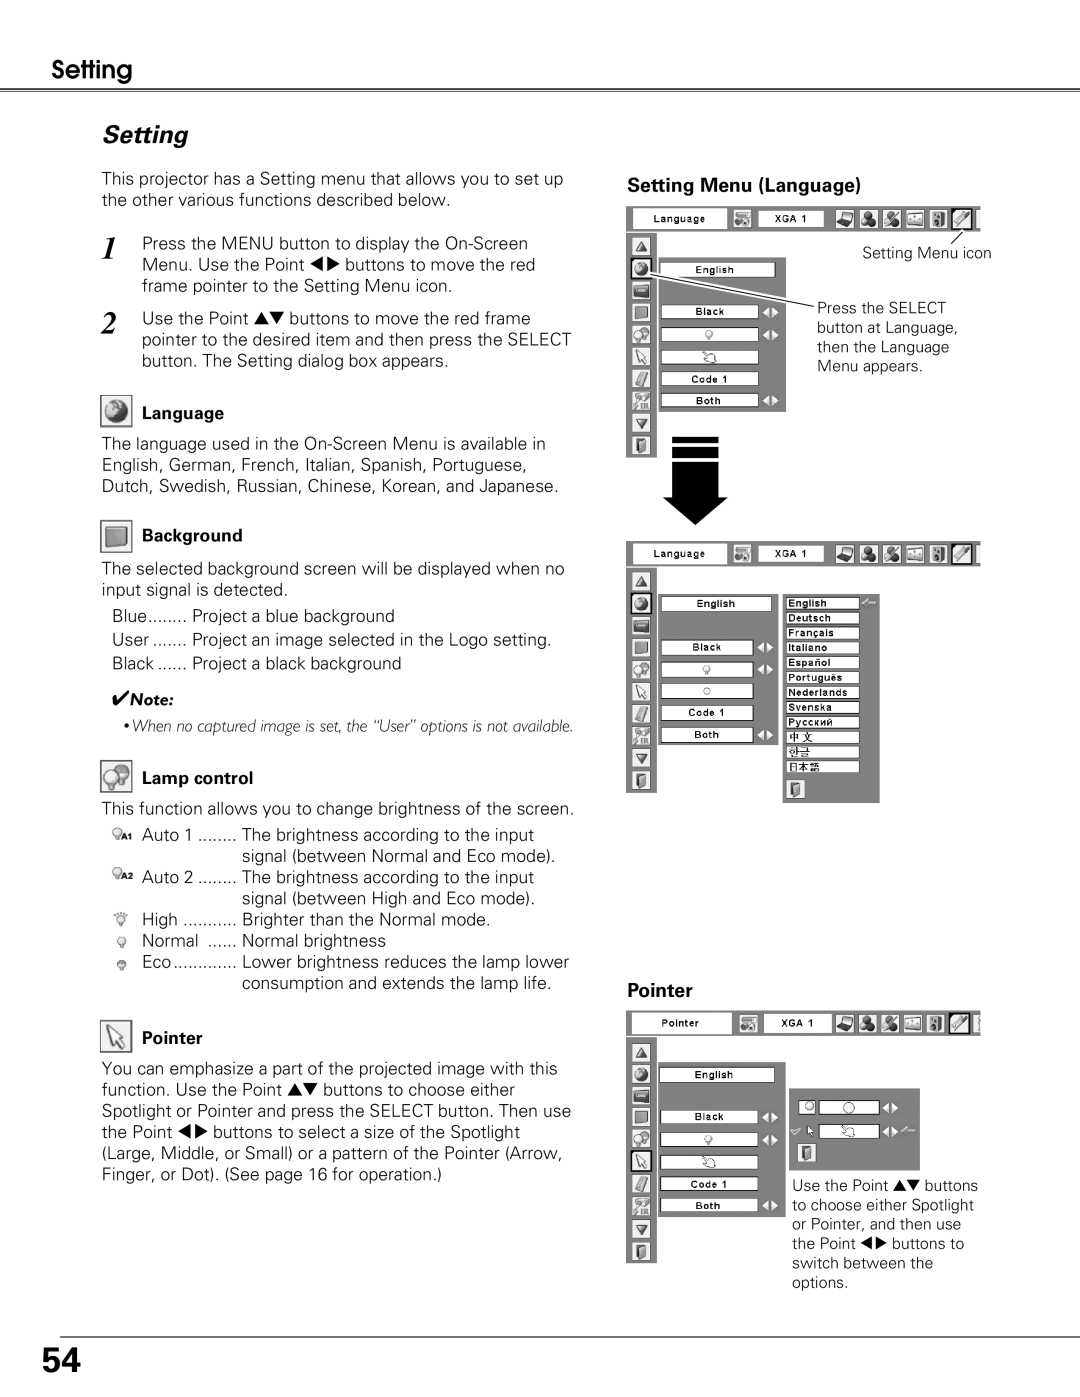
Language | Select the language of the |
Background | Select the background image for no signal input. |
Lamp control | Select the brightness of the lamp. |
Pointer | Select the pointer shape. |
Logo | Customize the screen logo |
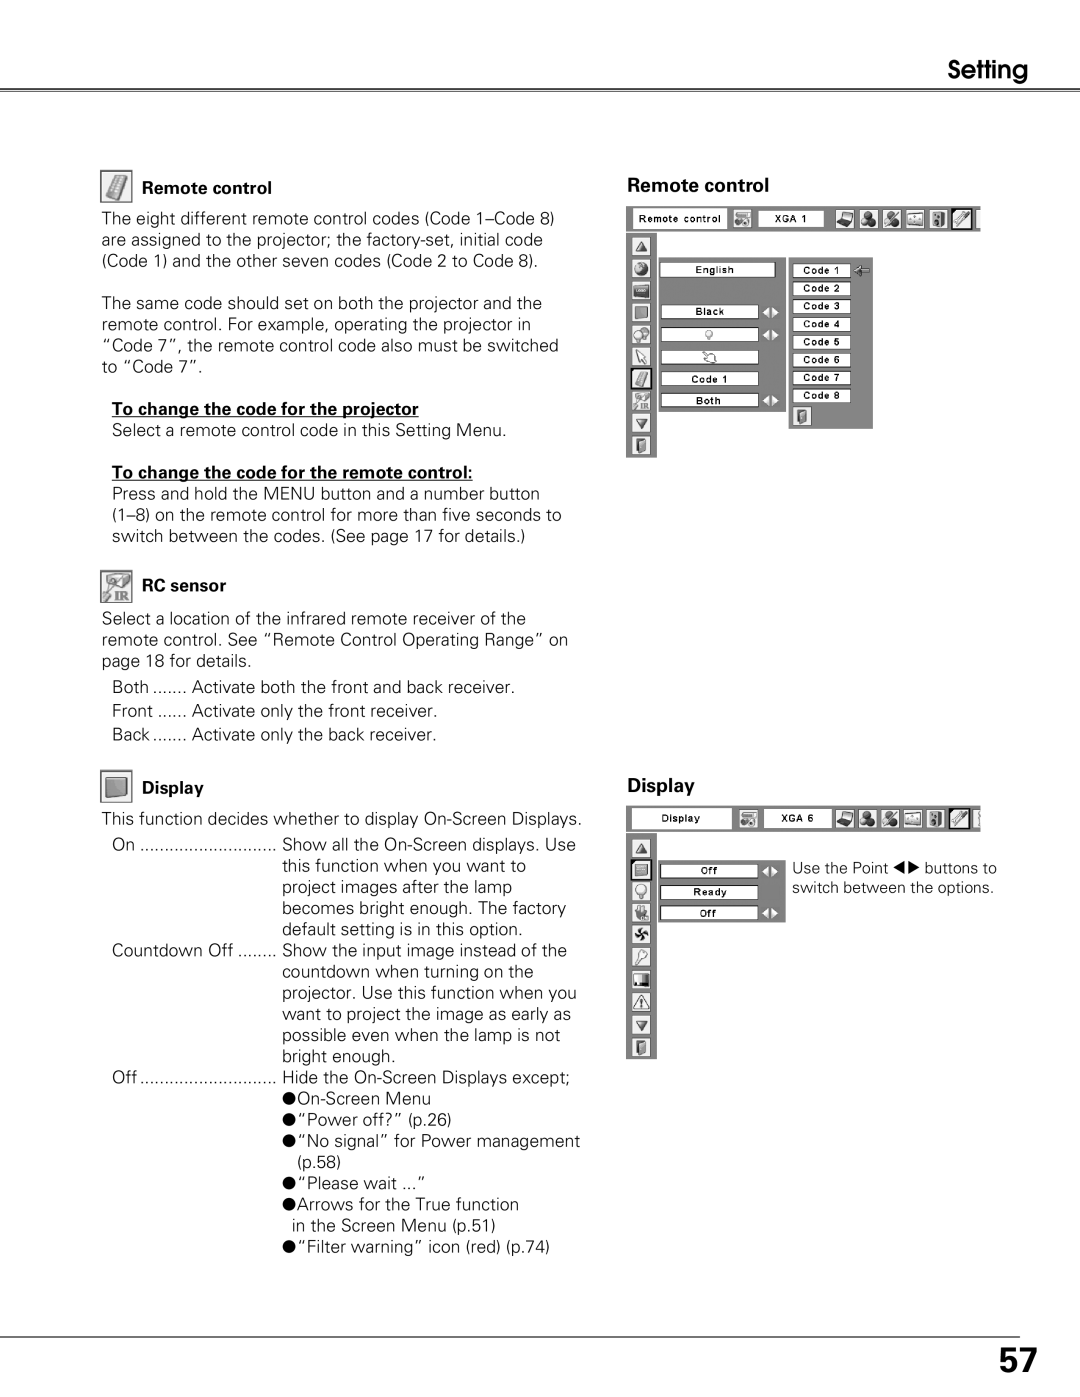
Remote | Select the remote control code. |
RC Sensor | Select the location of infrared remote receiver. |
Select the screen display option | |
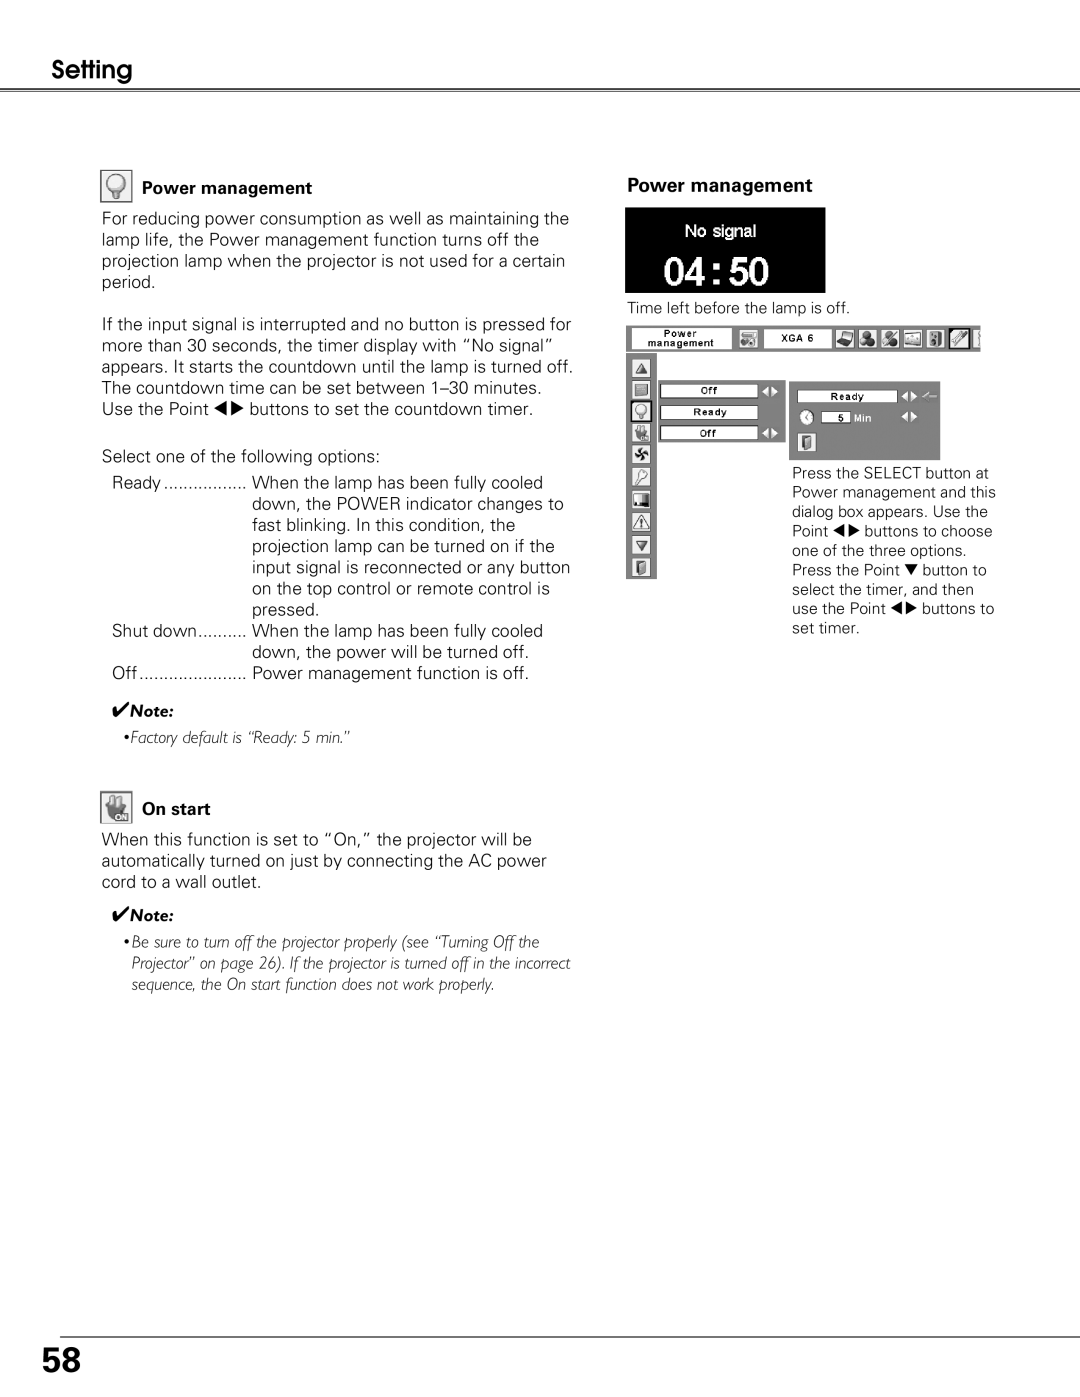
Power | Set the Power management function |
On start | Turn on the projector automatically when the AC cord is connected. |
Fan | Set the cooling fans’ operation |
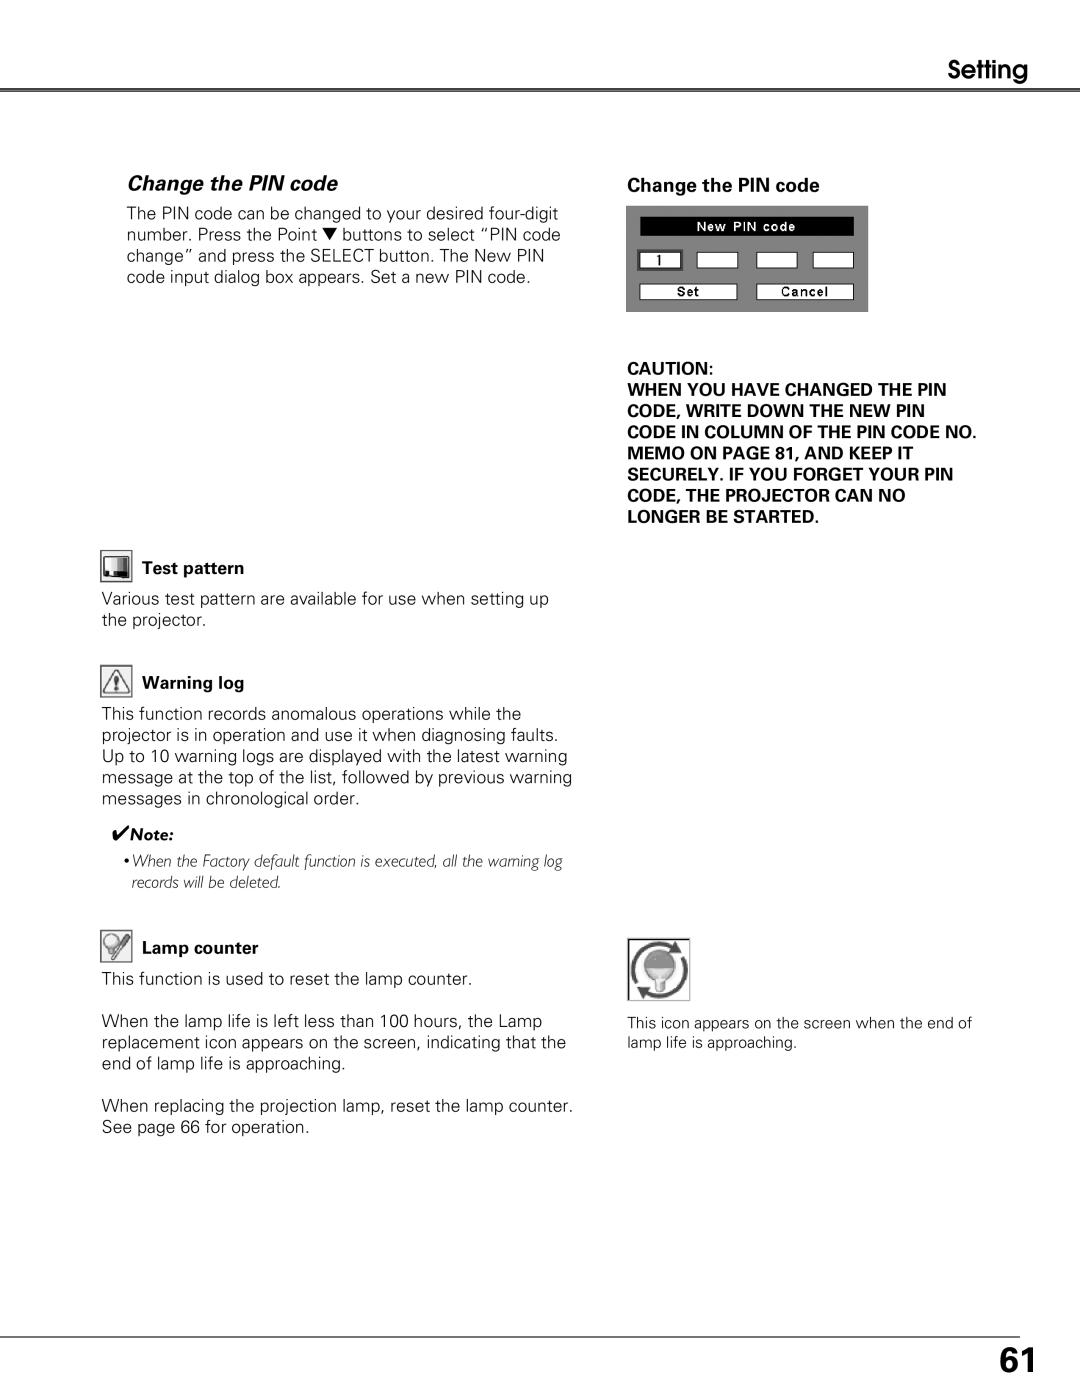
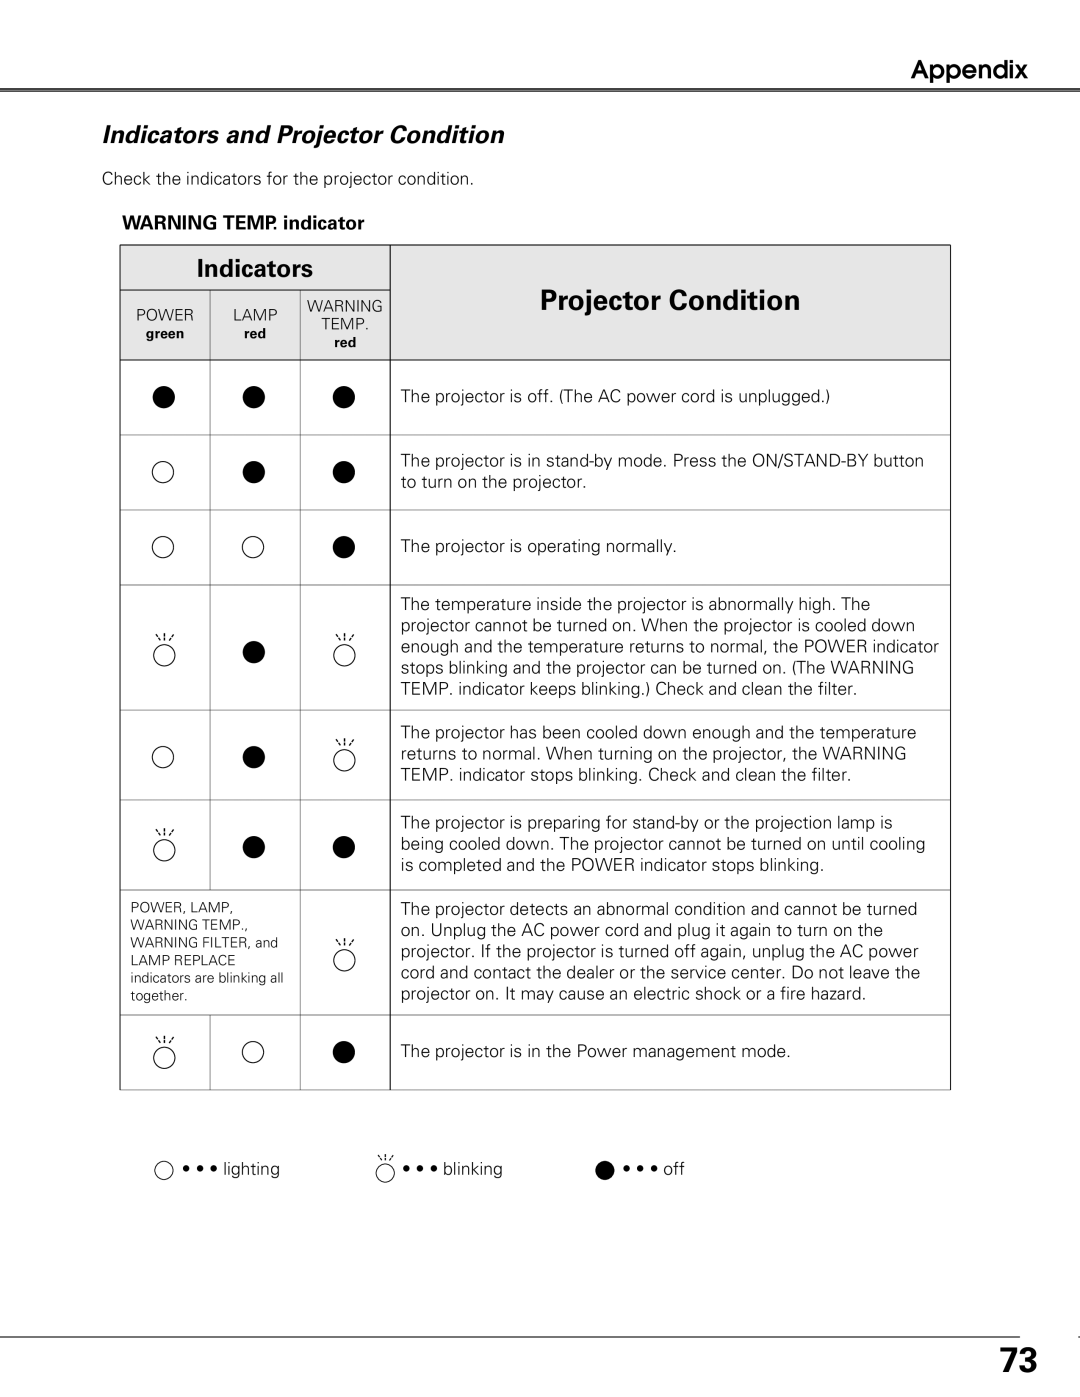
Security | Set the Security function |
Test pattern | Convenient test patters are provided. |
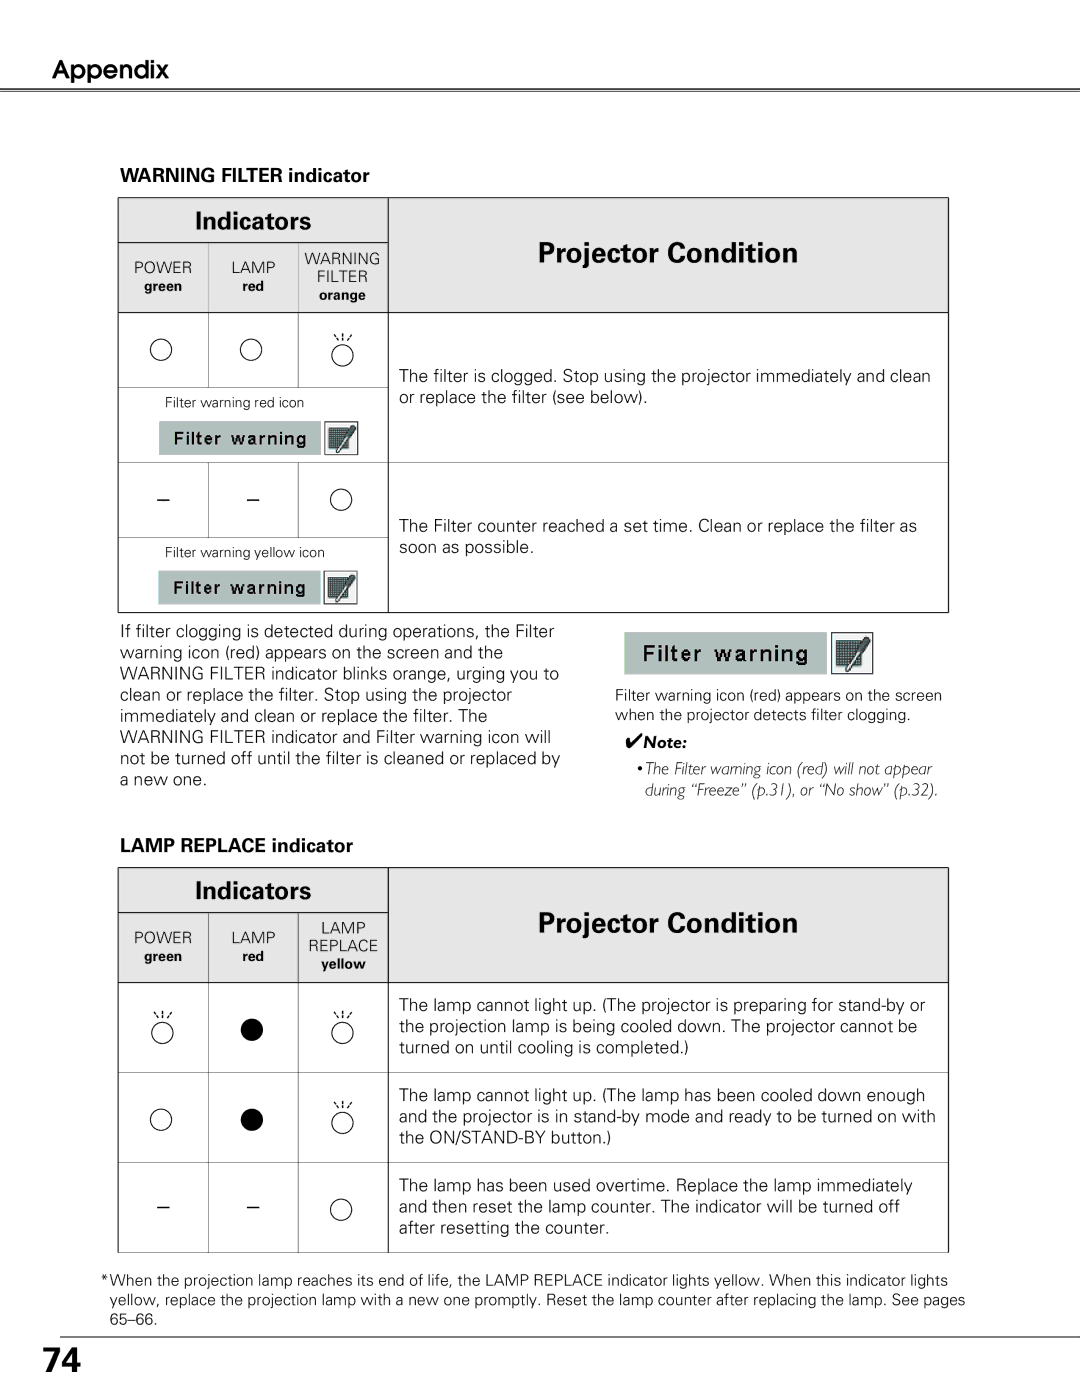
Warning log | Check the records of operation failures. |
Lamp counter | Check the lamp time and reset the lamp counter |
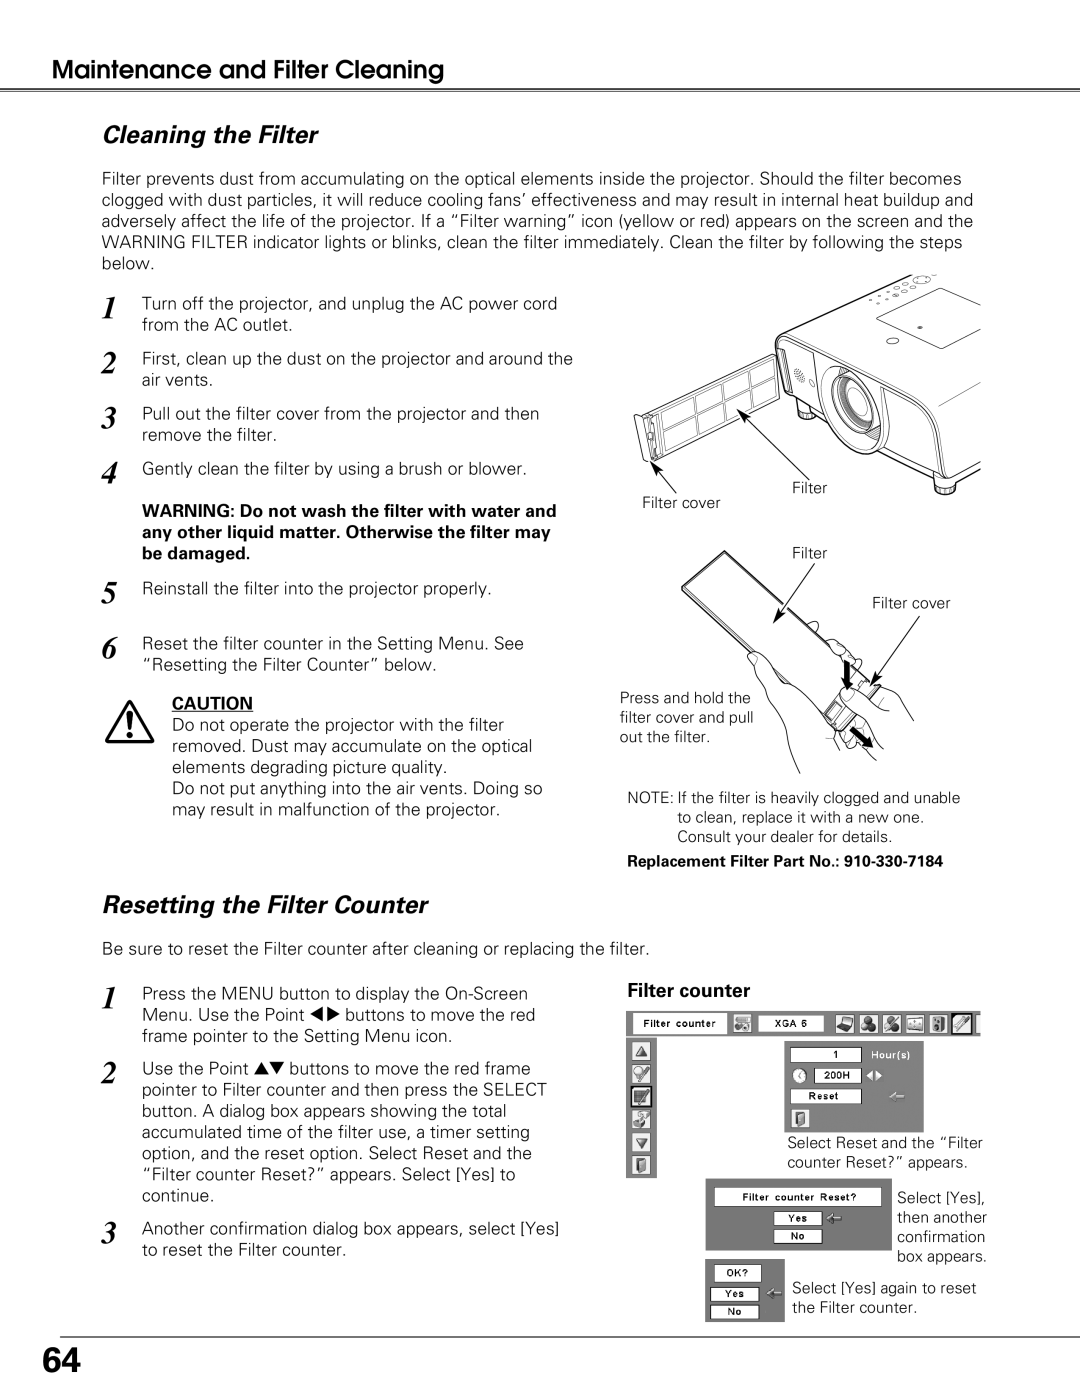
Filter counter | Set the filter cleaning timing |
Factory | Set back to the factory default settings. |
53