Fujitsu P300 user manual System Expansions, Information about boards

Page 42

1 System Expansions

It may be necessary to update the BIOS when carrying out a system expansion or hardware upgrade. In this case, please contact our customer service centre.

When installing components with a high power loss, make sure that the maximum permissible temperatures of the individual components are not exceeded.

The device must be switched off when installing/removing the system expansions and may not be in the Suspend mode.

This chapter describes all the activities required to modify your PC hardware (e.g. installing boards or drives).

Read the supplied documentation before installing new drives and/or boards.

Information about boards

Take care with the locking mechanisms (catches and centring pins) when you are replacing the system board or components on the system board.

To prevent damage to the system board or the components and conductors on it, please take care when you insert or remove boards. Make sure expansion boards are inserted straightly.

Never use sharp objects (screwdrivers) for leverage.

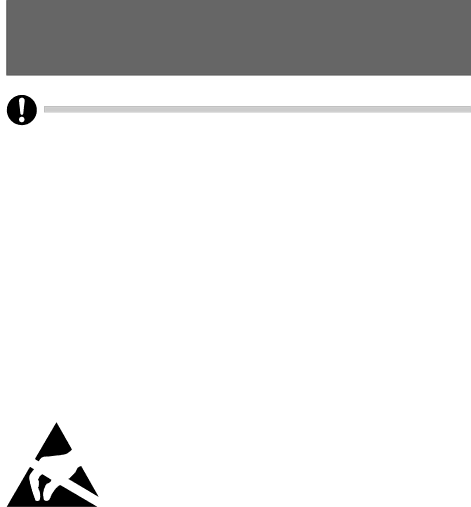
Boards with electrostatic sensitive devices (ESD) are identifiable by the label shown.

When you handle boards fitted with ESDs, you must, under all circumstances, observe the following points:

Some peripheral devices may not be used on your PC.

You must always discharge static build up (e.g. by touching a grounded object) before working.

The equipment and tools you use must be free of static charges. Remove the power plug from the mains supply before inserting or removing boards containing ESDs.

Always hold boards with ESDs by their edges.

Never touch pins or conductors on boards fitted with ESDs.

28

Image 42
Contents Deskpower P300 Series User’s Manual Important Safety Instructions Iii Before reading this manual For Safe OperationUsing this Product for High-Safety Applications Backing Up the DataMicrosoft Service Pack Conventions Used in This Manual IntroductionNotational conventions Manufacturer’s notes SafetyImportant Notes Energy savingFCC Class B Compliance Statement Cleaning the keyboard and the mouse Cleaning the PCCleaning the system unit and the monitor Transporting the PCDisposal and recycling Reference to productsXii Organization of This Manual Before Reading This ManualContents Technical Data System ExpansionsChapter Unpacking and Checking the Delivery Steps for Initial SetupPreparing for Use External devicesConnecting standard keyboard Setting Up the PCConnecting the keyboard Connect the Monitor, Mouse and KeyboardConnecting the mouse Connecting a PS/2 mouseConnecting USB mouse Devices without main power switch Connecting the PC to the Mains VoltageDevices with main power switch Notch for inserting the screwdriverInitial Switch-on Software will be Installed Switching on monitor and PCInstalling the software Connecting External Devices Connecting cablesDisconnecting cables LAN Connections on the system unitSettings of the serial port Connecting external devices to the serial portConnecting external devices to the parallel port Settings of the parallel portOperation On devices without main power switch Switching On the PCOn devices with main power switch OperationSwitching Off the PC Power-on indicator Indicators on the PCHard disk indicator Floppy disk indicatorKeyboard Point Floppy Disks Working with Floppy DisksProperty and Data Protection Settings in Bios SetupAccess Protection Under Windows Anti-theft protectionBios Setup Security Functions Troubleshooting Tips Mains voltage supply is faulty Troubleshooting and TipsInstalling New Software Internal power supply overloadedScreen stays blank Wrong monitor has been set under Windows 2000/XP No Mouse Pointer Displayed on the ScreenFloppy Disk Cannot be Read or Written Wrong RAM modules have been insertedTips PC cannot be switched off with the power buttonTime and/or Date is Not Correct Out of system resourcesPage System Expansion System Expansions Information about boardsOpening the casing Closing the casingInstalling and removing a board Installing a boardTake the new board out of its packaging Page Removing a board Page Mounting slot adapter Installing an Additional Serial PortLow-Profile boards Removing slot adapterInstalling and Removing the Hard Disk Drives Removing a hard disk driveInstalling a hard disk drive Replacing Lithium Battery Page Technical Data Technical Data List of SpecificationsDimensions Weight Electrical Data Environmental conditions