Connections
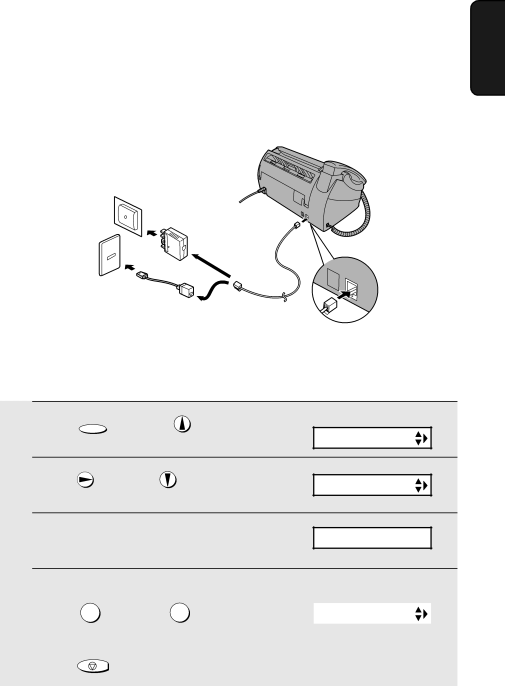
Connecting the telephone line cord
Insert one end of the telephone line cord into the adapter. Insert the other end of the line cord into the socket on the back of the machine marked TEL. LINE. Plug the adapter into the telephone socket on the wall.
For Australia
1. Installation
TEL. | |
SET | TEL. |
| LINE |
For New Zealand
Dial mode:
The fax machine is set for tone dialling. If you are on a pulse dial line, you must set the fax machine for pulse dialling. Press the keys on the operation panel as follows:
1
2
Press FUNCTION once and | Display: | |
once. | ||
|
| OPTION SETTING |
Press | once and | 3 times. |
|
| DIAL MODE |
3 Press ![]() once.
once.
1=TONE, 2=PULSE
4
5
Select the dial mode: | The display briefly shows | ||||
your selection, then: | |||||
|
|
| |||
TONE: 1 | PULSE: 2 |
|
| ||
PSEUDO RING |
| ||||
|
|
|
|
| |
Press | STOP | to exit. |
|
| |
|
|
| |||
Note: For all units installed in New Zealand, select "1" for tone dialling. The pulse setting "2" will not operate correctly and must not be used.
11