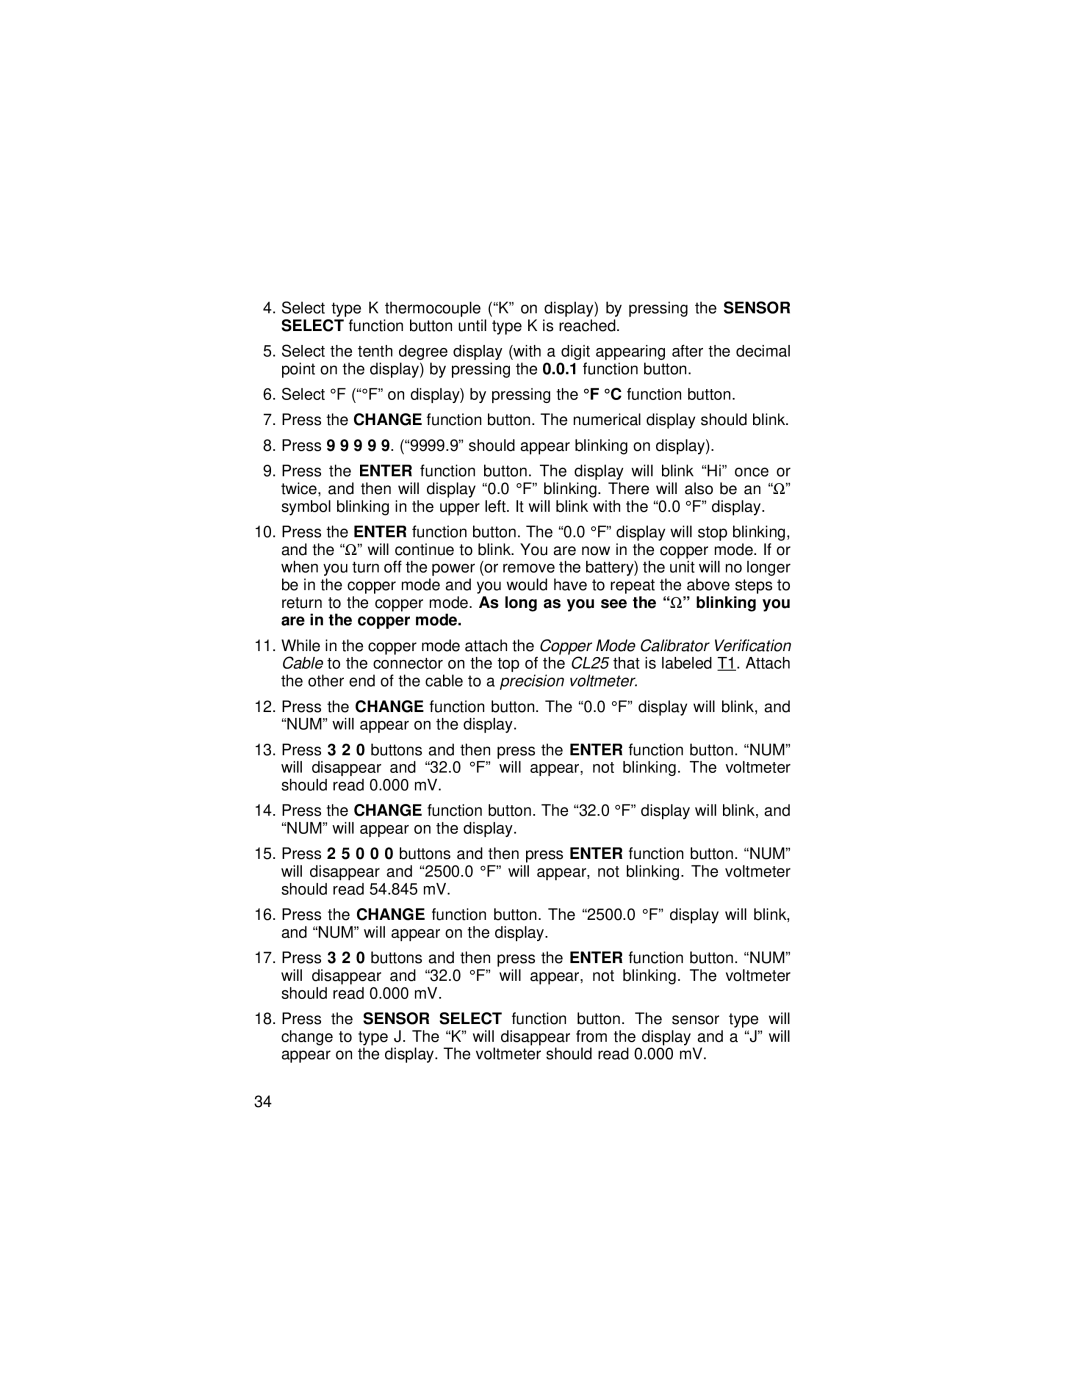
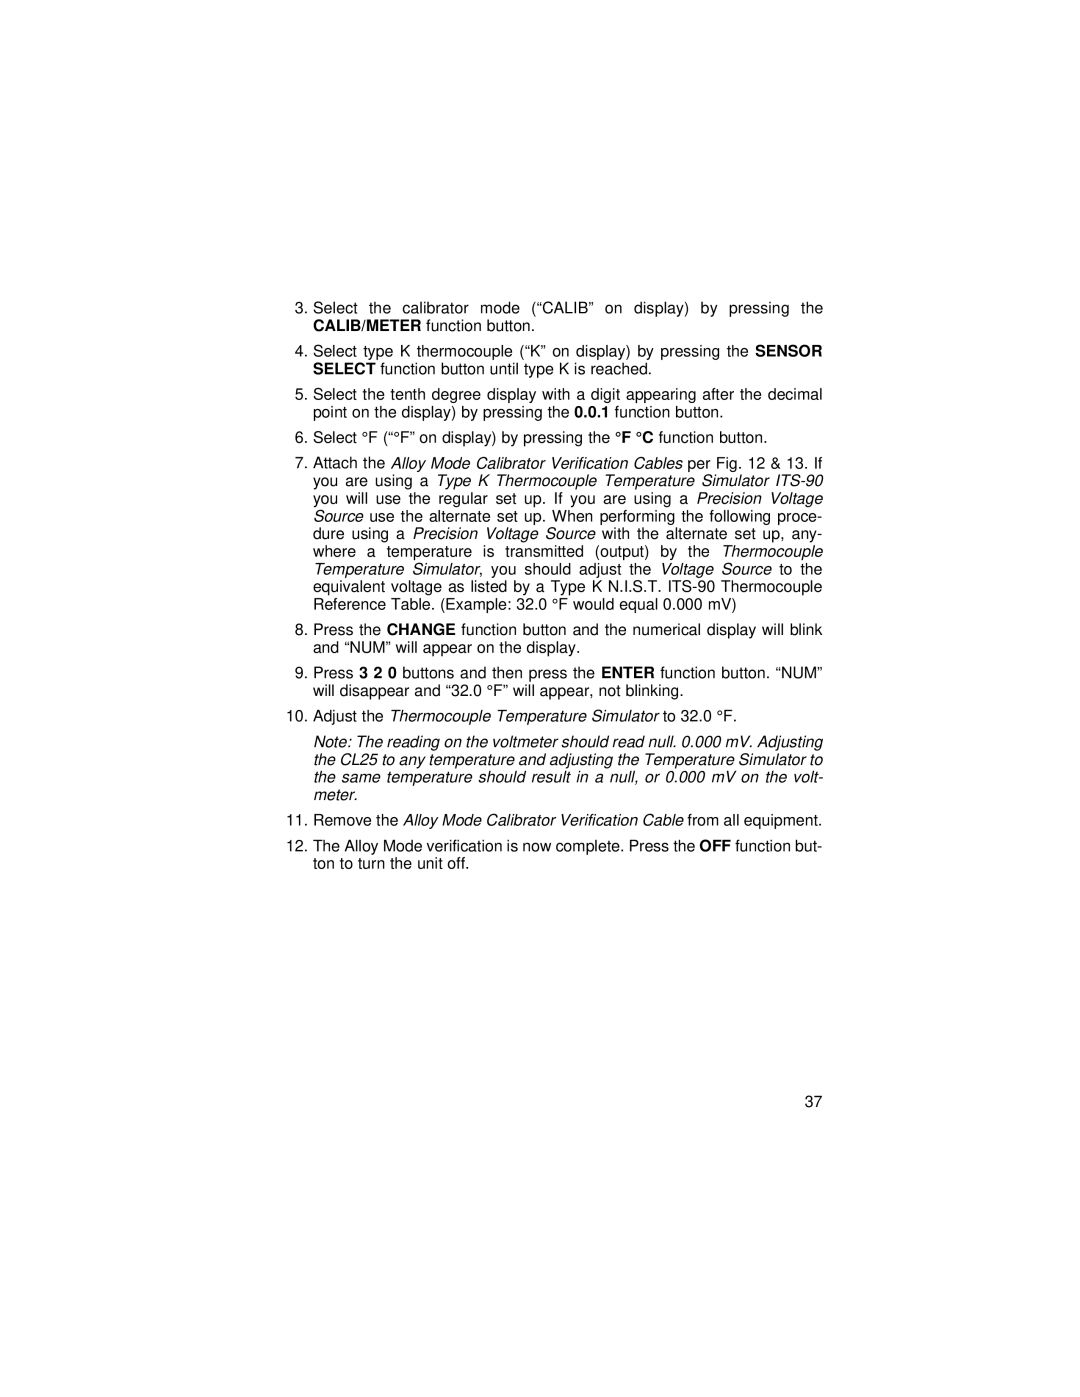
4.Select type K thermocouple (“K” on display) by pressing theSENSOR SELECT function button until type K is reached.
5.Select the tenth degree display (with a digit appearing after the decimal point on the display) by pressing the 0.0.1 function button.
6.Select °F (“°F” on display) by pressing the°F °C function button.
7.Press the CHANGE function button. The numerical display should blink.
8.Press 9 9 9 9 9. (“9999.9” should appear blinking on display).
9.Press the ENTER function button. The display will blink “Hi” once or twice, and then will display “0.0 °F” blinking. There will also be anΩ“” symbol blinking in the upper left. It will blink with the “0.0 °F” display.
10.Press the ENTER function button. The “0.0 °F” display will stop blinking, and the “Ω ” will continue to blink. You are now in the copper mode. If or when you turn off the power (or remove the battery) the unit will no longer
be in the copper mode and you would have to repeat the above steps to return to the copper mode. As long as you see the “Ω ” blinking you are in the copper mode.
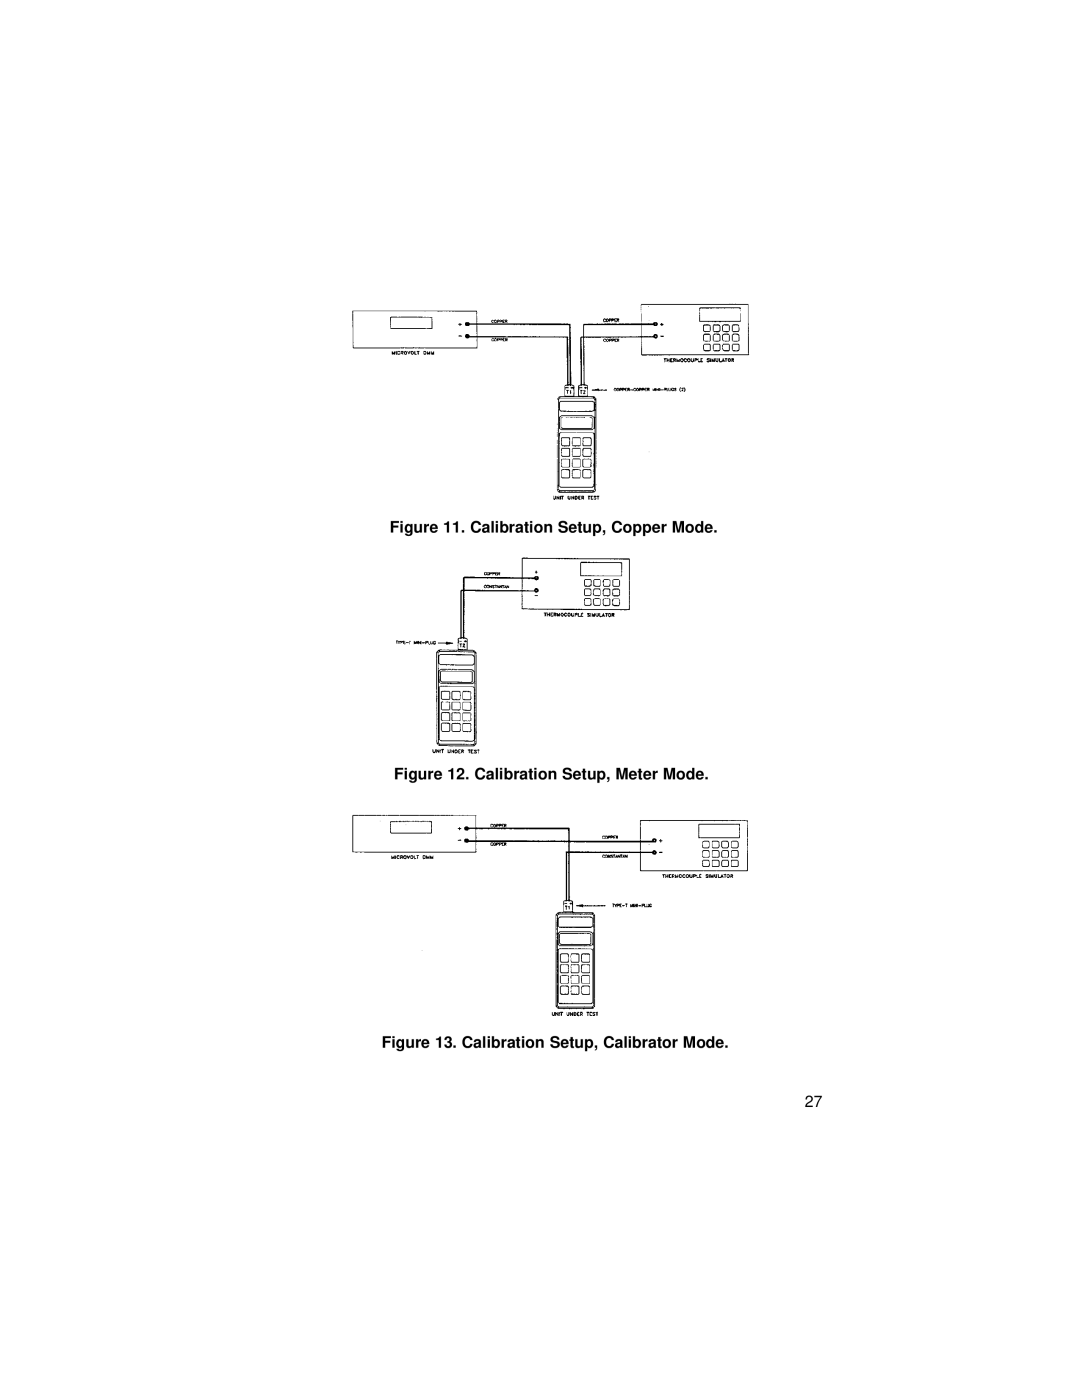
11.While in the copper mode attach the Copper Mode Calibrator Verification Cable to the connector on the top of the CL25 that is labeled T1. Attach the other end of the cable to a precision voltmeter.
12.Press the CHANGE function button. The “0.0 °F” display will blink, and “NUM” will appear on the display.
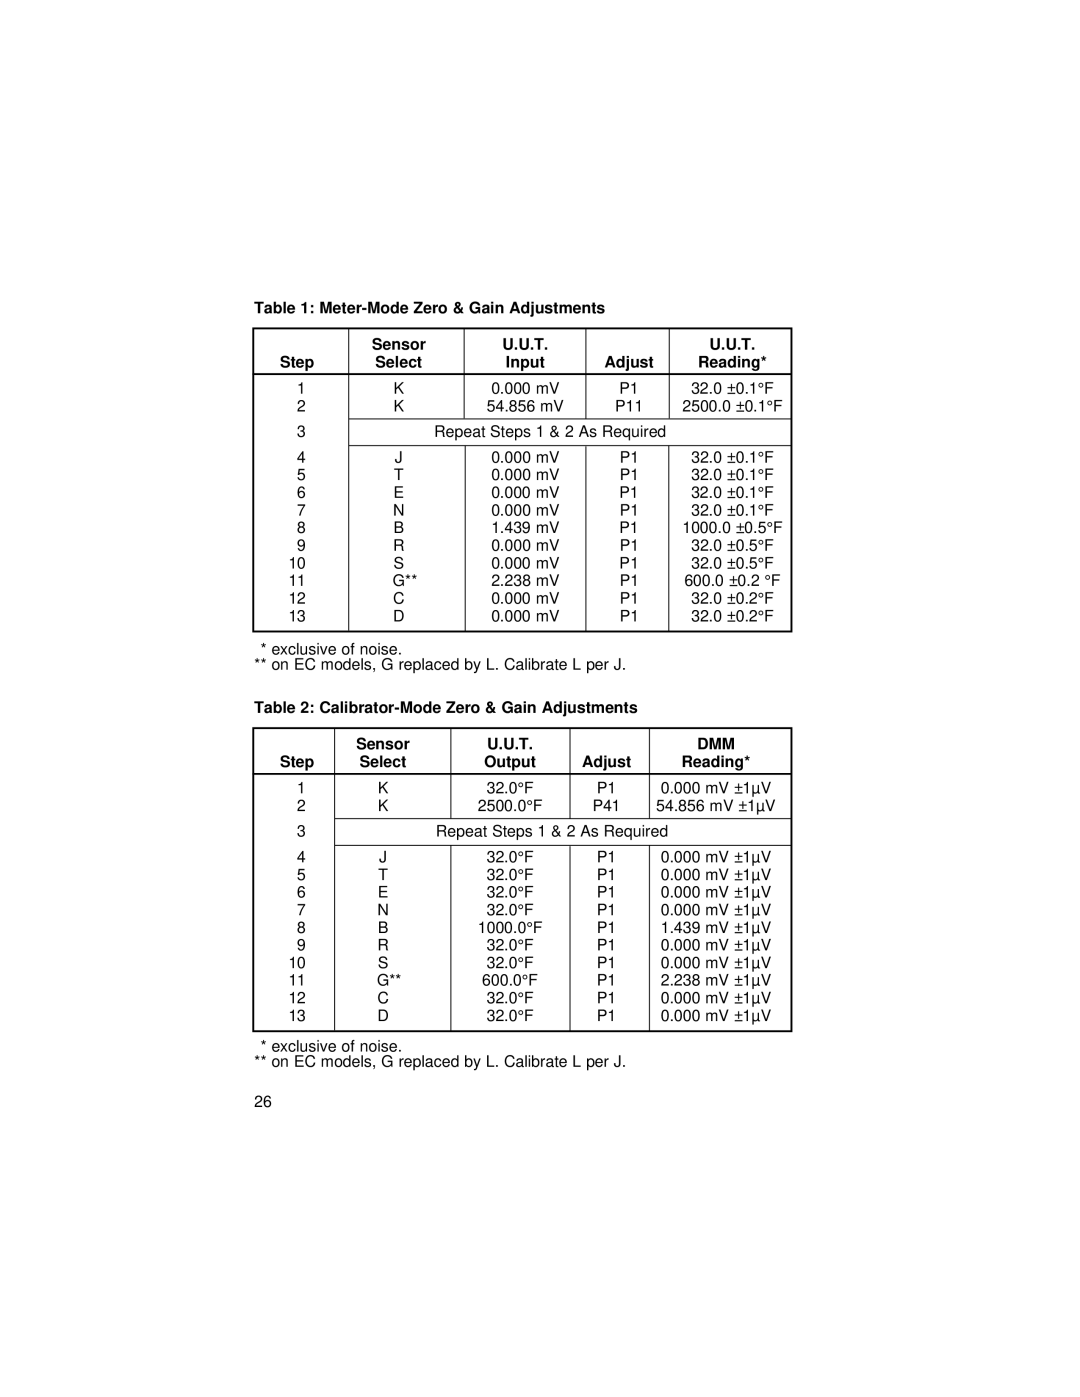
13.Press 3 2 0 buttons and then press the ENTER function button. “NUM” will disappear and “32.0 °F” will appear, not blinking. The voltmeter should read 0.000 mV.
14.Press the CHANGE function button. The “32.0 °F” display will blink, and “NUM” will appear on the display.
15.Press 2 5 0 0 0 buttons and then press ENTER function button. “NUM” will disappear and “2500.0 °F” will appear, not blinking. The voltmeter should read 54.845 mV.
16.Press the CHANGE function button. The “2500.0 °F” display will blink, and “NUM” will appear on the display.
17.Press 3 2 0 buttons and then press the ENTER function button. “NUM” will disappear and “32.0 °F” will appear, not blinking. The voltmeter should read 0.000 mV.
18.Press the SENSOR SELECT function button. The sensor type will change to type J. The “K” will disappear from the display and a “J” will appear on the display. The voltmeter should read 0.000 mV.
34
