Aastra Telecom 41-001286-00 manual Configuring the Phone Using the Handset

Page 23

If your MBU 400 has not yet been configured for internet calls, you will see this message on the handset screen:

Configure SIP domain

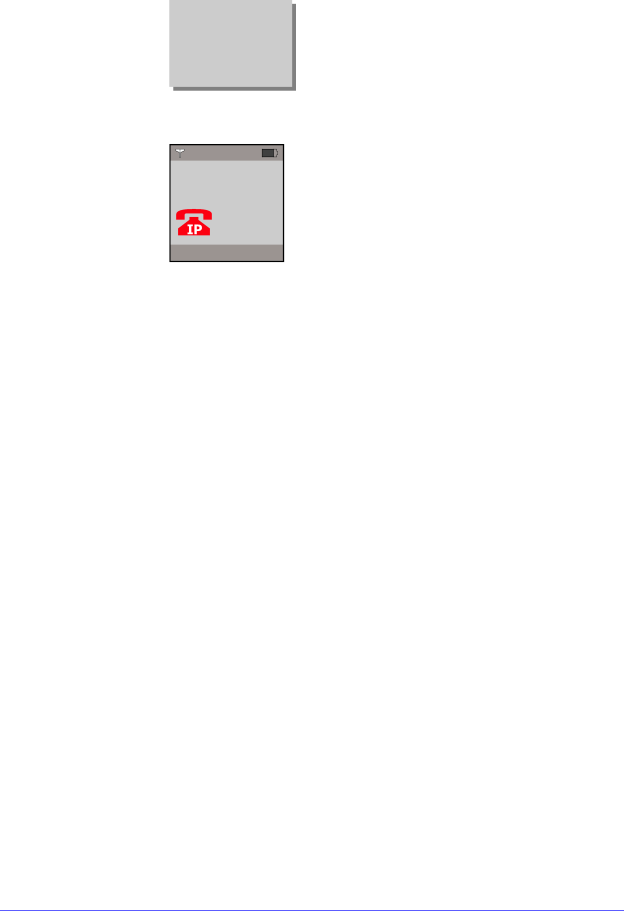
If you try to initiate a VoIP call, you will see the disconnected screen:

Disconnected

Connection error...

0:00:00

Configuration information can be entered through the handset, or by the System Administrator using a web browser. See the Aastra MBU 400 Administrator Guide for details of web configuration menus.

Configuring the Phone Using the Handset

In order to configure your phone using the handset, you need the Domain Name and SIP Proxy information from your Internet Service Provider (ISP). If a PIN code has been set by your System Administrator, you will also need the 4-digit PIN code.

To configure your phone using the handset, do the following.

1.In Idle mode, press OK z(the black circular button) to display the Main Menu.

2.Select Settings and press OK z.

3.Select VoIP settings, and press OK z.

4.If prompted, enter the 4-digit PIN code and press OK z.

5.Select Accounts and press OK z.

Specify the Domain and the SIP proxy:

6.Select Domain, and press OK z.

7.Enter the domain name provided by your ISP, and press OK z.

8.Select SIP Proxy and press OK z.

9.Enter the domain name or IP address of the SIP proxy, if it is different from the domain name in Step 2.

10.Press OK z.

Note: If you have more than one VoIP account, you must repeat the procedure above for each account. You can have up to 8 phones registered with the MBU 400 gateway, and up to 8 VoIP accounts.

11. Select a SIP account, and press OK z. Valid values are SIP 1 through SIP 8.

Getting Started

Aastra MBU 400 User Guide

23

Image 23
Contents MBU 400TM Page Table of Contents Table of ContentsManaging Calls Importantes mesures de sécurité Important Safety InstructionsImportant Safety Instructions Software License Agreement Software License AgreementFCC Information FCC InformationConsumer Information US Service CenterApplicable for Coin or Pay Phone Only Safety Information Safety InformationFor countries outside the European Union Battery Disposal InformationPage Documentation About This GuideAbout This Guide Introduction FeaturesMBU Features Call and Telephony FeaturesDisplay Aastra 420d Handset FeaturesOther MBU Features Other Handset Features Audio FeaturesRequirements Installation and SetupMBU Gateway Getting StartedGetting Started Call Registering the 420d HandsetKeys Key Description 420d Handset Key DescriptionsIP address of your phone system MBU 400 IP Address and System StatusGetting Configuring Your Phone for First-Time UseStarted Specify the Domain and the SIP proxy Configuring the Phone Using the HandsetGetting Started Handset Idle Screen Using the 420d HandsetUsing the 420d Handset Idle Mode OptionsMain Menu Handset Main MenuUsing the Speakerphone Using the Volume ControlLocking/Unlocking the Keypad Changing the PIN Code for VoIP SettingsChanging the Access Code Changing the Access Code on the Handset Changing the Access Code on the GatewayChanging the Handset Name Entering Text, Numbers, and SymbolsCustomizing Your Phone Customizing Your PhoneInput Characters Input SymbolsText Input Modes Reaching the Language List Directly Setting Time and DateAutomatic Time/Date Settings Specifying a Language on the HandsetChanging Time Format Setting Time ManuallySetting Date Manually Changing Time Zone Changing Date FormatChoosing VoIP or Landline Setting Daylight Saving Time DSTSpecifying the Primary Line for Outgoing Calls Choosing SIP Account Specifying Call GroupsChanging the Display Contrast Setting Audio Setting Do Not DisturbSetting Call Waiting Changing the Ringer Melody Resetting the HandsetChanging the Ringer Volume Changing the Keypad Sound Changing the Message ToneChanging Advisory Tones Enabling/Disabling Silent ModeSetting Your Phone to Vibrate Changing Emergency Line Settings Making a VoIP Call over the Internet Making and Answering CallsMaking and Answering Calls VoIP CallsMaking a Landline Call Landline CallsIntercom Calls Calling a Contact on the Primary Line Calling from the Contacts ListMaking an Intercom Call Calling All HandsetsCalling from the Call Log on the Primary Line Calling from the Call LogCalling a Contact on a Secondary Line Redialing on a Secondary Line Calling Using RedialCalling from the Call Log on a Secondary Line Redialing on a Primary LineAnswering Calls Calling Using SpeeddialCaller ID Any Key Answer ModeMaking Emergency Calls Calling with a Call on Hold Handling CallsHandling Calls Placing a Call on HoldTransferring a Call Muting/Unmuting a CallSwapping Calls Conferencing CallsTransferring to a Contacts List Number Transferring CallsTransferring to another Handset Transferring to a VoIP or LandlineEnding Calls Contacts List Managing CallsManaging Calls Editing a Contact Adding a ContactDeleting All Contacts Changing the Default Number for a ContactDeleting a Contact Creating a Contact Group Creating a Speeddial for a ContactGroups of Contacts Adding a Contact to a Group Call LogViewing Entries in the Call Log Voicemail Manually Registering/De-registering a Handset Additional FeaturesAdditional Features Resetting the MBUUpdating the Firmware Changing Internet SettingsUpdating the MBU 400 System Firmware Troubleshooting TroubleshootingIssue Causes Solution There is no audio when I make Issue Causes Solution Cannot make Internet calls, but it After Warranty Service Limited WarrantyLimited Warranty Warranty Repair ServicesPage Any key answer mode Index SIP Page