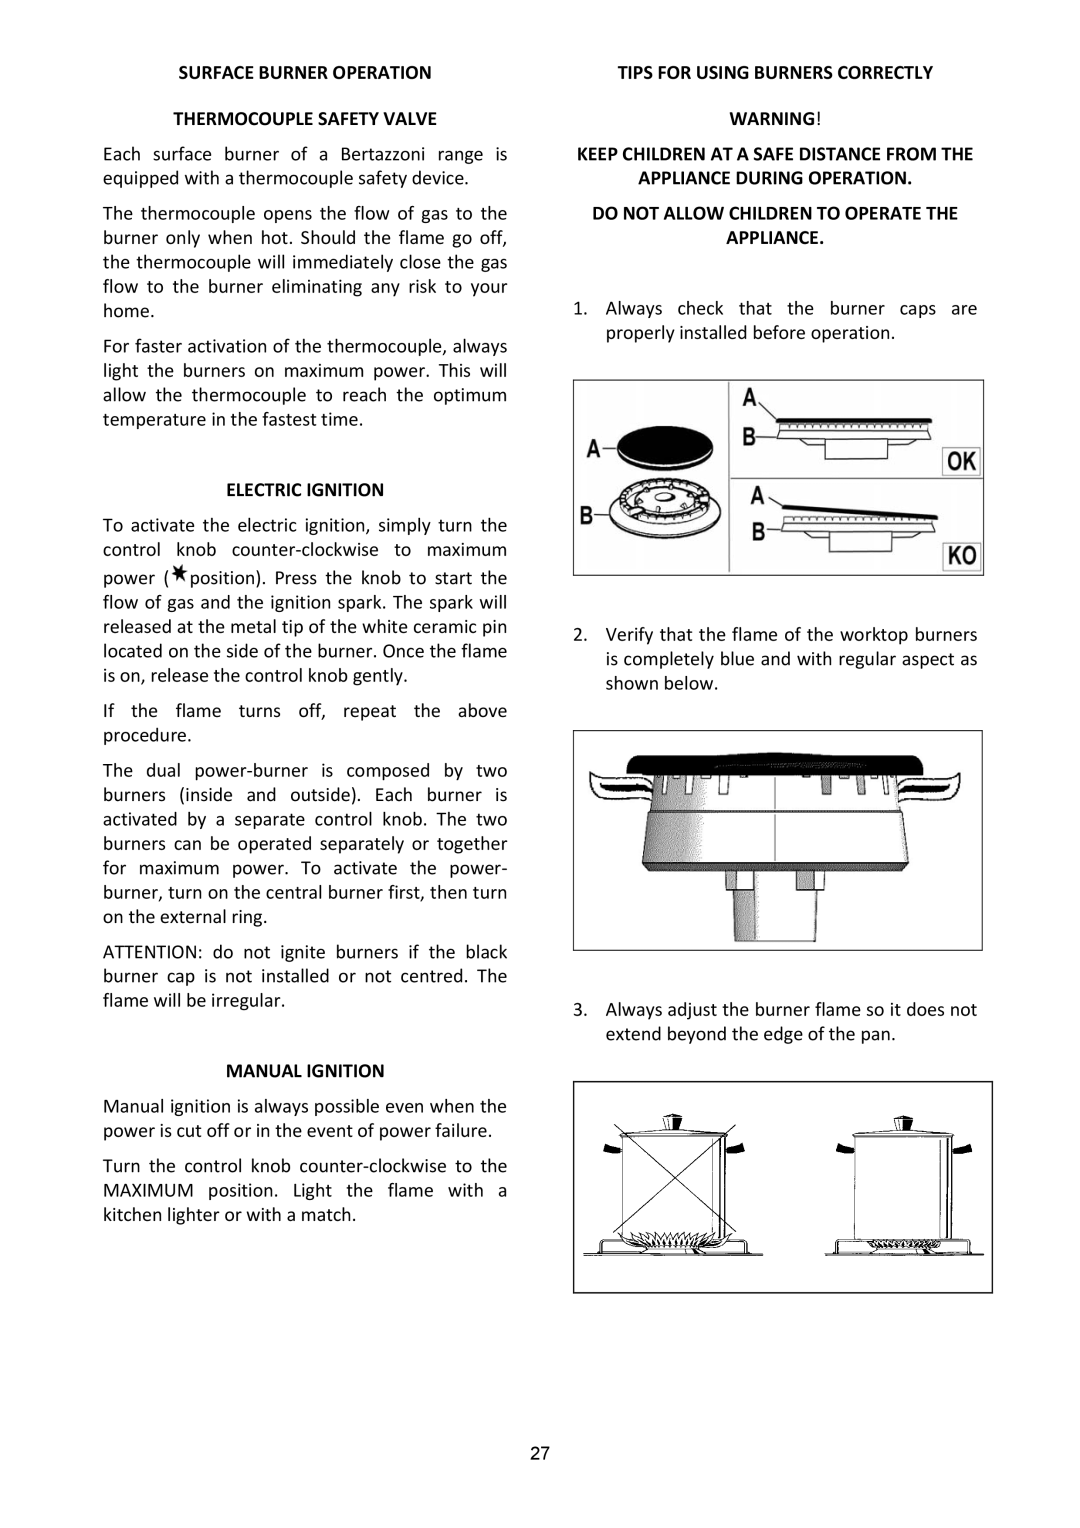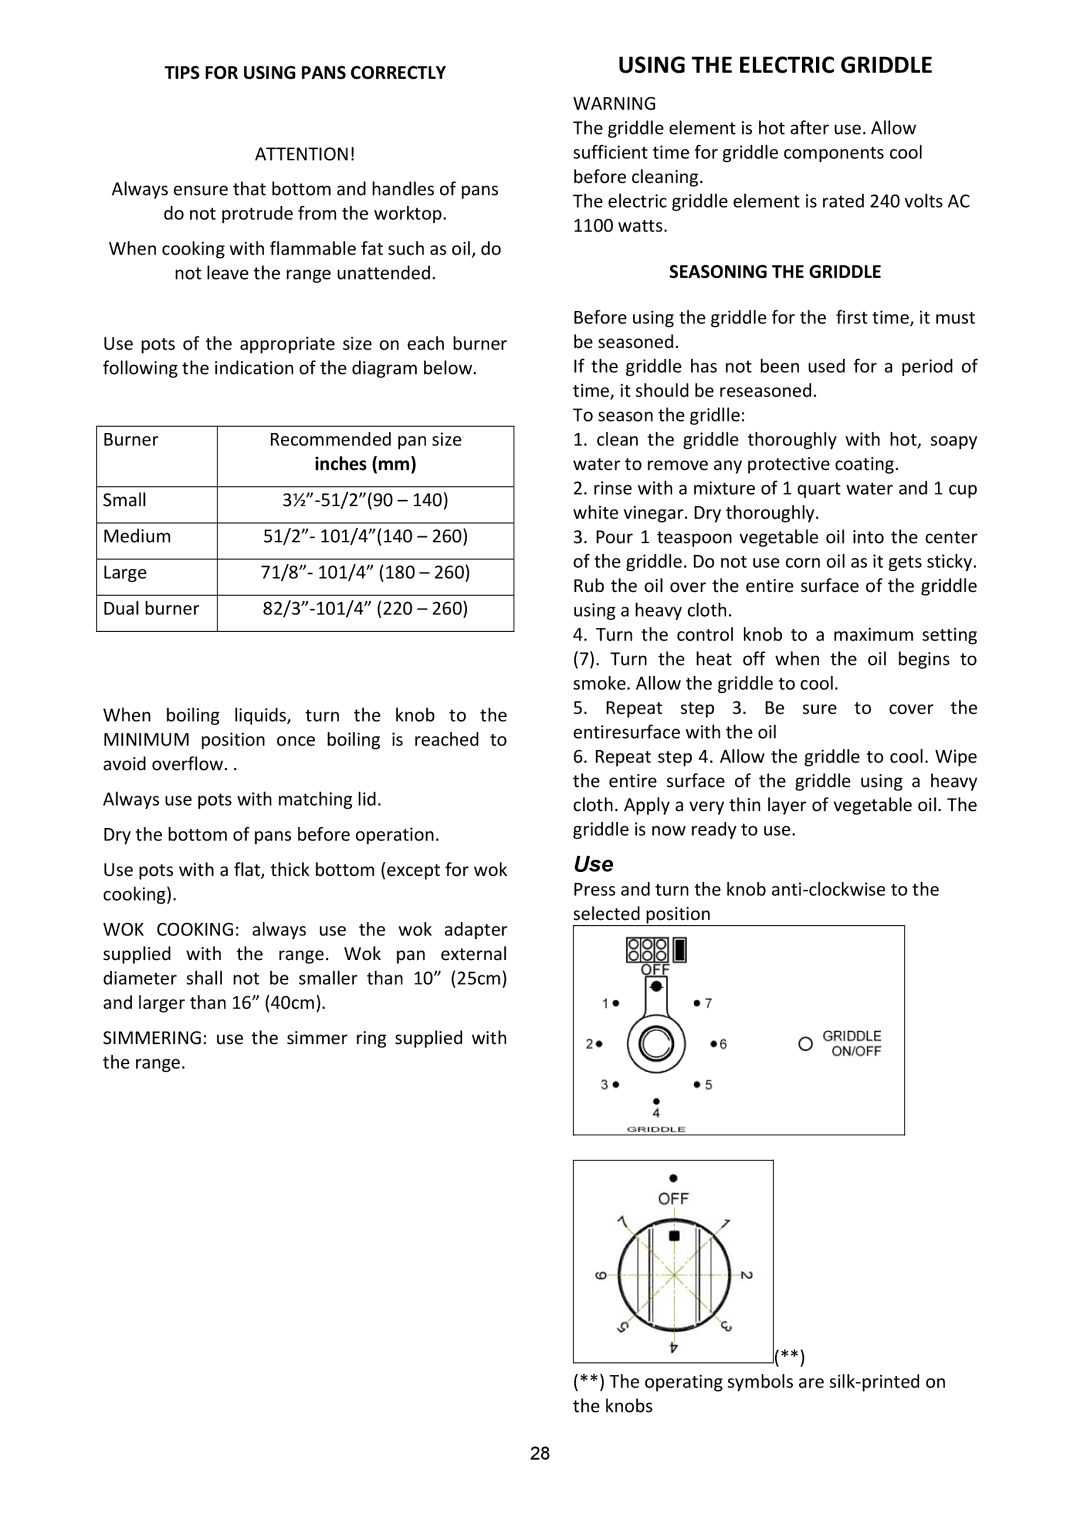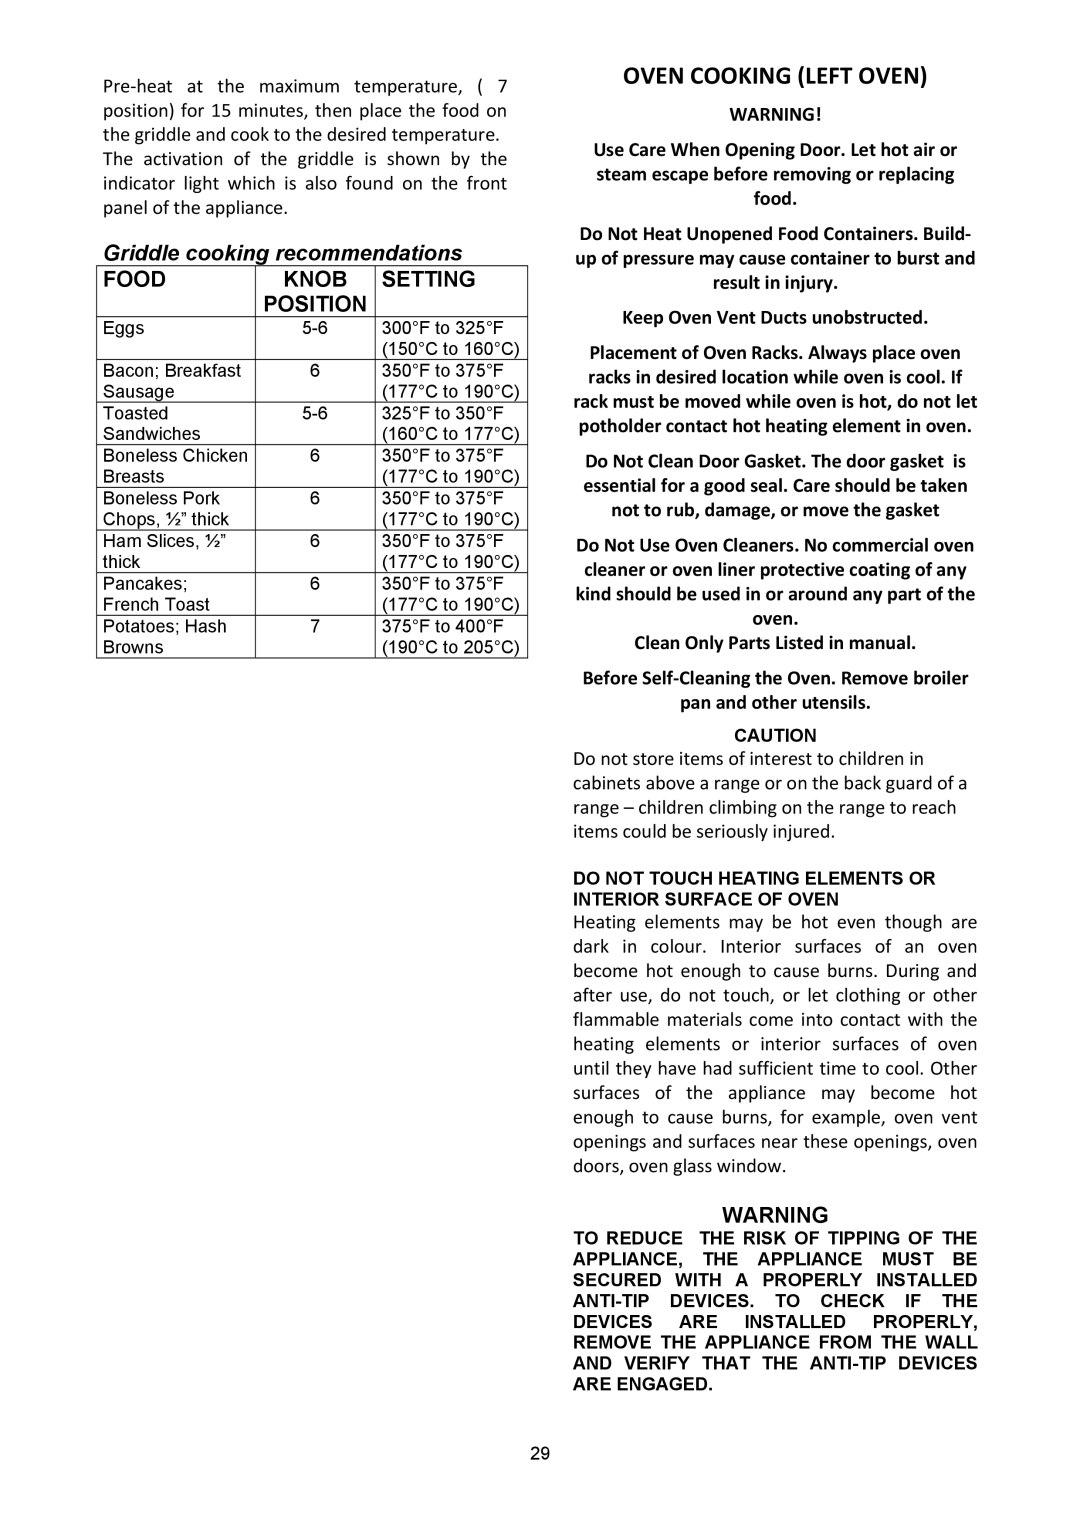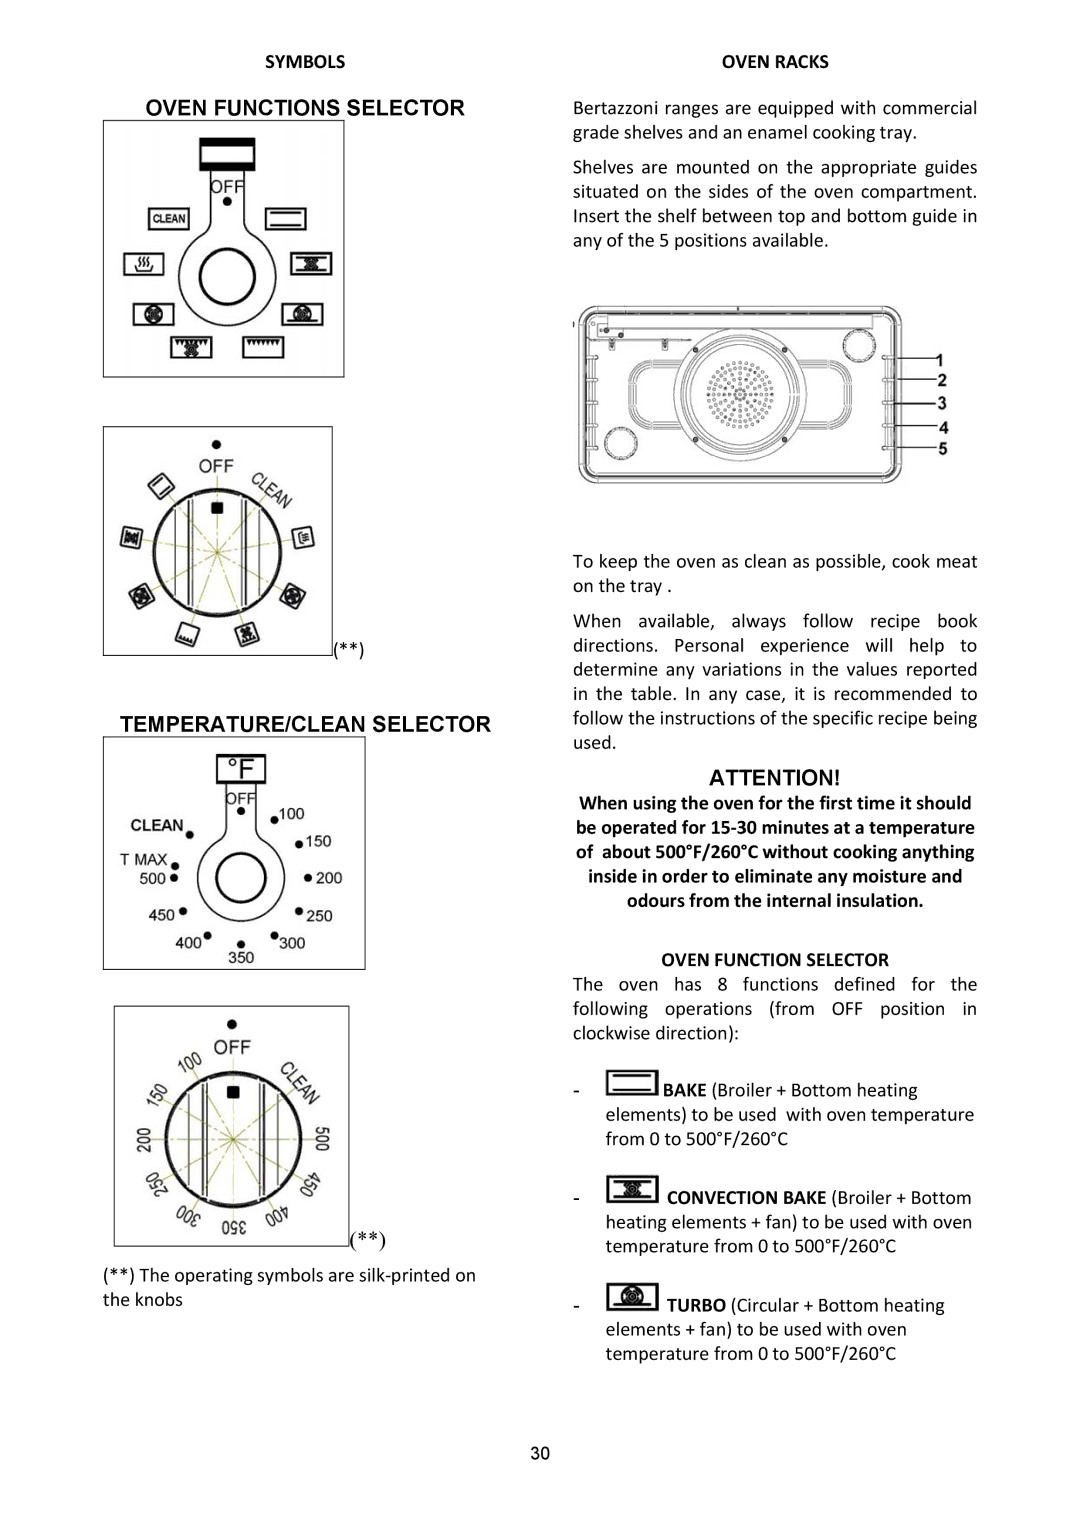
are not in the cleaning zone. Wipe this area clean before starting the self‐cleaning cycle.
Remove all utensils and racks.
Make sure the light bulbs and glass covers are in place.
Turn on the ventilator hood above the range and leave it on until the self‐clean cycle is completed (red indicator light turning off).
NOTE: FOR THE FIRST SELF‐CLEANING CYCLE, REMOVE SMALL ANIMALS AND BIRDS FROM THE KITCHEN AND SURROUNDING AREAS. OPEN A
NEARBY WINDOW FOR ADDITIONAL VENTILATION.
Door Lock
When the CLEAN cycle starts, the automatic door lock cycle begins. Check the door to confirm that it is locked. You can stop the self‐cleaning cycle by turning the function selector to the OFF posi‐ tion. The CLEANING light will turn off only after the oven has cooled below 500°260°C and the automatic door lock has completed its cycle to the open position.
NOTE: MAKE SURE THAT THE OVEN DOOR IS LOCKED AT THE BEGINNING OF THE SELF‐ CLEANING CYCLE.
To Set/Start Self‐Clean cycle
1.Check that the oven cavity is completely empty and the oven door correctly closed.
2.Select CLEAN fu on oven function selector.
3.Set temperature selector to CLEAN.
After these 3 steps the cooling fans will activate, the oven door will lock automatically after 60 seconds and both the pre‐heating and clean light indicators will turn on.
As soon as clean light turns on check to ensure that the oven door is correctly locked.
At the End of the Self‐Clean cycle
The self‐cleaning cycle lasts approximately 2‐2 ¼ hours; 30‐40 minutes for pre‐heating the oven (pre‐heating and clean light both on), 60 minutes for actual cleaning (heating and clean light both on), 30‐35 minutes for cool‐down (only clean light on).
When the CLEAN light is turned off the oven door is unlocked. This will happen when the oven temperature drops below 460‐500°F/240‐260°C about.
At the end of the cycle turn both the oven mode selectors and the temperature to the OFF position.
Cleaning Hints
1 . The porcelain enamel finish is acid resistant,
but not acid proof. Acidic food, such as citrus juices, tomatoes, rhubarb, vinegar, alcohol or milk, should be wiped off and not allowed to bake onto the porcelain during the next use.
2. Remove the oven racks.
3. The heating elements in the oven do not require cleaning; the elements burn themselves clean when the oven is in use. Elements are permanently connected. It is not necessary to clean the broiler shield above the broil element.
CAUTION
The interior of the oven will still be at baking temperatures when the automatic lock cycles to its open position and the oven door can be opened.
MAINTAINING YOUR RANGE
REPLACING THE OVEN LIGHT BULBS
WARNING!
Disconnect power before servicing unit.
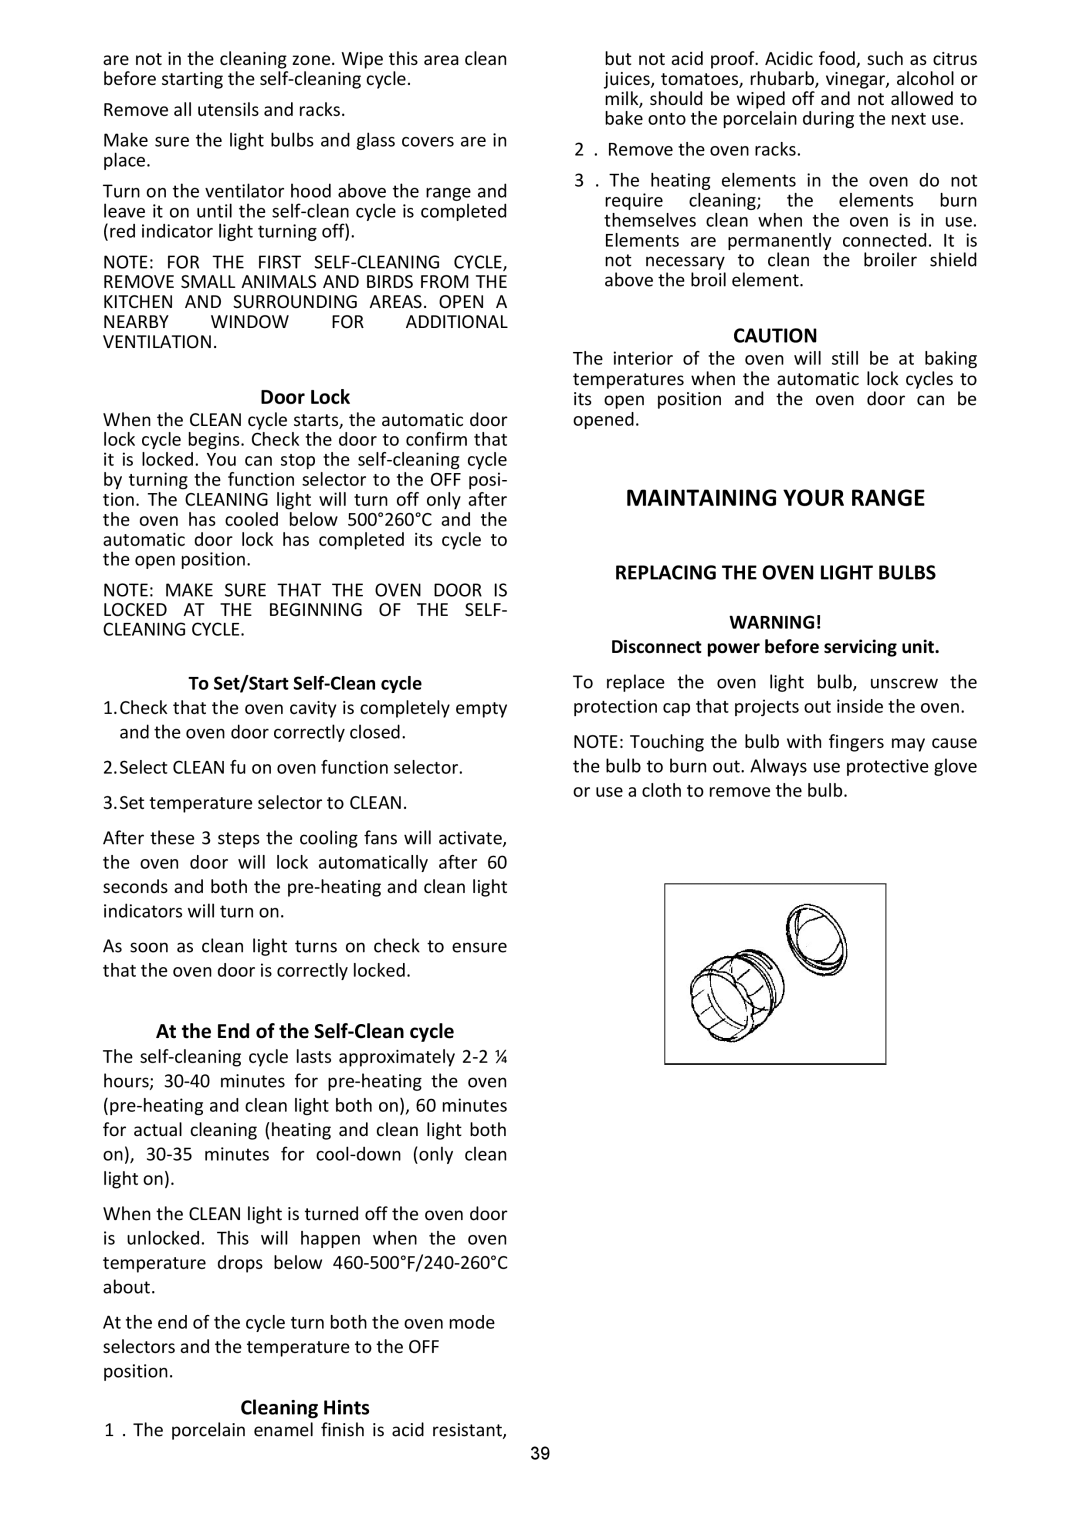
To replace the oven light bulb, unscrew the protection cap that projects out inside the oven.
NOTE: Touching the bulb with fingers may cause the bulb to burn out. Always use protective glove or use a cloth to remove the bulb.
39
