WARNING!
Read this instruction booklet before installing and using the appliance.
The manufacturer will not be responsible for any damage to property or to persons caused by incorrect installation or improper use of the appliance.
The manufacturer reserves the right to make changes to its products when considered necessary and useful, without affecting the essential safety and operating characteristics.
This appliance has been designed for non‐professional, domestic use only.
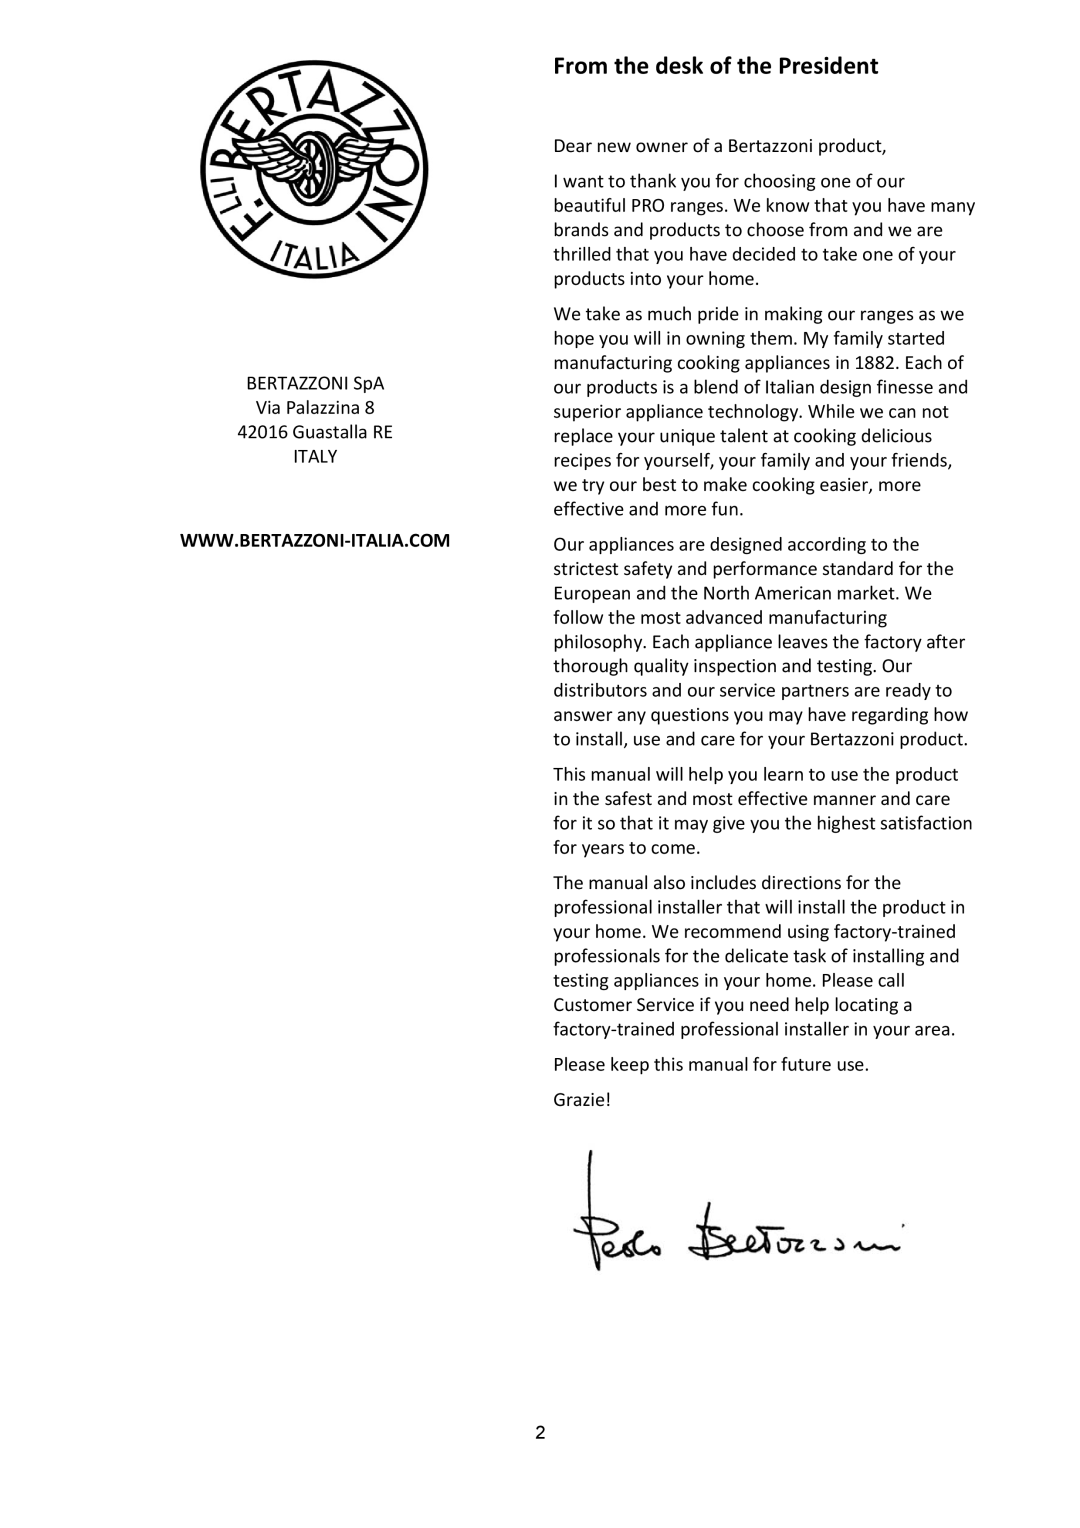
Do not use this appliance to heat a room.
Do not place any pot or pan on the open oven door. The door is made of glass and it can break if loaded with a weight.
Before beginning installation, please read these instructions completely and carefully.
Do not remove permanently affixed labels, warnings, or plates from the product. This may void the warranty. ‐Please observe all local and national codes and ordinances.
Please ensure the range is properly grounded.
The installer should leave these instructions with the consumer who should retain for local inspector's use and for future reference.
The plug should always be accessible.
Installation must conform with local codes or in the absence of codes, the National Fuel Gas Code NSIZ223.1‐latest edition. Electrical installation must be in accordance with the National Electrical Code, ANIS/NFPA70 ‐ latest edition and/or local codes. IN CANADA: Installation must be in accordance with the current CAN/CGA‐B149.1 National Gas Installation Code or CAN/CGA‐B 149.2, Propane Installation Code and/or local codes. Electrical installation must be in accordance with the current CSA C22.1 Canadian Electrical Codes Part 1 and/or local codes.
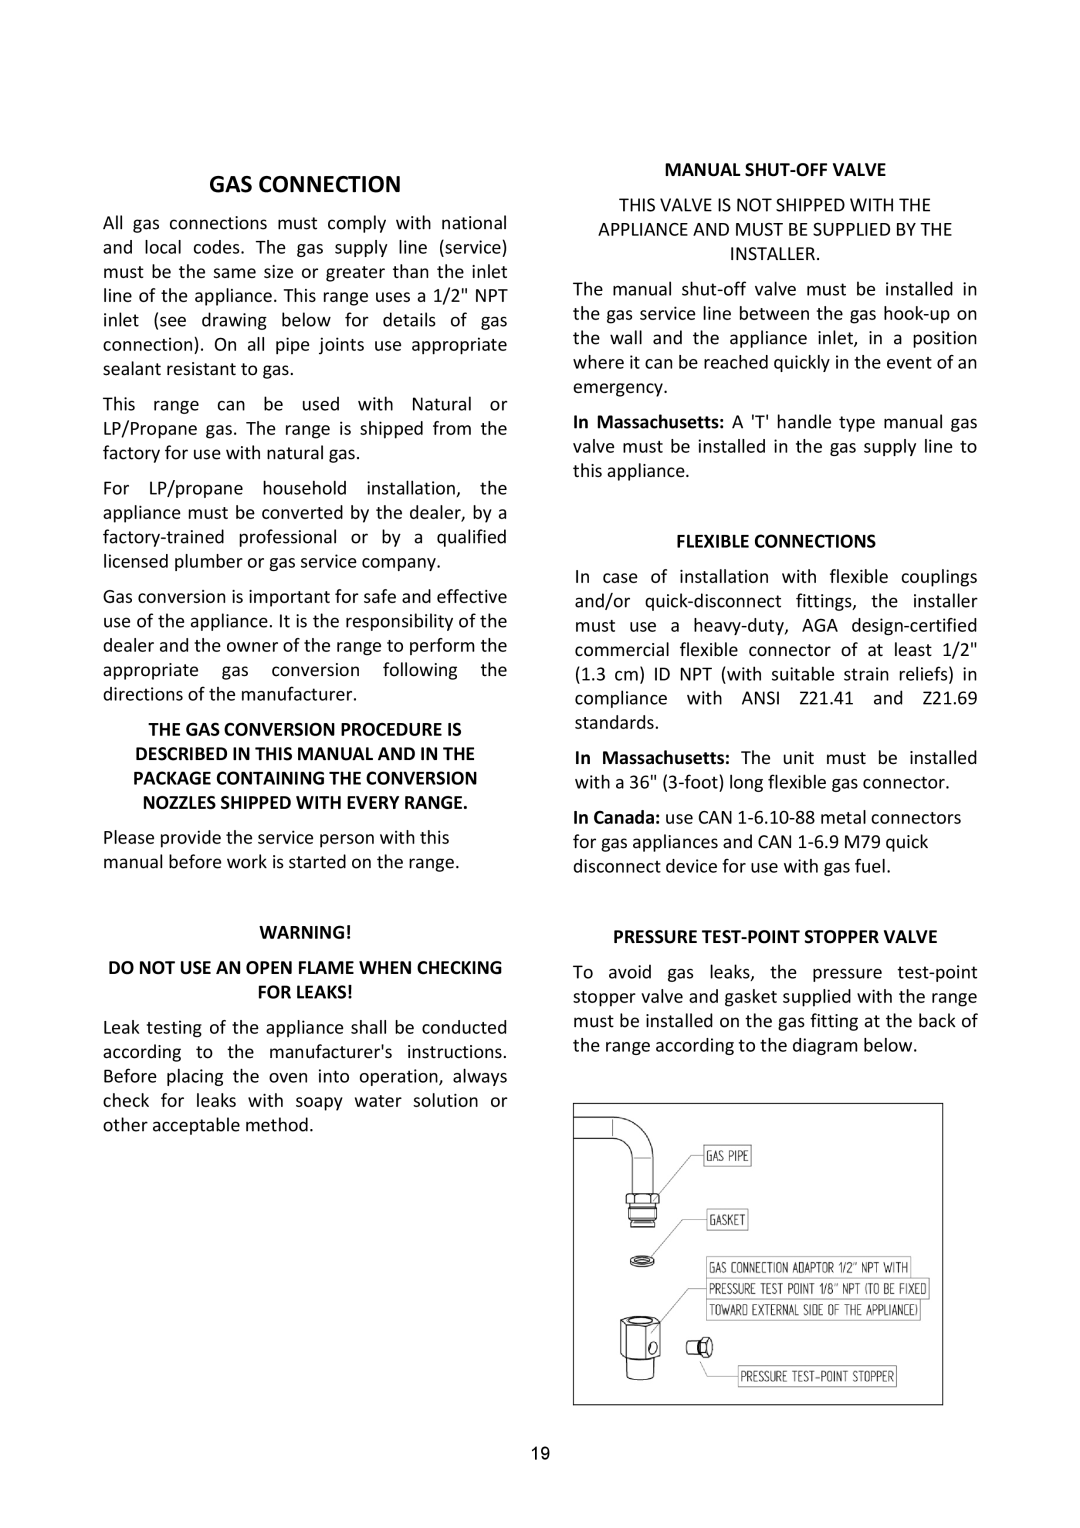
Installation of any gas‐fired equipment should be made by a licensed plumber. A manual gas shut‐off valve must be installed in the gas supply line ahead of the oven in the gas flow for safety and ease of service.
7
