Reinstalling the Cover |
Reinstalling the
Cover
1Reinstall the cover on the SuperStack II bridge/router and reattach it to the chassis with the two screws.
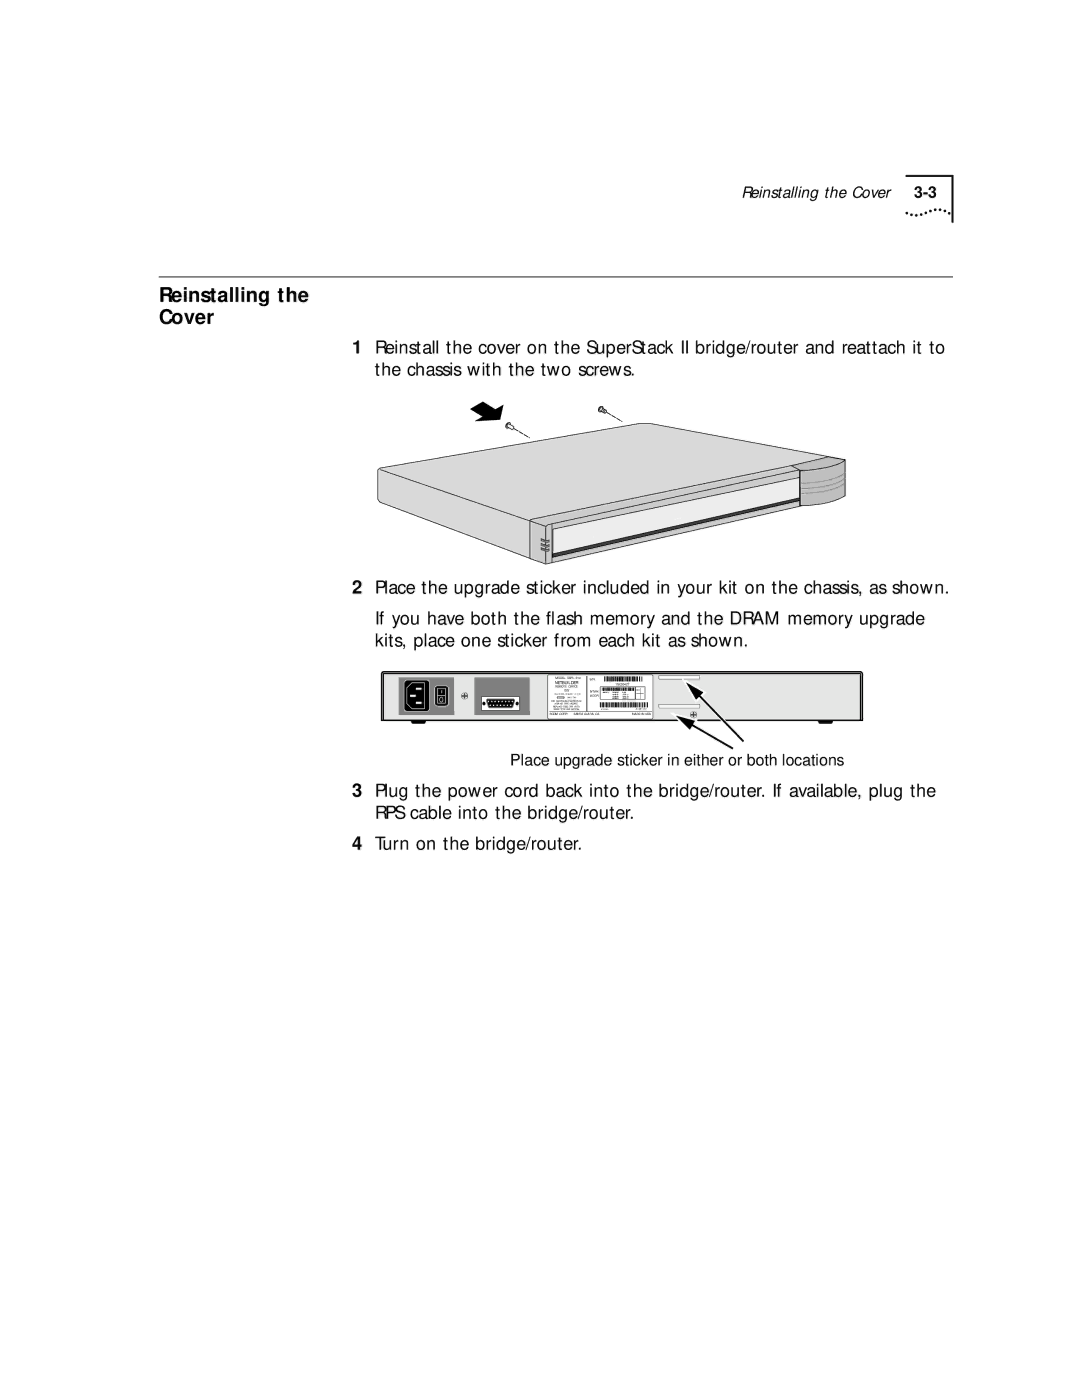
2Place the upgrade sticker included in your kit on the chassis, as shown.
If you have both the flash memory and the DRAM memory upgrade kits, place one sticker from each kit as shown.
MODEL:
NETBUILDER
REMOTE OFFICE 222
250V, F2A
FOR CONTINUED PROTECTION
AGAINST FIRE HAZARD
REPLACE FUSE ONY WITH SAME TYPE AND RATING
S/N: ![]()
![]()
![]()
![]()
![]()
![]()
![]()
![]()
![]()
![]()
![]()
![]()
![]()
![]()
![]()
![]()
![]()
![]()
![]()
![]()
![]()
![]()
![]()
![]()
![]()
![]()
![]()
![]()
![]()
![]()
![]()
![]()
![]()
![]()
![]()
![]()
![]()
![]()
![]()
![]()
![]()
![]()
![]()
![]()
![]()
![]()
![]()
![]()
![]() 1SC05427
1SC05427
NTWK | 080002 | 04BA1E | LAN | 8.3 |
|
ADDR: |
| 04BA1F |
|
| |
| 04BA20 |
|
| ||
|
| 04BA21 |
|
|
|
07/31/95 |
| ||||
3COM CORP. SANTA CLARA, CA. | MADE IN USA |
Place upgrade sticker in either or both locations
3Plug the power cord back into the bridge/router. If available, plug the RPS cable into the bridge/router.
4Turn on the bridge/router.