Connecting the Remote Wake-up Cable
WARNING: Install the NIC in slot 1 in the PC (as described earlier) before plugging in the
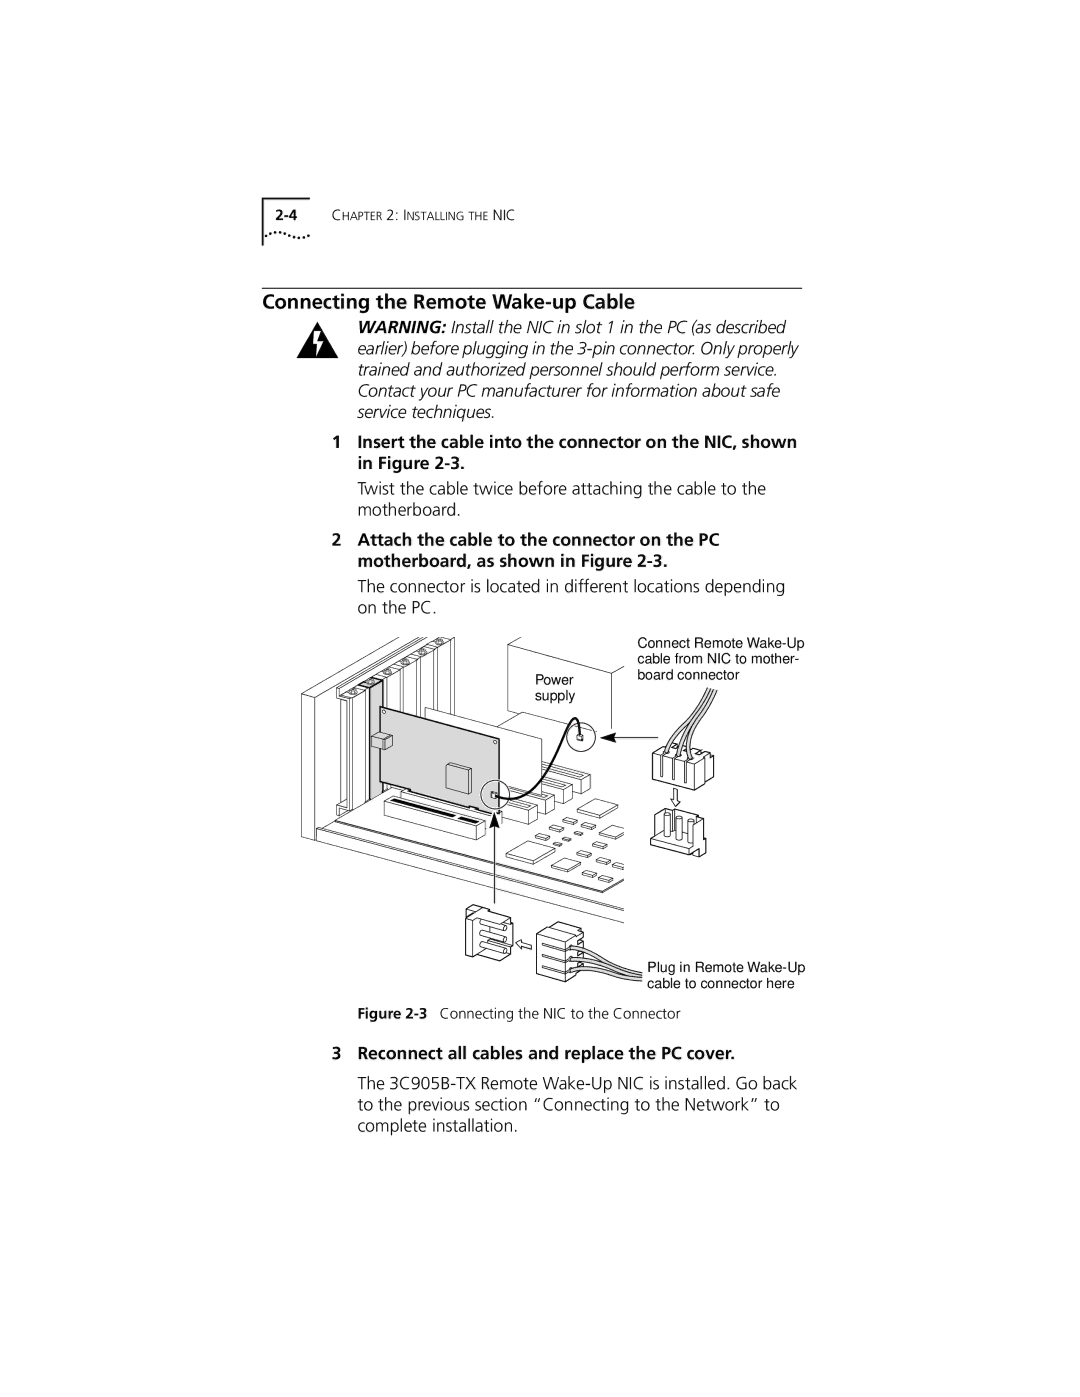
1Insert the cable into the connector on the NIC, shown in Figure
Twist the cable twice before attaching the cable to the motherboard.
2Attach the cable to the connector on the PC motherboard, as shown in Figure
The connector is located in different locations depending on the PC.
Power supply
Connect Remote
Plug in Remote |
cable to connector here |
Figure 2-3 Connecting the NIC to the Connector
3Reconnect all cables and replace the PC cover.
The