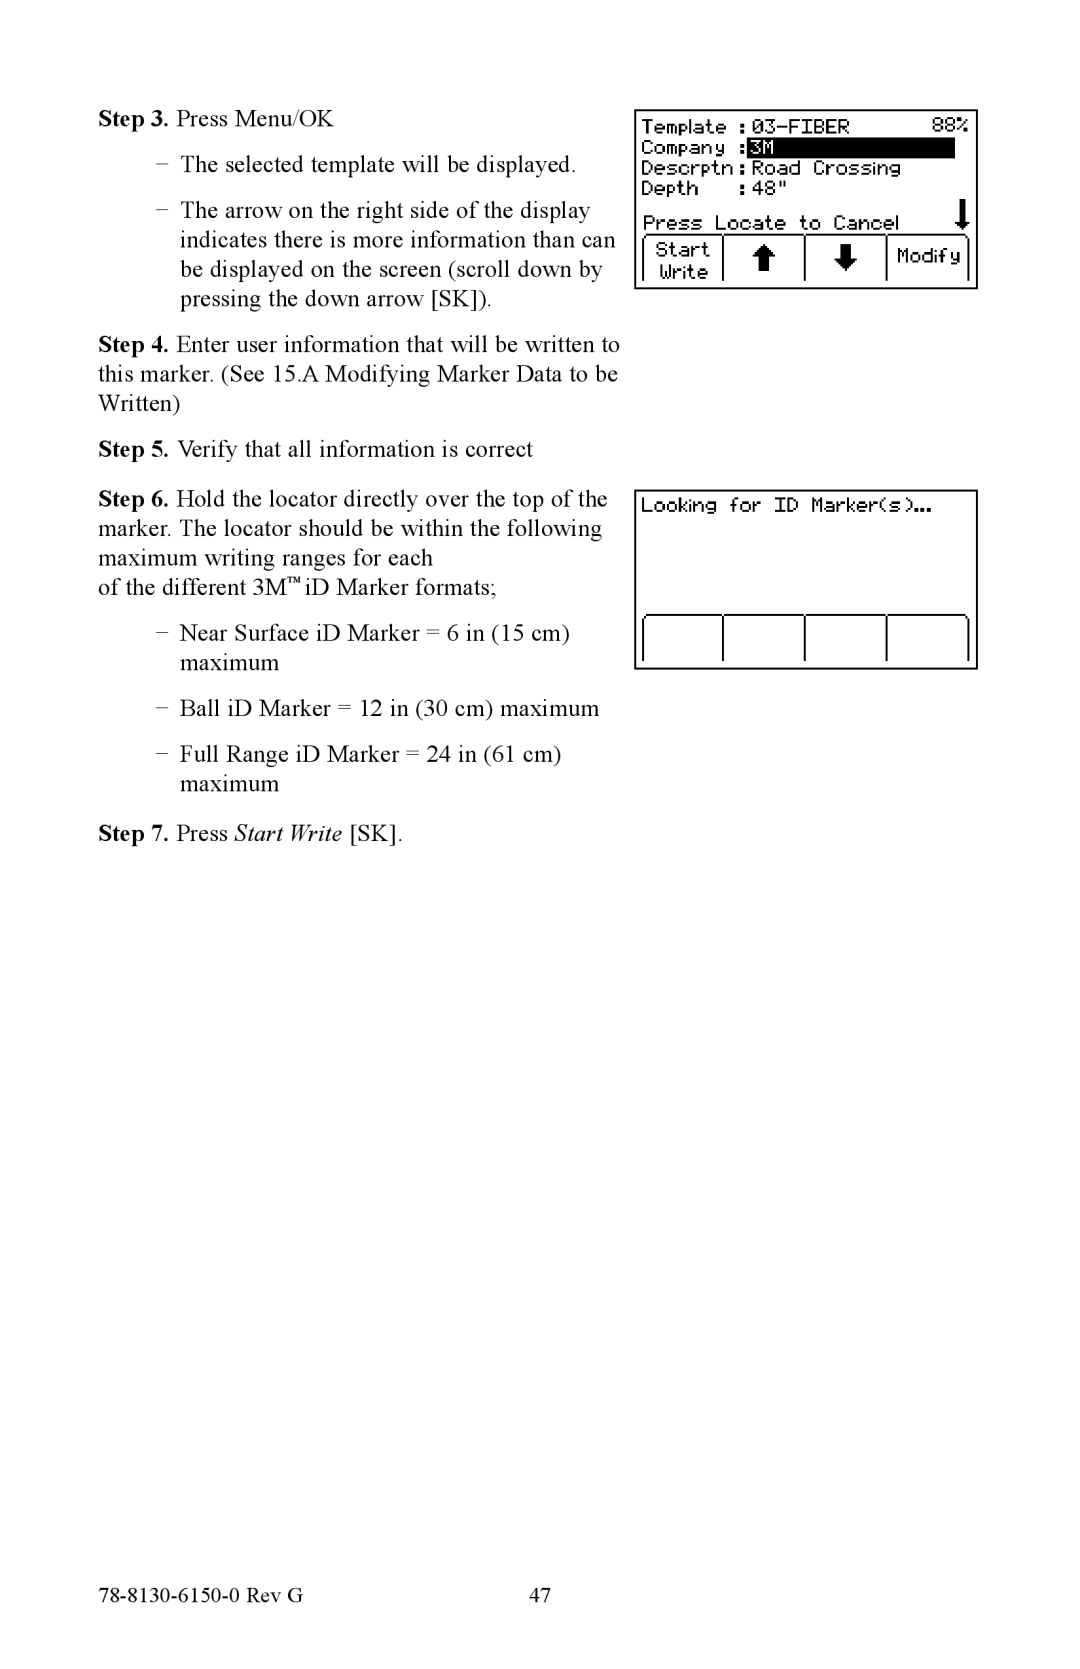
Step 3. Press Menu/OK
−− The selected template will be displayed.
−− The arrow on the right side of the display indicates there is more information than can be displayed on the screen (scroll down by pressing the down arrow [SK]).
Step 4. Enter user information that will be written to this marker. (See 15.A Modifying Marker Data to be Written)
Step 5. Verify that all information is correct
Step 6. Hold the locator directly over the top of the marker. The locator should be within the following maximum writing ranges for each
of the different 3M™ iD Marker formats;
−− Near Surface iD Marker = 6 in (15 cm) maximum
−− Ball iD Marker = 12 in (30 cm) maximum
−− Full Range iD Marker = 24 in (61 cm) maximum
Step 7. Press Start Write [SK].
| 47 |
