10.After a fault is located and pinpointed, move the 3M™ Earth Contact Frame about one Earth Contact Frame width away from the fault and insert it in the ground with the
Note: For additional information about locating buried sheath faults and earth return faults, please see the 3M publication Cable and Pipe Locating Techniques at www.3M. com/dynatel.
13.Locating 3M™ Electronic Markers and
3M™ iD Markers
(3M™ Dynatel™ Models
A. Enabling/Disabling Marker Types
Menu [6] + >>More [SK:4] + Setup [SK:6] + >>More [SK:6d] + Marker Type [SK:6f]
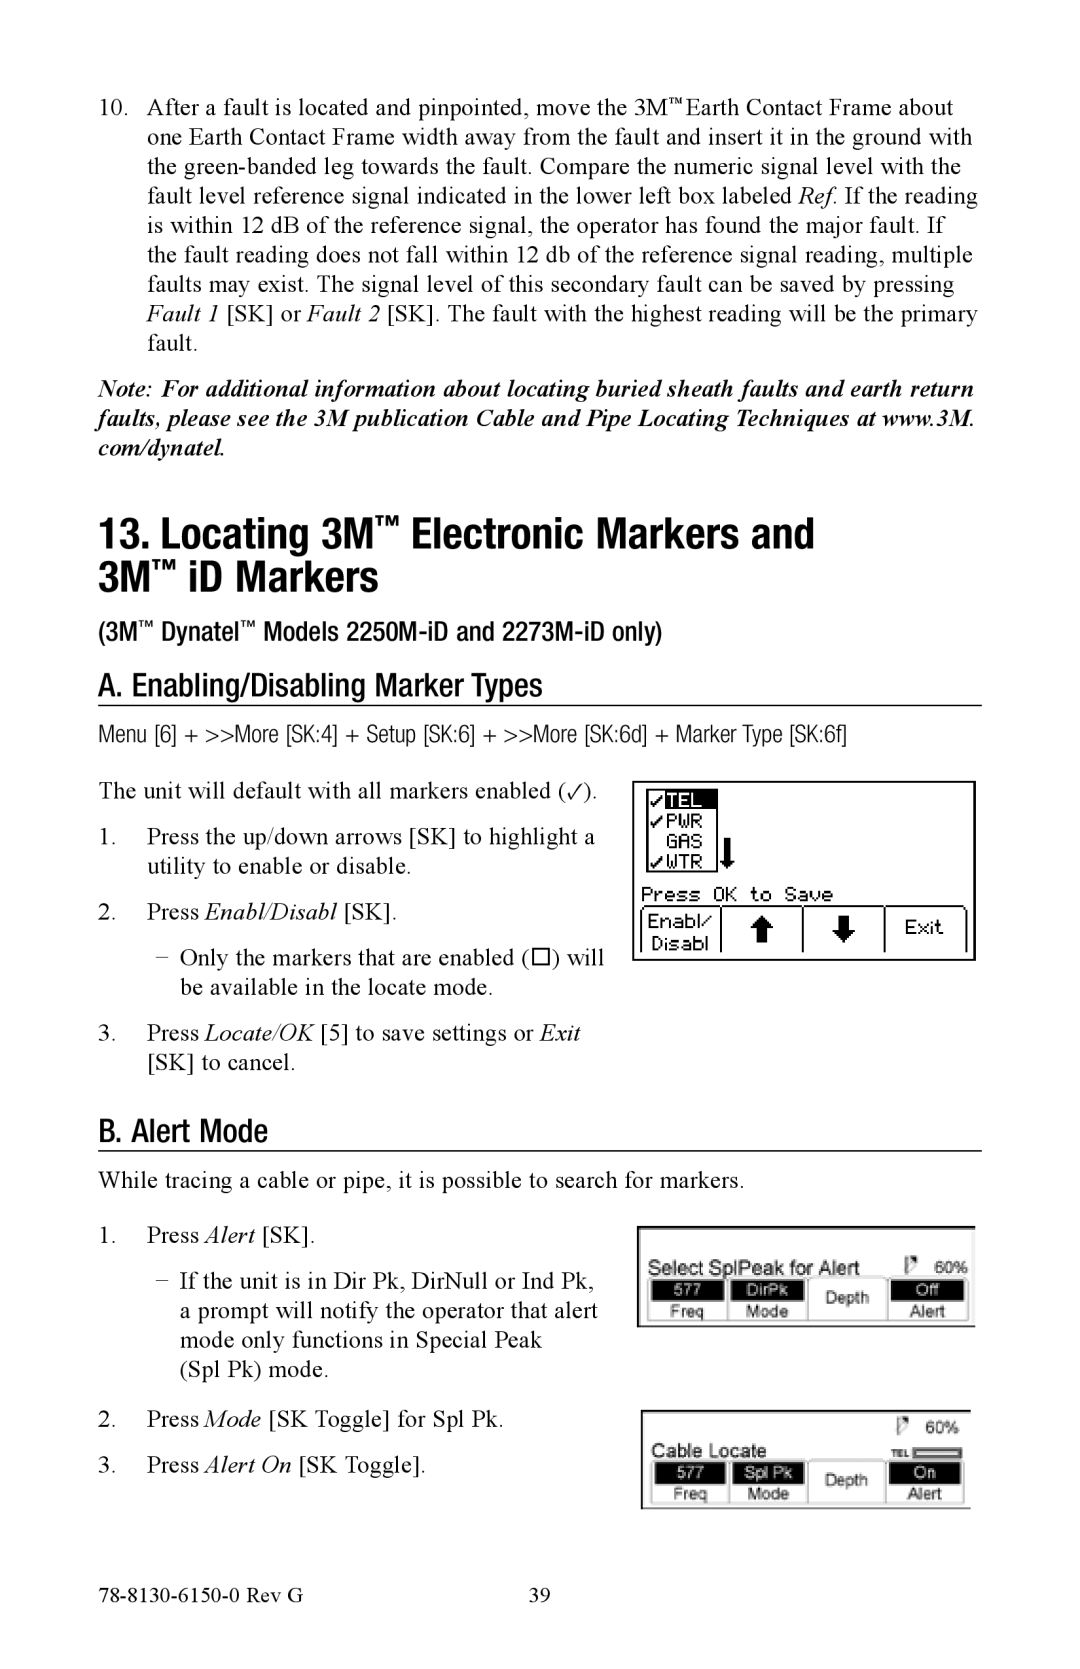
The unit will default with all markers enabled (✓).
1.Press the up/down arrows [SK] to highlight a utility to enable or disable.
2.Press Enabl/Disabl [SK].
−− Only the markers that are enabled () will be available in the locate mode.
3.Press Locate/OK [5] to save settings or Exit [SK] to cancel.
B.Alert Mode
While tracing a cable or pipe, it is possible to search for markers.
1.Press Alert [SK].
−− If the unit is in Dir Pk, DirNull or Ind Pk, a prompt will notify the operator that alert mode only functions in Special Peak (Spl Pk) mode.
2.Press Mode [SK Toggle] for Spl Pk.
3.Press Alert On [SK Toggle].
| 39 |
