Chapter 3 - Setup
HD Scaler Configuration
Now it’s time to enable the HD Scaler and configure it for your display and source devices.
To access the HD Scaler menu:
1Press the Main button on the remote control.
2 Press the Setup button.
3 Use the / buttons to select INPUT CONFIG, then press the Select button.
4 Use the / buttons to select HD SCALER, then press the Select button.
5 Use the / buttons to choose from the follow- ing menu items:
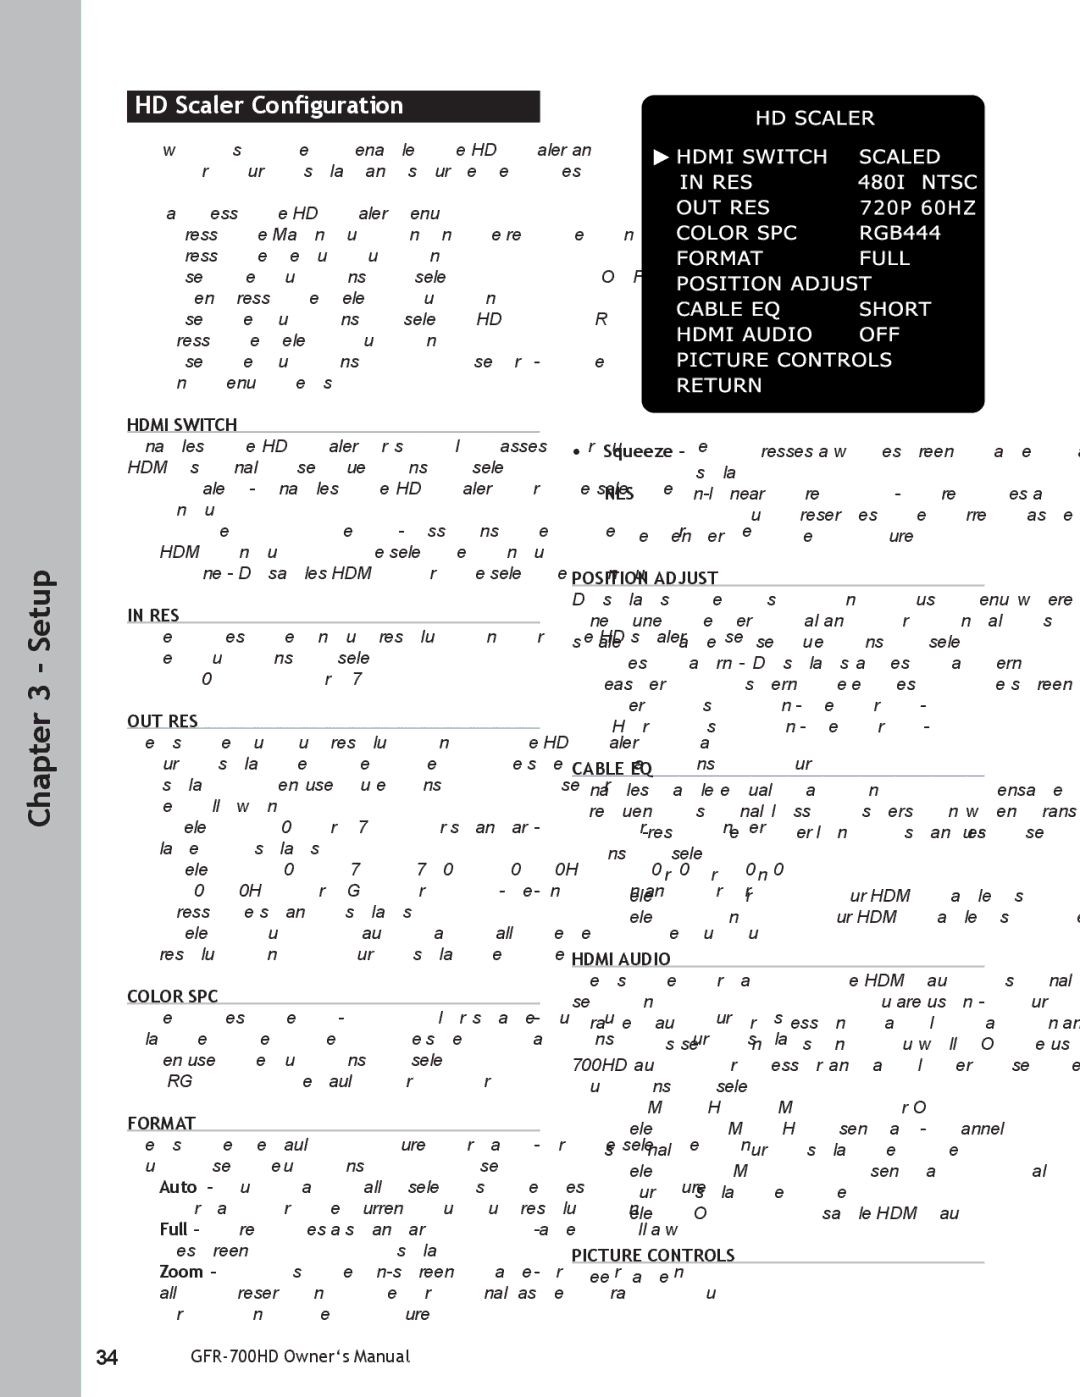
HDMI SWITCH
Enables the HD Scaler or simply passes through the HDMI signal. Use the / buttons to select:
•Scaled - Enables the HD Scaler for the selected input.
•Video 1, Video 2 - Assigns the Video 1 or Video 2 HDMI input to the selected input.
•None - Disables HDMI for the selected input.
IN RES
Specifies the input resolution for the HD scaler. Use the / buttons to select:
•480i NTSC or 576i PAL.
OUT RES
Sets the output resolution of the HD Scaler to match your display device. Check the specifications of your display, then use the / buttons to choose from the following:
•Select 480i or 576i for standard NTSC or PAL inter- laced displays.
•Select 480p, 576p, 720p (50/60Hz), 1080i, 1080p (50/60Hz) or VGA for
•Select Auto to automatically detect the output resolution of your display device.
COLOR SPC
Specifies the
•RGB444 (default) or YCbCr444
FORMAT
Sets the default picture format for the selected in- put. Use the / buttons to choose:
•Auto - Automatically selects the best picture format for the current output resolution.
•Full - Stretches a standard 4:3 image to fill a wi- descreen (16:9) display.
•Zoom - Zooms the
•Squeeze - Compresses a widescreen image to a 4:3 display.
•NLS
POSITION ADJUST
Displays the Position Adjust menu where you can fine tune the vertical and horizontal position of the scaled image. Use the / buttons to select:
•Test Patrn - Displays a test pattern to make it easier to discern the edges of the screen.
•Vert Position - Set from
•Horz Position - Set from
CABLE EQ
Enables cable equalization to compensate for high- frequency signal loss/dispersion when transmitting
•Short or Long
•Select Short if your HDMI cable is < 5 meters.
•Select Long if your HDMI cable is > 5 meters.
HDMI AUDIO
Sets the format of the HDMI audio signal. Leave this setting off UNLESS you are using your display’s inte- grated audio processing, amplification and speakers. If this setting is on, you will NOT be using the GFR- 700HD audio processor and amplifier. Use the / buttons to select:
•PCM 2 CH, PCM/Bit, or Off
•Select PCM 2CH to send a
•Select PCM/Bit to send a digital bitstream to your display device.
•Select Off to disable HDMI audio.
PICTURE CONTROLS
See page 35.
34