2 3
4 5 6 7
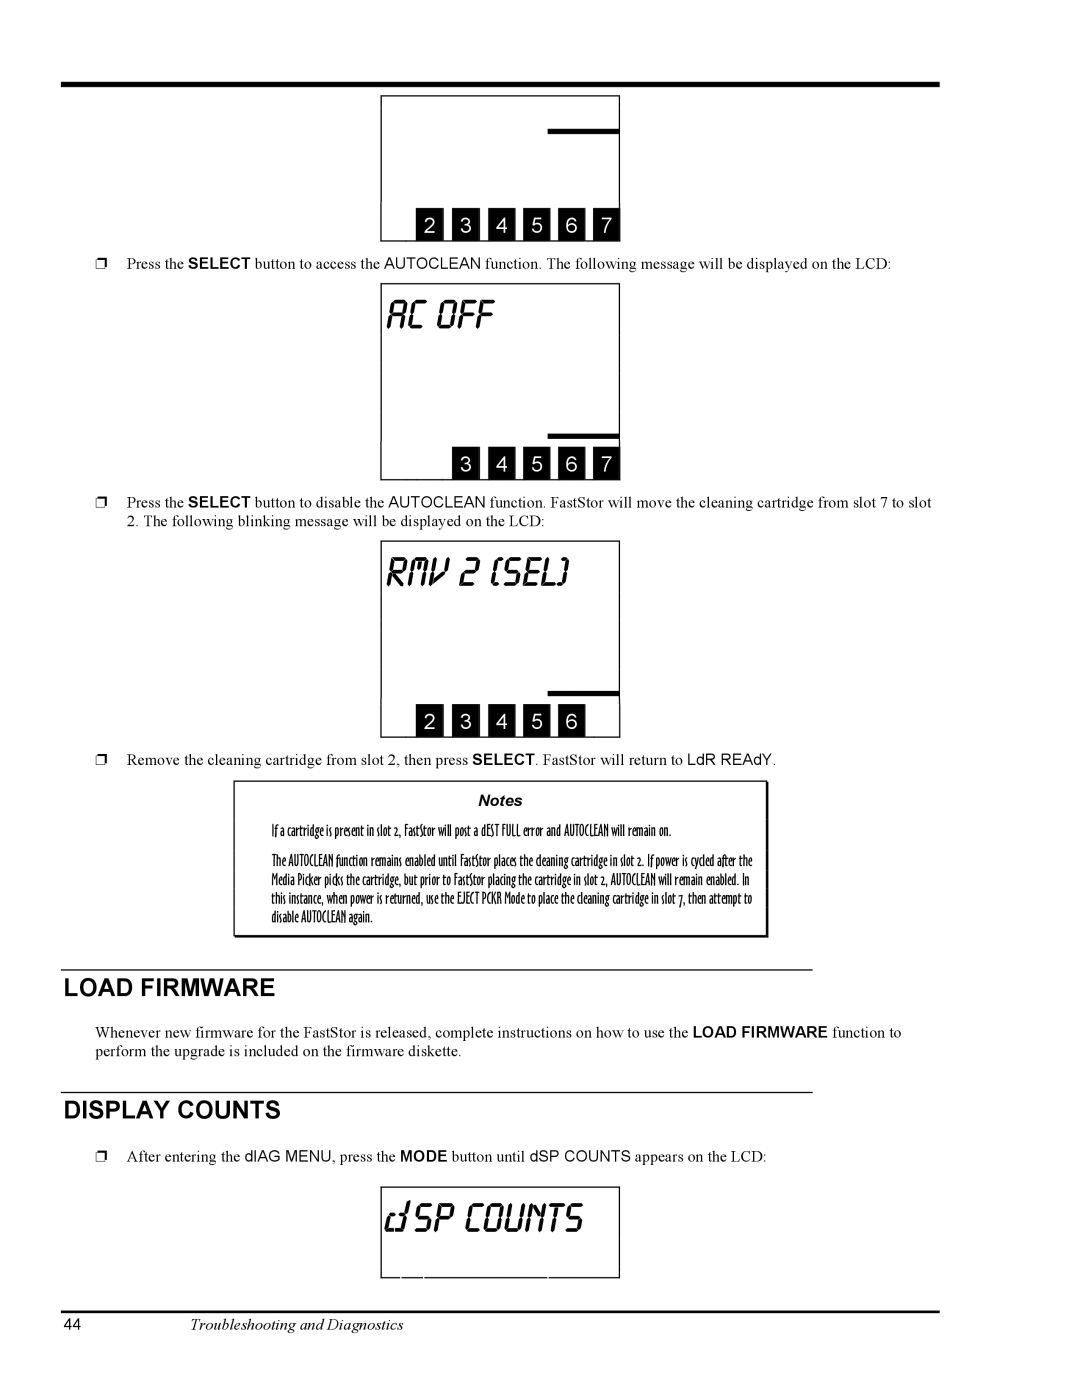
❐Press the SELECT button to access the AUTOCLEAN function. The following message will be displayed on the LCD:
AC OFF
3 4 5 6 7
❐Press the SELECT button to disable the AUTOCLEAN function. FastStor will move the cleaning cartridge from slot 7 to slot
2. The following blinking message will be displayed on the LCD:
RMV 2 (SEL)
2 3 4 5 6
❐Remove the cleaning cartridge from slot 2, then press SELECT. FastStor will return to LdR REAdY.
Notes
If a cartridge is present in slot 2, FastStor will post a dEST FULL error and AUTOCLEAN will remain on.
The AUTOCLEAN function remains enabled until FastStor places the cleaning cartridge in slot 2. If power is cycled after the Media Picker picks the cartridge, but prior to FastStor placing the cartridge in slot 2, AUTOCLEAN will remain enabled. In this instance, when power is returned, use the EJECT PCKR Mode to place the cleaning cartridge in slot 7, then attempt to disable AUTOCLEAN again.
LOAD FIRMWARE
Whenever new firmware for the FastStor is released, complete instructions on how to use the LOAD FIRMWARE function to perform the upgrade is included on the firmware diskette.
DISPLAY COUNTS
❐After entering the dIAG MENU, press the MODE button until dSP COUNTS appears on the LCD:

 SP cOUNTS
44Troubleshooting and Diagnostics
