:ANAPURNA L/XL | OPERATOR MANUAL |
8. Maintenance.
8.1.General information
-At the end of the day, and when you stop printing, the shuttle needs to be placed in the
“Purge position”. For overnight or longer standstill times, the “Grid” underneath the shuttle must be pushed to the back.
-A default “Weeping” time is set in the engine
software to keep the heads open, this small amount of ink is collected in
the underneath waste box, which leads to a waste tank underneath the engine. (See chapter 5.6, on how to empty)
-Place some towels in front of the Purge grid, this will help to keep the area clean, it’s advisable to replace them weekly.
-The “Purge Grid” must be placed forward again when you start to print.
It prevents the ink in the underneath waste box from getting cured by the UV lamps during the printing stage. It also prevents the UV lamps from curing the ink onto the heads.
8.2.Daily Maintenance – Nozzle check/purge
-Check the state of the “Purge” and “Home” station Grid.
(Normally, only weekly cleaning is necessary)
-Perform a nozzle check and make sure all nozzles are firing.
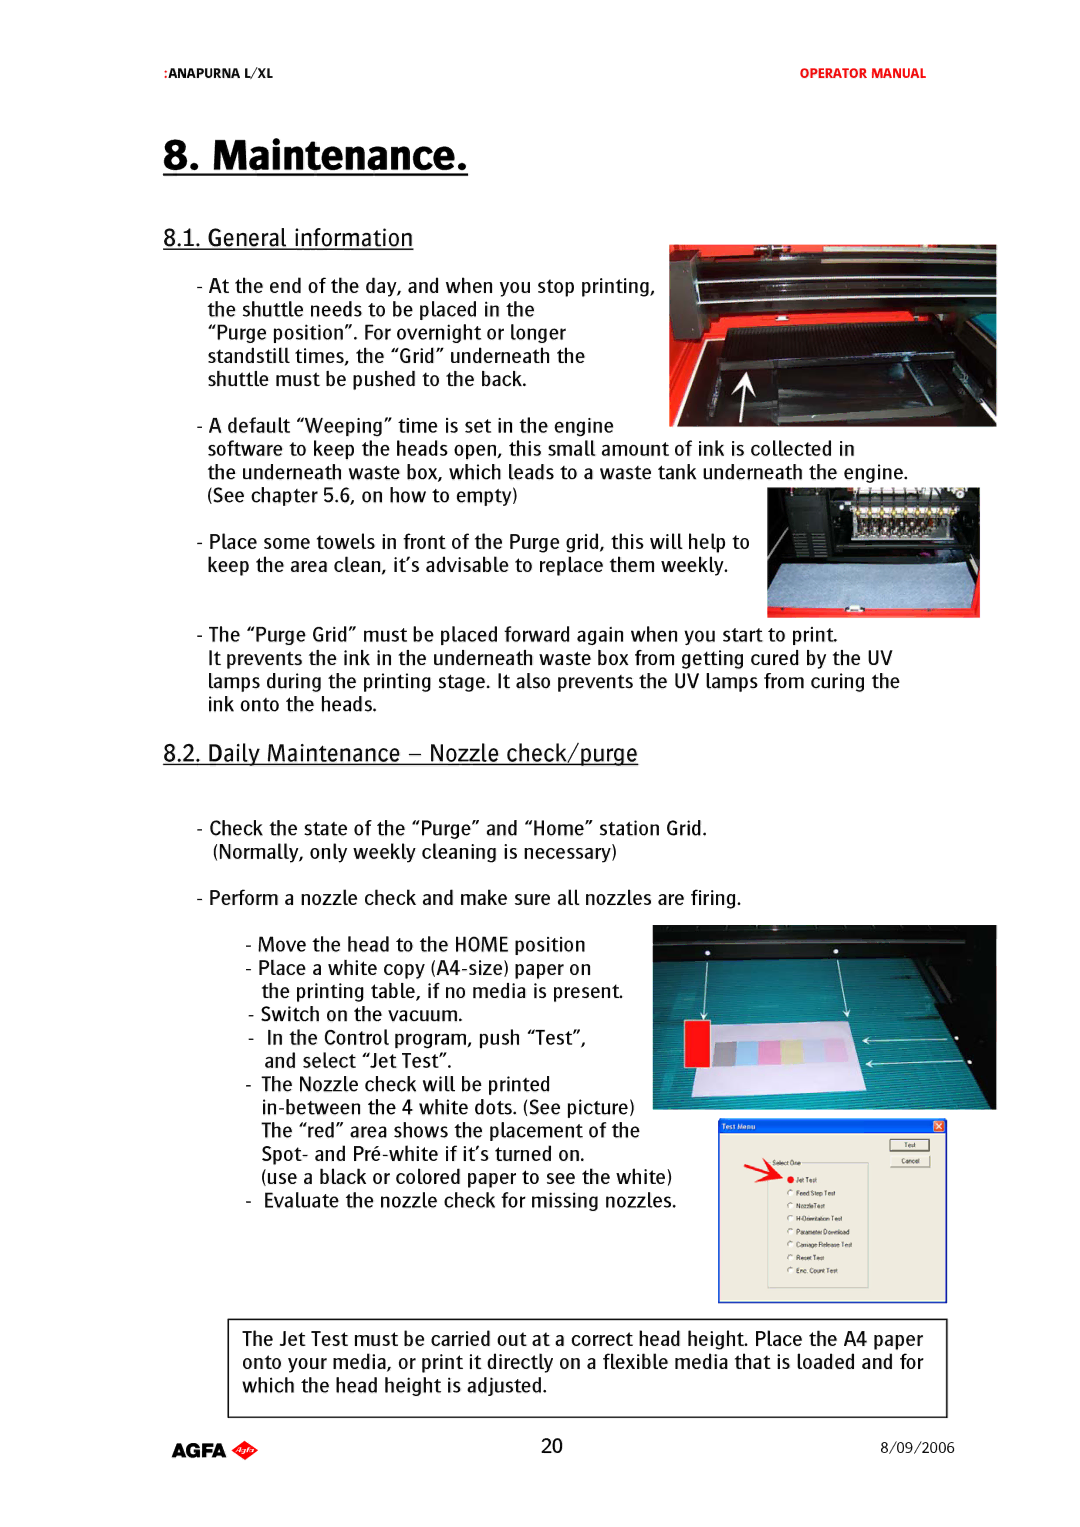
-Move the head to the HOME position
-Place a white copy
the printing table, if no media is present.
-Switch on the vacuum.
-In the Control program, push “Test”, and select “Jet Test”.
-The Nozzle check will be printed
(use a black or colored paper to see the white)
-Evaluate the nozzle check for missing nozzles.
The Jet Test must be carried out at a correct head height. Place the A4 paper onto your media, or print it directly on a flexible media that is loaded and for which the head height is adjusted.
AB]]]]]]]]]]]]]]]]]]]]]]]]]]]]]]]]]]]]]]]]]]]]]]]]]]]]]]]]]]]]]]]]]]]]]]]]]]]]]]]]]]]]]]]]]]]]]]]]]]]]]]]]]]]]]]]]]]]]]]]]]]]]]]]]]]]]]]]]]]]]]]]]]]]]]]]]]]]]]]]]]]]]]]]]]]]]]]]]]]]]]]]]]]]]]]]]]]]]]]]]]]]]]]]]]]]]]]]]]]]]]]]]]]]]20]8/09/2006]