:ANAPURNA L/XL | OPERATOR MANUAL |
When all parameters are Ok, load the media onto the table, click on the “Set Gap”
Procedure : When you’ve entered a “2mm Gap” & “Check Distance: 800mm”
-The Head Base will stay in the Home position and go up to the highest limit position (> 50mm).
-After this movement, you have to confirm
-Shuttle will move 800mm to the left and come down to set the Gap.
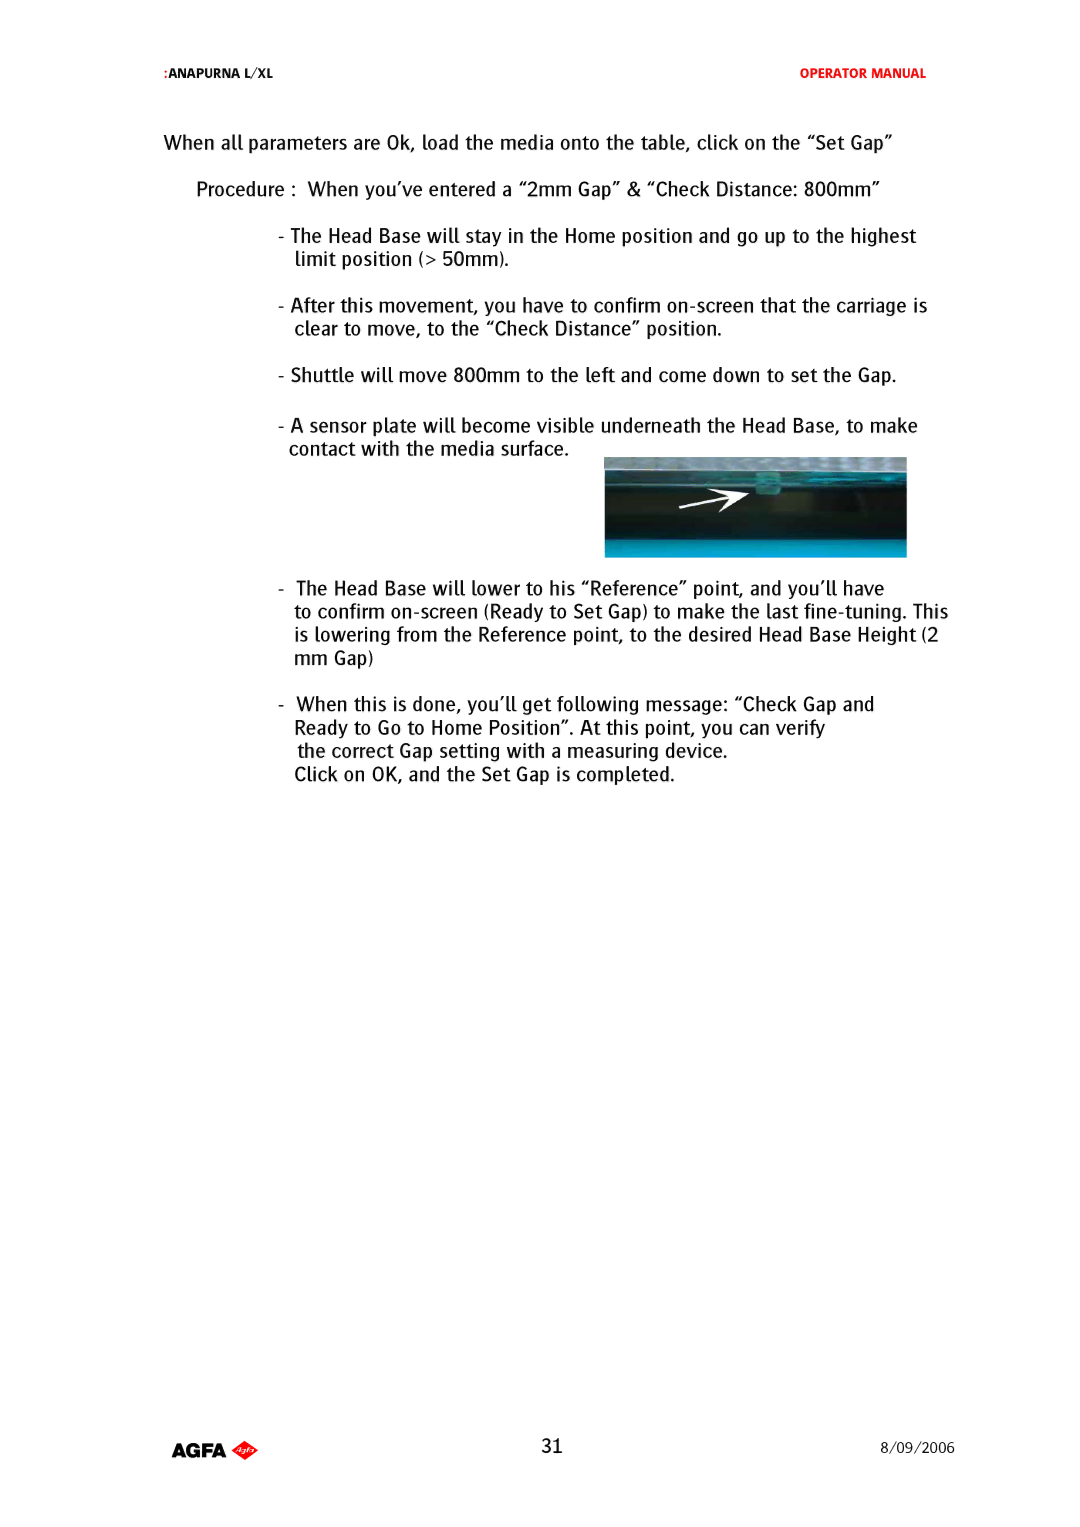
-A sensor plate will become visible underneath the Head Base, to make contact with the media surface.
-The Head Base will lower to his “Reference” point, and you’ll have
to confirm
mm Gap)
-When this is done, you’ll get following message: “Check Gap and Ready to Go to Home Position”. At this point, you can verify
the correct Gap setting with a measuring device. Click on OK, and the Set Gap is completed.
AB]]]]]]]]]]]]]]]]]]]]]]]]]]]]]]]]]]]]]]]]]]]]]]]]]]]]]]]]]]]]]]]]]]]]]]]]]]]]]]]]]]]]]]]]]]]]]]]]]]]]]]]]]]]]]]]]]]]]]]]]]]]]]]]]]]]]]]]]]]]]]]]]]]]]]]]]]]]]]]]]]]]]]]]]]]]]]]]]]]]]]]]]]]]]]]]]]]]]]]]]]]]]]]]]]]]]]]]]]]]]]]]]]]]]31]8/09/2006]