Attaching the Front Panel
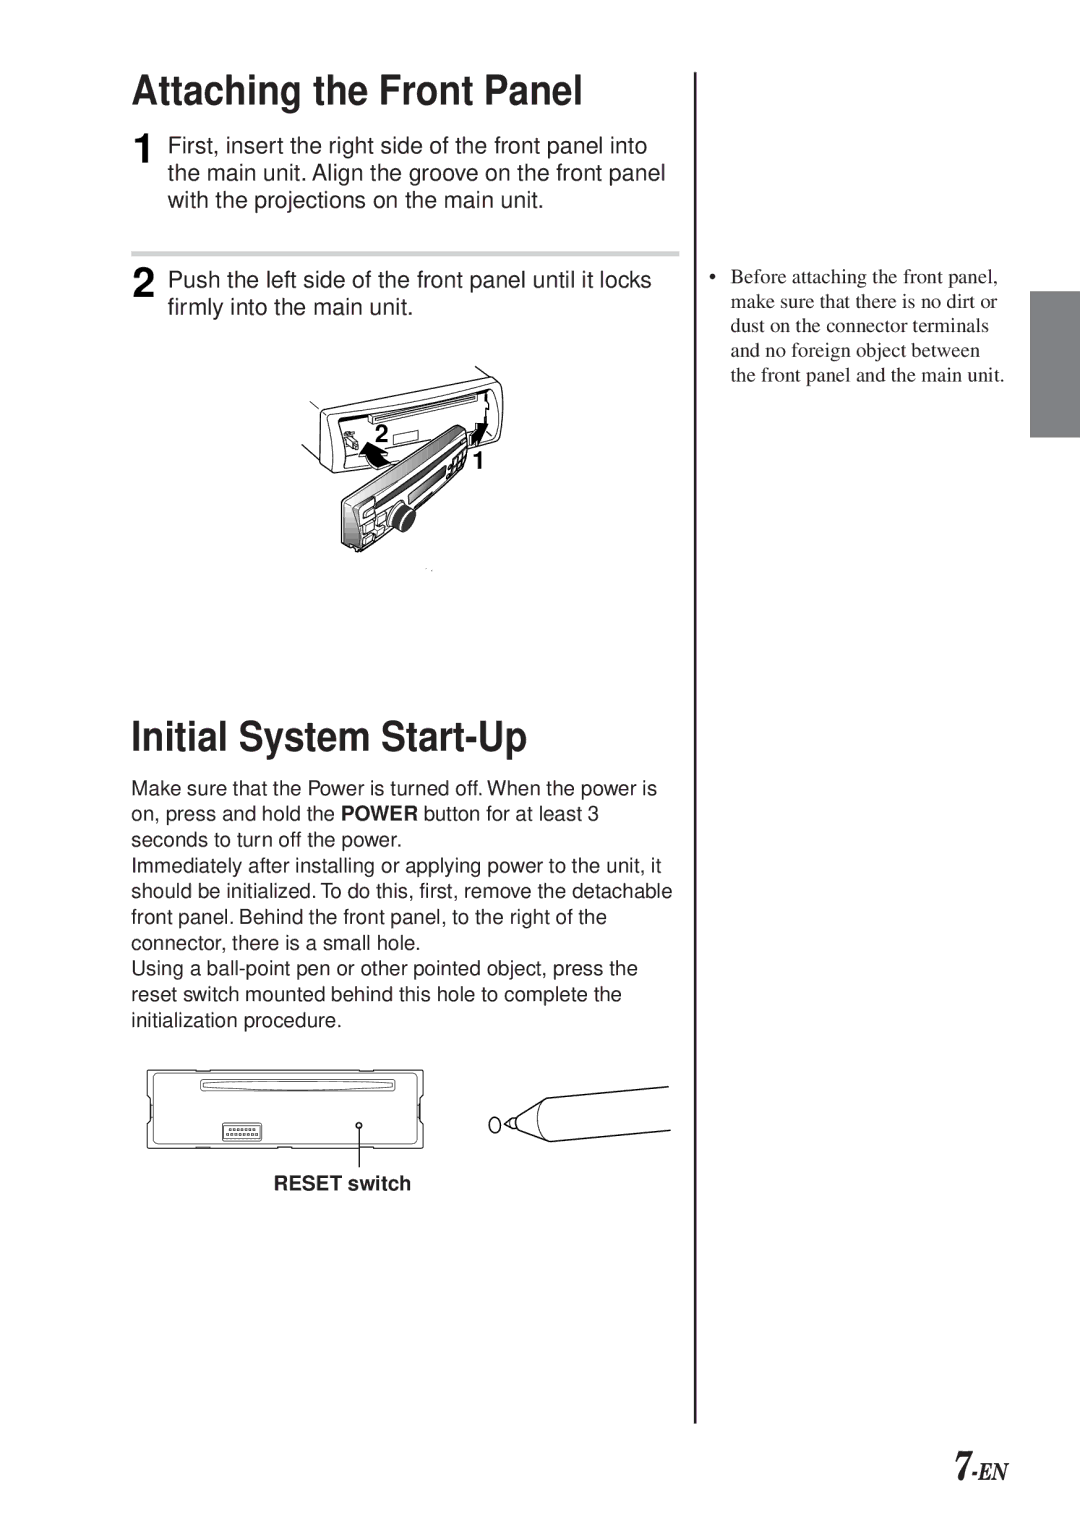
1 First, insert the right side of the front panel into the main unit. Align the groove on the front panel with the projections on the main unit.
2 Push the left side of the front panel until it locks firmly into the main unit.
2
![]() 1
1
Initial System Start-Up
Make sure that the Power is turned off. When the power is on, press and hold the POWER button for at least 3 seconds to turn off the power.
Immediately after installing or applying power to the unit, it should be initialized. To do this, first, remove the detachable front panel. Behind the front panel, to the right of the connector, there is a small hole.
Using a
RESET switch
•Before attaching the front panel, make sure that there is no dirt or dust on the connector terminals and no foreign object between the front panel and the main unit.