BASIC OPERATIONS (CONT.)
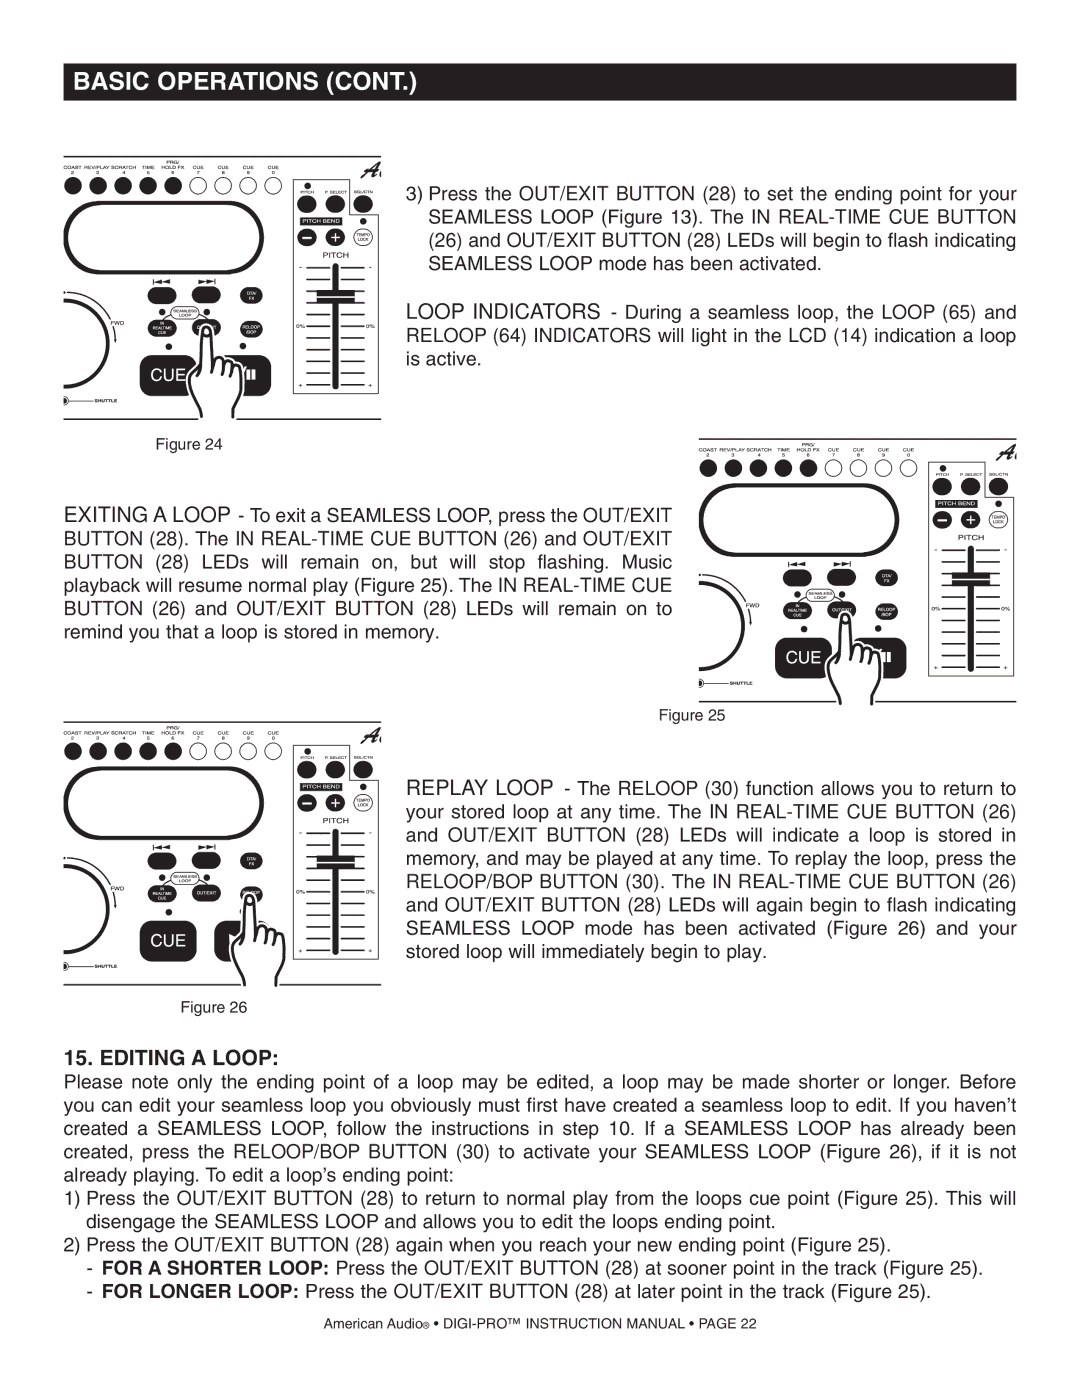
3) Press the OUT/EXIT BUTTON (28) to set the ending point for your SEAMLESS LOOP (Figure 13). The IN
LOOP INDICATORS - During a seamless loop, the LOOP (65) and RELOOP (64) INDICATORS will light in the LCD (14) indication a loop is active.
Figure 24
EXITING A LOOP - To exit a SEAMLESS LOOP, press the OUT/EXIT BUTTON (28). The IN
Figure 25
REPLAY LOOP - The RELOOP (30) function allows you to return to your stored loop at any time. The IN
Figure 26
15. EDITING A LOOP:
Please note only the ending point of a loop may be edited, a loop may be made shorter or longer. Before you can edit your seamless loop you obviously must first have created a seamless loop to edit. If you haven’t created a SEAMLESS LOOP, follow the instructions in step 10. If a SEAMLESS LOOP has already been created, press the RELOOP/BOP BUTTON (30) to activate your SEAMLESS LOOP (Figure 26), if it is not already playing. To edit a loop’s ending point:
1)Press the OUT/EXIT BUTTON (28) to return to normal play from the loops cue point (Figure 25). This will disengage the SEAMLESS LOOP and allows you to edit the loops ending point.
2)Press the OUT/EXIT BUTTON (28) again when you reach your new ending point (Figure 25).
-FOR A SHORTER LOOP: Press the OUT/EXIT BUTTON (28) at sooner point in the track (Figure 25).
-FOR LONGER LOOP: Press the OUT/EXIT BUTTON (28) at later point in the track (Figure 25).
American Audio® •
