Chapter 1 | Setting Up the CoreModule 800 |
Connecting the Power Supply
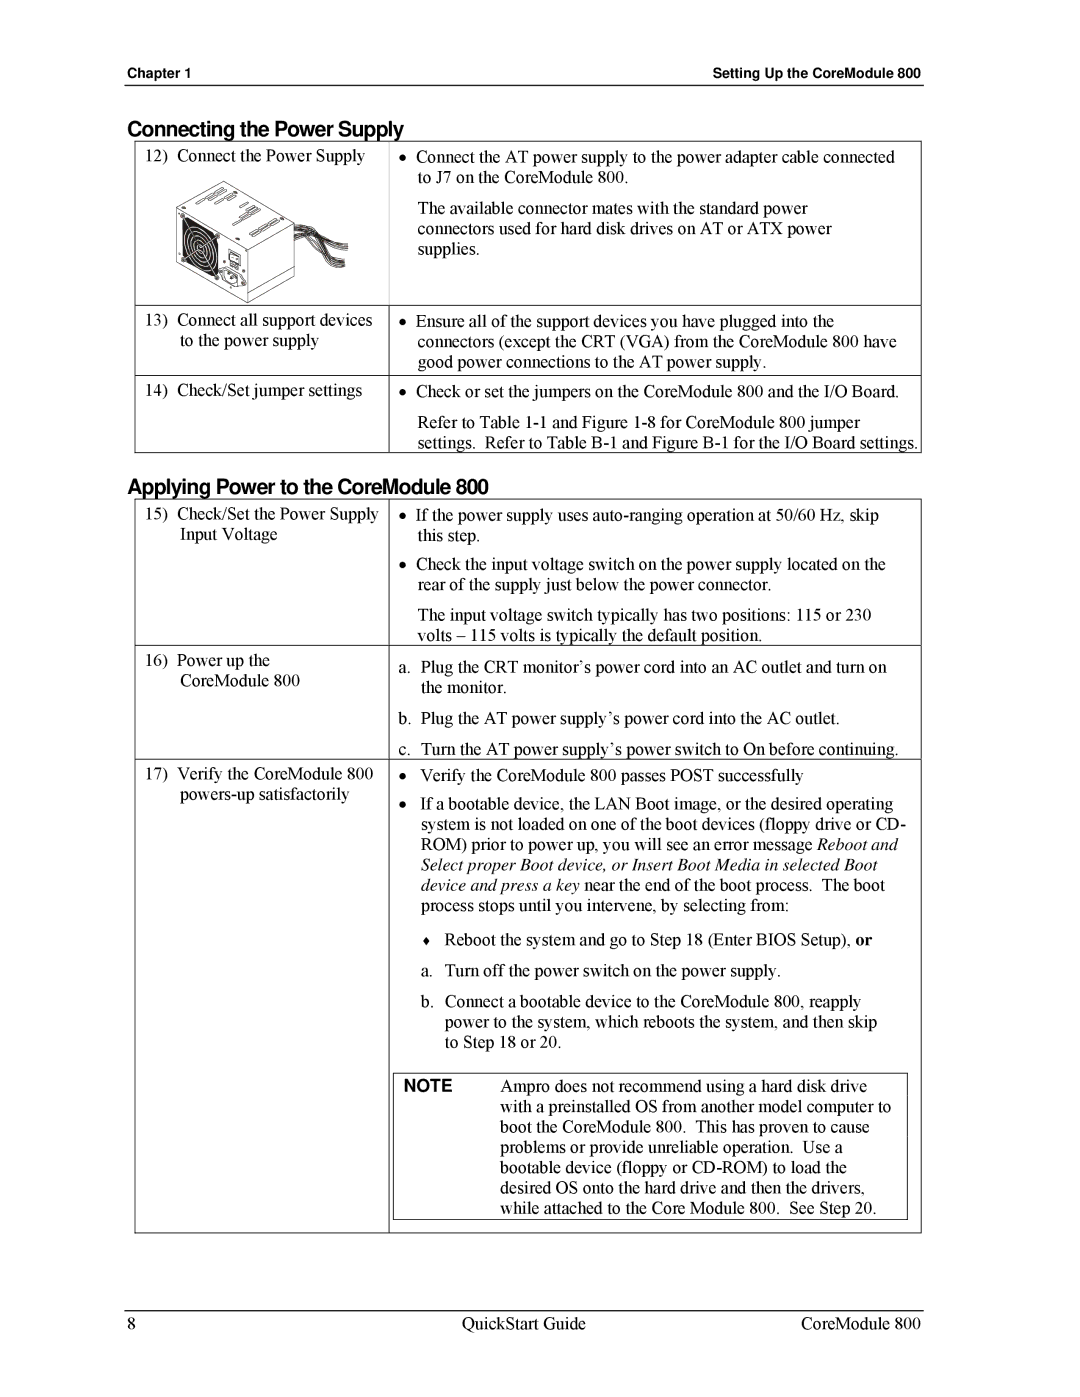
12) Connect the Power Supply
•Connect the AT power supply to the power adapter cable connected to J7 on the CoreModule 800.
The available connector mates with the standard power connectors used for hard disk drives on AT or ATX power supplies.
13) | Connect all support devices | • Ensure all of the support devices you have plugged into the |
| to the power supply | connectors (except the CRT (VGA) from the CoreModule 800 have |
|
| good power connections to the AT power supply. |
14) | Check/Set jumper settings | • Check or set the jumpers on the CoreModule 800 and the I/O Board. |
|
| Refer to Table |
|
| settings. Refer to Table |
Applying Power to the CoreModule 800
15) Check/Set the Power Supply |
| • If the power supply uses | ||
Input Voltage |
| this step. |
|
|
|
| • Check the input voltage switch on the power supply located on the | ||
|
| rear of the supply just below the power connector. | ||
|
| The input voltage switch typically has two positions: 115 or 230 | ||
|
| volts – 115 volts is typically the default position. | ||
16) Power up the |
| a. Plug the CRT monitor’s power cord into an AC outlet and turn on | ||
CoreModule 800 |
| |||
| the monitor. | |||
|
| |||
|
| b. Plug the AT power supply’s power cord into the AC outlet. | ||
|
| c. Turn the AT power supply’s power switch to On before continuing. | ||
17) Verify the CoreModule 800 |
| • Verify the CoreModule 800 passes POST successfully | ||
| • If a bootable device, the LAN Boot image, or the desired operating | |||
|
| |||
|
| system is not loaded on one of the boot devices (floppy drive or CD- | ||
|
| ROM) prior to power up, you will see an error message Reboot and | ||
|
| Select proper Boot device, or Insert Boot Media in selected Boot | ||
|
| device and press a key near the end of the boot process. The boot | ||
|
| process stops until you intervene, by selecting from: | ||
|
| ♦ Reboot the system and go to Step 18 (Enter BIOS Setup), or | ||
|
| a. Turn off the power switch on the power supply. | ||
|
| b. Connect a bootable device to the CoreModule 800, reapply | ||
|
| power to the system, which reboots the system, and then skip | ||
|
| to Step 18 or 20. | ||
|
|
|
|
|
|
| NOTE | Ampro does not recommend using a hard disk drive |
|
|
|
| with a preinstalled OS from another model computer to |
|
|
|
| boot the CoreModule 800. This has proven to cause |
|
|
|
| problems or provide unreliable operation. Use a |
|
|
|
| bootable device (floppy or |
|
|
|
| desired OS onto the hard drive and then the drivers, |
|
|
|
| while attached to the Core Module 800. See Step 20. |
|
|
|
|
|
|
8 | QuickStart Guide | CoreModule 800 |